What You Should Know About Well Water Testing

There are several reasons you should perform water testing for well water. In addition to certain conditions that you may encounter which may require well water analysis, the National Ground Water Association (NGWA) suggests that you test well water once a year to detect any contaminants that you may not otherwise be aware of through appearance or taste. While you should test well water for bacteria, nitrates, and other pollutants per NGWA recommendations, you will also want to perform testing if you note any of the following: What Contaminants Are Usually Found in Well Water? Nitrates are a common contaminant found in well water and are usually one of the first indications of a problem. These can leach into your well water from fertilizers, leaking septic tanks or sewer lines, or animal feces. They can also be formed from the natural decay of soils and rocks where nitrogen compounds are broken down. High levels of nitrates are of particular concern to infants who may ingest them in the water used to make their formula. Basic well water testing evaluates the pH levels, hardness, manganese, sulfides, and iron. Contaminants that may cause damage to plumbing systems, cause staining, give the appearance of cloudiness or discoloration, or cause odors. In some cases, local municipalities may recommend that you test for specific pollutants that they have found present in other local water sources. These may include contaminants like arsenic or radon. While it may be surprising for some to learn that arsenic can build up within water sources, it’s a fact that arsenic can be created from a reaction between water and certain kinds of rocks or soil. The natural process of uranium breaking down in the ground results in an odorless, tasteless, and colorless gas that can be deadly. Radon can not only leech into your well water, but it can also seep up through the pores in your home’s foundation. These are some examples of what you could find. There is no indication that you will find any of these in your well water, but they are a good reason to do routine well water testing. How to Test Well Water at Home If you aren’t sure how to test well water, the EPA provides a list of certified water testing laboratories on their website. The Arizona Department of Health Services (ADHS) provides a list as well. Once you’ve selected a lab to use for testing, you can request testing bottles for your samples and ask for instructions for collecting your water sample. You will want to follow their instructions closely for the most accurate test results. While collecting a water sample seems like a simple procedure, some testing requires very technical collection procedures. You will also want to ask the lab how quickly you must get the samples to them. Certain substances will need to be stored properly or delivered to the lab for testing within a specific timeframe or results may be affected. If you are uncomfortable with collecting samples or feel you cannot collect them properly, select a laboratory that can provide a technician to collect your samples for you. Once you have seen the correct procedures for collecting samples, you may then be able to do future sampling to test well water on your own. How Do I Read the Results? The main thing you will want to understand from your water test results is whether there are any contaminants in your water that may be a health risk. You should get an explanation from your testing lab that tells you how to interpret the results. If this isn’t provided or you still have questions, you can seek help from one of the sources below. What Constitutes a Health Risk? Health risks are primarily based on how much of a potentially harmful contaminant is found in your water. This varies according to what the substance is and how much of it is in your well water. Some substances can cause long-term damage or adversely affect your health even in small amounts, especially if consumed over an extended period of time. The ages of people in your household and their current health should also be considered. Younger children are more susceptible to high levels of nitrates. Exposure to heavy nitrates even over a short period can result in dangerous reactions that might not affect an adult. Your laboratory should flag any contaminants that are considered above acceptable levels set forth by the Environmental Protection Agency (EPA), but if they haven’t, you can compare your results to federal standards for potable water posted online. The levels set by the EPA are designed to protect the health of individuals who drink or otherwise come into contact with the water for years to come. My Well is Contaminated. Now What? Don’t panic; some substances can be removed with simple water treatments. Others may require more serious measures to correct the problem. Either way, a professional can address the problem with the best course of action. If the problem persists, your well may require cleaning. A professional experienced in well water systems can remove any debris from the bottom of the well and clean the mechanisms that operate within the well, including the water intakes. A proper cleaning may also involve brushing and scrubbing the well walls to remove anything stuck on them, flushing the gravel pack and aquifer that surrounds the well’s casing. If you have any water treatment systems installed to purify well water, those would also be serviced to ensure no bacteria has built up in them. If you are continually experiencing issues with your water quality, you might consider having a water purifier such as a reverse osmosis system installed.
Best Air Conditioning Options for Old Houses

Those looking to install air conditioning for old houses face several problems. One is that most older homes lack ductwork. Another is that there is usually no room to add an HVAC system in a home that wasn’t built with it in mind. Often, the electrical system isn’t adequate to handle the additional power load. Adding ductwork to install air conditioning for old houses creates its own set of issues. Even if there is enough space for the ductwork, the installation will usually require alterations to the original plaster, woodwork, and floors. It may involve lowering ceilings and a loss of closet space, which can be both inconvenient and expensive. Your best heating and cooling options for older homes will minimize the damage to the existing structure and work with your current electrical grid. Let’s take a look at some of your air conditioning options for older homes. VRF Systems VRF is a ductless air conditioning system that uses an outdoor condenser unit and multiple indoor units. It works much like central air conditioning, except without ductwork. Instead, refrigerant lines connect the indoor units, taking up much less space and requiring minimal renovations. One of the biggest advantages to this type of system is that it can heat and cool individual areas at the same time. You can even create temperature zones to adjust each area in your home independently rather than heating or cooling the entire house like you would with a ductwork-based HVAC system. Ductless systems have the advantage of superior energy efficiency, saving most households as much as $1,000 to $2,000 per year in utility costs alone. In addition to savings, this also translates into a smaller environmental impact. High-Velocity Systems High-velocity systems also operate in much the same way as central air conditioners. They do require ductwork, but the highly flexible ducts they utilize are only about 2 inches in diameter. This makes them much easier to place without damaging the original structure of the home. The operational units are compact, allowing them to be easily placed in attics, basements, and other small spaces without being obtrusive. If you are looking for an energy-efficient option most similar to traditional central air conditioning then this is a great option for air conditioning for older homes. Window Air Conditioners If you are looking for a solution that doesn’t involve permanent changes to your home, you can always opt for a window air conditioning unit. These are quick and easy to install, but you’ll have to give up some window space in order to accommodate them. The downside to this solution is that many people find window units give their home an unattractive appearance and they can be very noisy while in operation. Because they take up window space, they also affect the amount of natural light entering your home. They decrease home security because they can be removed by home invaders to obtain access. You can install them through the wall, but the premise is much the same other than you’ll have to create a hole in your wall to accommodate the unit. Plus, you’ll need to consider that you may need more than one unit to keep your home cool. Ductless Mini Split Air Conditioners Ductless mini-split units consist of an indoor air handler and an outside condenser unit. The two components are connected by electrical wires and refrigerant lines through a hole in the wall no larger than about 3 inches wide. The high energy efficiency, simple installation, and minimal design make this system ideal for older homes without existing ductwork. You can set your home up into zones that you can control with a remote, allowing you to maintain the temperature in each area at suitable levels. For instance, if you have a hobby room you only use on weekends, you can keep it at a higher temperature during the week and set it to cool down more on weekends while the rest of your home is cooled more consistently throughout the week. Portable Air Conditioners Portable air conditioners can be a simple solution to cooling your home if you don’t want to give up window space or worry about installation. You can set up a portable unit anywhere in your home that has a nearby window and an electrical outlet. You only need to place the flexible hose for draining outside through the window and plug it in. The drawback to this solution is that the units are noisy. If you opt for this type of cooling system, you’ll want to check the decibel rating on the box and purchase one with the lowest rating you can find. Traditional Central Air Conditioning If your home has the room to add ductwork and you don’t mind the renovations it involves, then there is always the traditional central air for older homes to be considered. The advantage of this system is that it provides simple, all-over heating and cooling without a lot of fuss or hassle with programming or zone setup. While the unit itself can be less expensive than some of the other choices, you may find that the added costs of renovations and installation time may offset any savings you were hoping to find. This type of system also tends to be less energy efficient than ductless systems, costing you more for energy consumption. As you can see, there are several options from which to choose when looking into air conditioning for older houses. You will need to consider which one best suits your needs and budget. Also, keep in mind that the electrical system in your home may not be up to the task of adding modern appliances. In addition to choosing a system, you’ll want to evaluate your electrical system to ensure it can handle the additional power demands. If you’ve never had your electrical grid evaluated, this is a good time to take care of that. Older homes can fall victim to faulty wiring, the most common cause of house
UV Light for HVAC: What Should You Know?
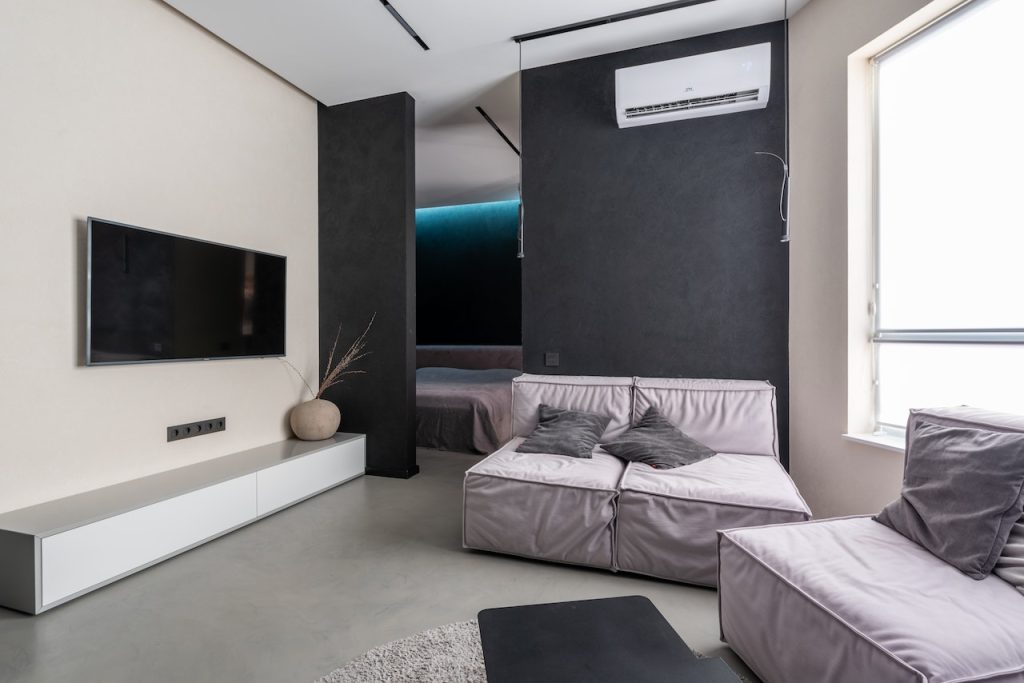
Ultraviolet (UV) light was first used for human benefit in the early 1900s to treat tuberculosis. In the years that followed, scientists found it increasingly useful in situations where they needed to eliminate as much contamination as possible. These days, you’ll find UV light used in a wide variety of settings for sterilization. UV light is used to sterilize surfaces in hospitals. It is used in water treatment facilities and restaurants to remove germs. You’ll even find it in nail parlors or perhaps in your own home where you might possess a small UV light to cure gel nail polish. It stands to reason that ultraviolet light for HVAC would be equally as effective at removing germs, mold, mildew, bacteria, and other such pollutants, creating cleaner air in your home. UV light for HVAC will kill any such pollutants within its reach, keeping the inner surfaces free of contaminants that can otherwise build up there and be sent back out into the air of your home. Those who use UV lights in their AC system experience vastly improved air quality. Types of HVAC UV Lights There are two kinds of UV lights for HVAC systems that you should understand in order to decide which is right for you. UV light has been proven to eliminate more than 97% of the bacteria in certain commercial settings. You’ll see similar results in your cooling system with the installation of a UV light for your HVAC system. Though no precise percentages have yet been established due to the many variables from one HVAC system to the next and the vastly different circumstances in individual homes; studies do show that bacterial levels in HVAC systems with an added UV light system are significantly lower than those units without the addition of UV light. UV Light System Costs The initial cost of purchase and installation of a UV light system will vary depending on your HVAC system and which type of UV lights you select. You can request an evaluation and estimate for adding UV lights to your HVAC system from an American Home Water and Air professional. Additional considerations will include the following: Getting the Most from Your HVAC UV Light System An HVAC UV light system can work wonders for improving the air quality in your home, but it can’t do the job alone. If you want the cleanest air possible, you’ll want to address some other areas affecting your air quality, as well. Benefits of HVAC UV Lights Hopefully, you now understand what a UV light system for your HVAC does, but how does it truly benefit you? Many improvements can be seen from the addition of a UV light system. What are the Cons? As you can see, there are many benefits to installing an HVAC UV light. A UV light is only going to be as good as your overall system allows it to be, however. You should first make sure you have taken all of the other measures mentioned to create quality indoor air before adding UV light to your system. Those who experience excessive airborne pollutants in their home will find their health adversely affected over time. If you want to experience the cleanest air possible in your home, your HVAC system is a great place to start. You can give the experienced professionals at AHWA a call to evaluate your system and suggest which UV system for HVAC is best for your needs.
Can a Bad Thermostat Cause AC Not to Cool?
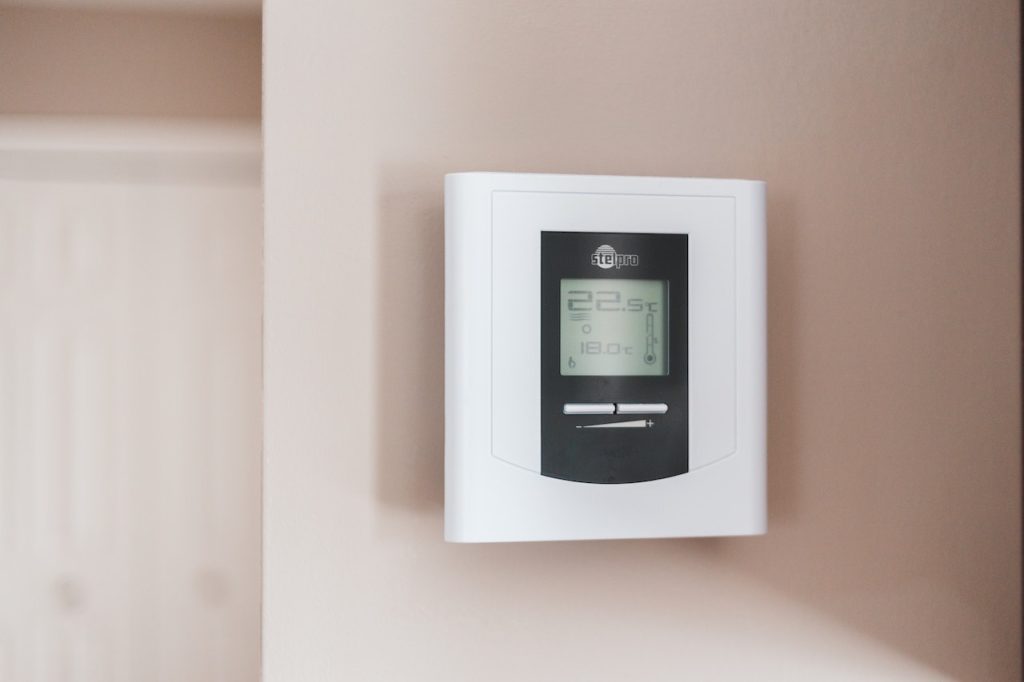
Nothing is worse than finding your home without air conditioning on a hot Arizona day. If this has ever happened to you, then you know just how frustrating it can be to perform thermostat troubleshooting, locate the problem and correct it, especially if you can’t fix it yourself and are faced with getting last-minute or after-hours repairs from a professional. Your system can fail for many reasons. A common problem with many systems may be found with the thermostat on your wall, requiring a bit of thermostat troubleshooting. Let’s take a look at some of the most common thermostat problems found in many homes which may be causing your system to fail. Thermostat Placed Incorrectly Many people don’t realize that it matters where the thermostat is placed. A thermostat installed in a poor location can interfere with the way the system is designed to function. In some cases, the thermostat may have been placed correctly when the system was installed, but subsequent renovations have created a problem. It’s best to never expose thermostats to direct sunlight. Because the thermostat operates as the central command for your HVAC unit, the heat from sunlight can greatly affect the overall operation of your system. With the higher temperature created by sun exposure, the thermostat may register that the temperature is much higher than that of the area around it. Because your thermostat thinks it is much warmer in your home than it actually is, the thermostat will tell the HVAC unit to run when it shouldn’t, creating an excessively cooler home and running up your utility bill If your thermostat is placed in direct sunlight or near any heat source that could cause this behavior, contact an HVAC expert to relocate it for you. Dirty Thermostat Is your HVAC thermostat not working properly? Just like the rest of your home appliances, your thermostat may begin to operate incorrectly if it hasn’t been properly cleaned. A coat of dust, dirt, or grime can gum up the sensors and prevent them from reading your home’s temperature incorrectly. Be sure to wipe down the outer portions of your thermostat routinely and have routine maintenance performed, and note that a professional will clean the thermostat as part of the service. If you do work in your home that may stir up debris that can get into your thermostat, be sure to cover it. Otherwise, you may find a build-up that can create problems and require additional cleaning to return your system to proper operation. Unlevel Thermostat If your thermostat is not sitting evenly along your wall, it may not work properly. This is especially true with those that employ a mercury bulb to detect temperature. This happens because the thermometer must be level in order to function; if your air conditioning thermostat is not working, it may be because it can’t detect the temperature at all. If you notice that your thermostat is tilted, this can be a source of trouble for your system. The installer needs to correct the problem. If the thermostat was installed properly but has become tilted due to the settling of the home or some other alteration, you will need to contact a professional to return it to its correct placement. Old Thermostats Can a bad thermostat cause your AC not to cool? Yes. Just like any other appliance in your home, thermostats get old. The wear and tear over the life of your system can render them inoperable or show signs of faulty operation before the rest of your system requires replacement. You may note that the efficiency at which your system operates begins to wane over time or that your system stops working altogether. If you are experiencing trouble with your thermostat operation, AHWA can diagnose the problem and replace the faulty thermostat for you. In some cases, you may be able to upgrade to a newer thermostat with programmable features you can operate from your phone or a remote. Low Thermostat Batteries Many people don’t realize that their thermostat contains batteries. While not all of them do, those that are battery-powered can fail if their power source becomes weak. Be sure to replace your batteries immediately upon getting an indication that your batteries are low. Otherwise, you risk fluctuating temperature readings that cause your unit to kick on or not kick on, creating uneven cooling. Eventually, the batteries will die, and your HVAC unit will cease to come on at all. Improper Installation of Thermostat It can be tempting to self-install a new thermostat when you have a failure, but it is not always the best solution to your problem. You may save a few dollars upfront but can run into problems due to improper installation down the road. Always have a professional who is trained and experienced in HVAC installations to take care of any repairs you need. If you are seeing obvious signs of improper installation such as loose wires or sparks coming from your thermostat, you should not use the unit. Contact a licensed professional to do an inspection and make repairs. The damage can go far beyond just what you see at the thermostat box if it has been left unattended too long. While there are many things you can do on your own, sensitive components like your thermostat should always be left to someone certified in their repair. Thermostat Recalibration is Needed Part of the HVAC system manufacturing process is the calibration of thermostats. This practice improves the accuracy of the component, making it more reliable in operating your unit. However, this calibration can become less accurate with time and use, leading to air conditioner thermostat problems. The solution is to have your thermostat recalibrated. Otherwise, you may begin to experience uneven cooling in your home. Whatever issue you are having with your thermostat, the professionals at AHWA are always ready to perform thermostat troubleshooting and provide the repair or replacement you require. While regular maintenance of your HVAC system can prevent many
Tax Incentives for HVAC are Expanded in Sweeping Bill
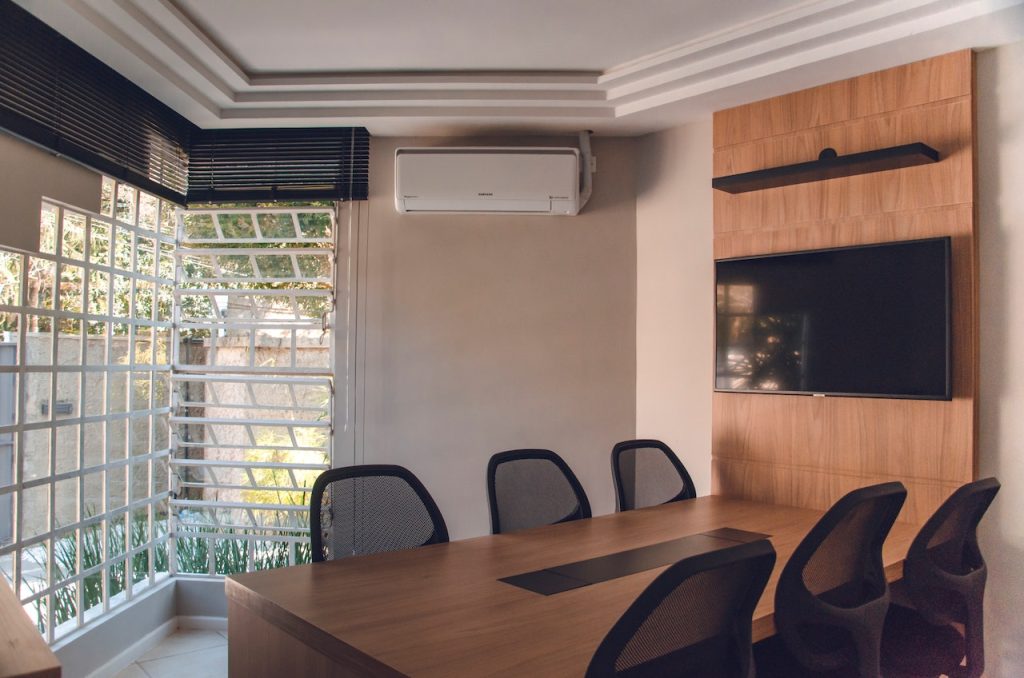
The Inflation Reduction Act (IRA) is one of the largest bills ever addressing climate change. Passed by Congress on August 12, 2022. President Joe Biden signed the bill on August 16. This $737 billion measure invests more than $369 billion of its total spending toward energy security and climate change measures. The bill aims to drive down energy costs for end consumers, increase energy security and reduce the emissions of greenhouse gases. More than $9 billion has been made available for home energy rebates for those who invest in energy-efficient systems and technology. The bill includes ten years of tax credits for consumers with heat pumps, solar rooftops, and energy-efficient HVAC systems or water heaters. How to Take Advantage of These Incentives These types of incentives included in the bill encompass a variety of energy-efficient home improvements. Homeowners who install eligible HVAC equipment, heat pump water heaters, or components such as doors, windows, or insulation that improve a home’s energy efficiency can subtract the credit from their tax liability through the end of the year 2032. The credit each homeowner can claim totals 30% of the cost of improvements. There is an annual limit of $600 for approved HVAC equipment and $600 for building components for a total of up to $1,200 per year in credits that you can take through the end of 2032. There is no cap on the number of credits that one can take beyond the yearly limit. Homeowners who install heat pumps, heat-pump water heaters, biomass-fueled stoves, or boilers can take a credit of up to $2,000. If you aren’t sure what improvements you can make to take advantage of the credits available, the bill also allows for a $150 credit for a home energy audit. What Qualifying Improvements Can I Make? You can make many changes that will qualify for tax credits and rebates under the Inflation Reduction Act. Here are some of the most common ones that will help reduce your home’s energy costs and qualify for incentives. Repair Air Leaks This is a great time to weatherize your home. Plugging up the areas in your home where air leaks out will stop your cool air from leaking out in the summer and your hot hair from leaking out in the winter and help your existing HVAC system run more efficiently. You may have gaps along your baseboards, windows, doors, or electrical outlets. Fireplace dampers and holes where pipes enter or exit may also allow air to leak out. Repairing areas where there is a draft can provide savings on energy. While repairing some of these issues may be as simple and inexpensive as applying caulk or weather stripping, others may require more substantial effort and cost more. While you can do your own inspection, the IRA $150 rebate for a home energy audit can help if you require assistance. A qualified professional can help you locate these leaks and recommend changes to correct them. Once you know where the problems lie, you can put the IRA 30% tax credits to work up to a maximum of $1,200 a year to weatherize. If you make less than $150% of the local median income, you also qualify for up to $1,600 in rebates for any materials you may need to accomplish your goal. Window and Door Replacement Leaky windows and doors can increase your energy costs by as much as 30% each year, according to the Department of Energy. Replacing windows and doors that don’t hold in the heat or cool air can be expensive, but you will enjoy long-term savings. The IRA provides up to $600 toward window replacement and up to $250 to replace an exterior door or $500 to replace two. HVAC Upgrades Most homes’ heating and cooling appliances are the main energy consumption users. Up to 40% of the energy consumed in buildings across America stems from HVAC systems, contributing greatly to greenhouse gas emissions. Upgrading to a more energy-efficient HVAC system helps reduce these emissions. You can sometimes qualify for HVAC tax credits by installing certain wood-burning stoves. Federal rebates for HVAC systems under the IRA provide a 30% tax credit to those who upgrade to electric heat pumps. You can take up to $2,000 in credits for installing a heat pump and enjoy additional rebates of up to $8,000 as long as you meet the income requirement of making less than 150% of the local median income for your area. If you are already replacing your HVAC unit to meet new SEER requirements coming in January, be sure to take advantage of this air conditioner tax credit in 2022. Appliance Upgrades Low and moderate-income households can claim federal rebates for HVAC on electric stoves and heat pump clothes dryers of up to $840 each. Homeowners can take heat pump water heater tax credits of up to $1,750 for upgrading your existing water heater and save you additional funds on energy costs. If you have been looking to replace that old water heater, this is a great time to do so. The new heat pump rebates for 2022 can help reduce the cost of replacement. Consider Solar Power While it might be a bit of an investment to convert your existing home to a solar model, this might be an option for those who are looking to rent, buy or build. A passive solar home draws energy from banks of south-facing windows to draw in the sun’s heat during cool months. Paired with panels that provide solar energy to power a home, this can reduce home energy consumption greatly. The IRA includes a 30% tax credit for rooftop solar and geothermal heating options. This includes battery storage and larger community solar power systems that multiple homeowners share. If you are building a new home, you can take advantage of a $5,000 tax credit for developers who build solar dwellings termed Zero Energy Ready Homes. There has never been a better time to replace that old HVAC unit you’ve
8 Tips for Finding the Right Plumber
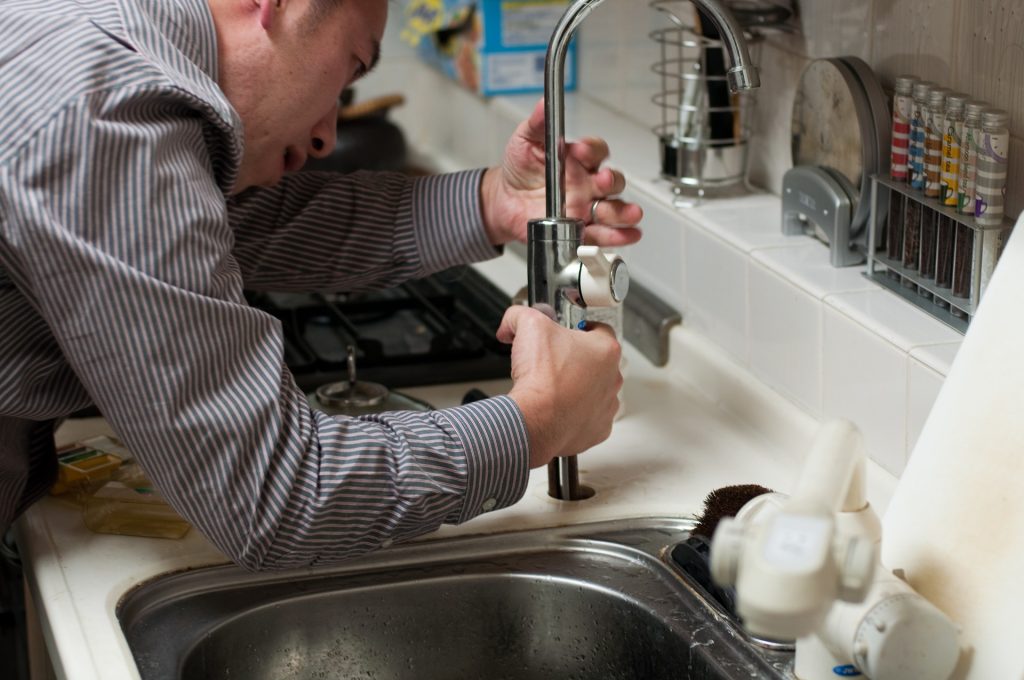
Whether looking at a minor plumbing inconvenience or a major plumbing issue, you will likely need a plumber’s help to correct the problem. Choosing the wrong plumber can be a disaster for your plumbing system and your back pocket. However, if you follow a few guidelines when trying to find a plumber, chances are good that you can locate someone with the skills you need at an affordable price. How You Can Find a Plumber You Can Trust If you need to know how to find a good plumber in your area, you’ll first want to know a little about who qualifies as a plumber. Let’s get familiar with the different kinds of plumbers you may find in your search. Apprentice plumber – In Arizona, a plumber must have worked under the supervision of a licensed plumber for at least four years before they can apply for a license. An apprentice plumber might also take classes to help pass the licensure exam, but they cannot work without supervision until they have secured a license. Licensed Plumber – A licensed plumber may hold a license for residential work, commercial work, or a dual license that covers both. A plumber licensed in Arizona has worked for at least four years as an apprentice plumber. They have passed the exams covering their knowledge of plumbing, the business, and the laws that apply to the trade. Finally, they have secured a license to work as a plumber. When seeking plumbing assistance, you should be sure that your plumber holds the appropriate license, but there are other things to consider when trying to find a plumber. Let’s look at eight areas you’ll want to explore to find a reliable plumber and the best plumber service for you. Eight Tips to Find a Plumber That is Right for You 1. Be proactive Don’t wait until you have a problem to begin looking for a plumber. If you are in the middle of an emergency, there is a good chance that your search will shift from finding “the best plumber near me” to seeing “whoever can show up quickest.” By anticipating that you’ll need a plumber at some point, you can begin your search for one on your own terms and take the time to find someone qualified and affordable. 2. Seek recommendations from associates Friends, neighbors, and co-workers have most likely needed a plumber at some point and can be excellent sources for a recommendation. They can probably tell you who you can trust to do the work effectively at a reasonable cost. They can also tell you who to avoid. Though misunderstandings or unexpected issues can sometimes happen through no fault of either party, repeated bad reports of the same plumber should be heeded. 3. Do your research In today’s world, you can often find a wealth of information about the best plumbers according to ratings or reviews on the internet. Directories such as the Better Business Bureau, Google, or Angie’s List are very helpful for checking the quality of a plumber’s work and reputation. You can see if they have complaints against them and the nature of those complaints. If they have a web page or social media, you can see firsthand how they interact with customers. 4. Ask another professional If you have had work done by another professional you trust to provide sound advice, ask them for a recommendation. HVAC, appliance maintenance specialists, roofers, and handypersons often work with many other professionals in the area. They can tell you who is the best fit for the work you need to be completed. 5. Ask your DIY supplier Employees working at your local DIY supplier or hardware store have considerable contact with local residential contractors who visit their businesses for parts and supplies. You may find they can give you valuable plumbers tips or direct you toward a bulletin board where services are advertised. 6. Verify credentials Check to see if your potential plumber is appropriately licensed. Arizona maintains a register of contractors where you can verify that your plumber’s license is active. You might also check Angie’s List to verify a license and learn additional details. Though insurance is a requirement for licensing as a plumber in Arizona, you might also want to confirm that they are adequately insured. 7. Compare quotes Getting more than one quote on the work you need to have done is always a good idea. If you are shopping for plumbing ahead of time, you can inquire about a basic service such as a plumbing inspection or hot water maintenance to get an idea of how your potential plumbers stack up in the cost department. Otherwise, request a service call to review the problem and quote a repair fee. Remember that the least expensive plumber is not always the best choice. Make sure each quote covers the cost of fixing the problem permanently. Beware of plumbers who quote you a low price for a simple fix that won’t hold up in the long run. It is better to pay more and not have further issues. Ask each one what they intend to do and what materials they will use so that you are comparing apples to apples with their plumbing recommendations. 8. Review business history The longevity of a business is a testament to its reliability. Plumbers or plumbing services who do shoddy work, overcharge, or have a bad relationship with their customers rarely survive very long. Though there are some exceptions, it is still a good rule of thumb that the longer a company has been in business, the more you can depend on them. Coupled with the other tips we’ve provided, you should be able to make a good selection. There is no exact science to finding a good plumber and no guarantee that you will be happy with the work you receive, but with a bit of due diligence, you should be able to find the best plumber in your area that suits
What to Do When Your Water is Discolored
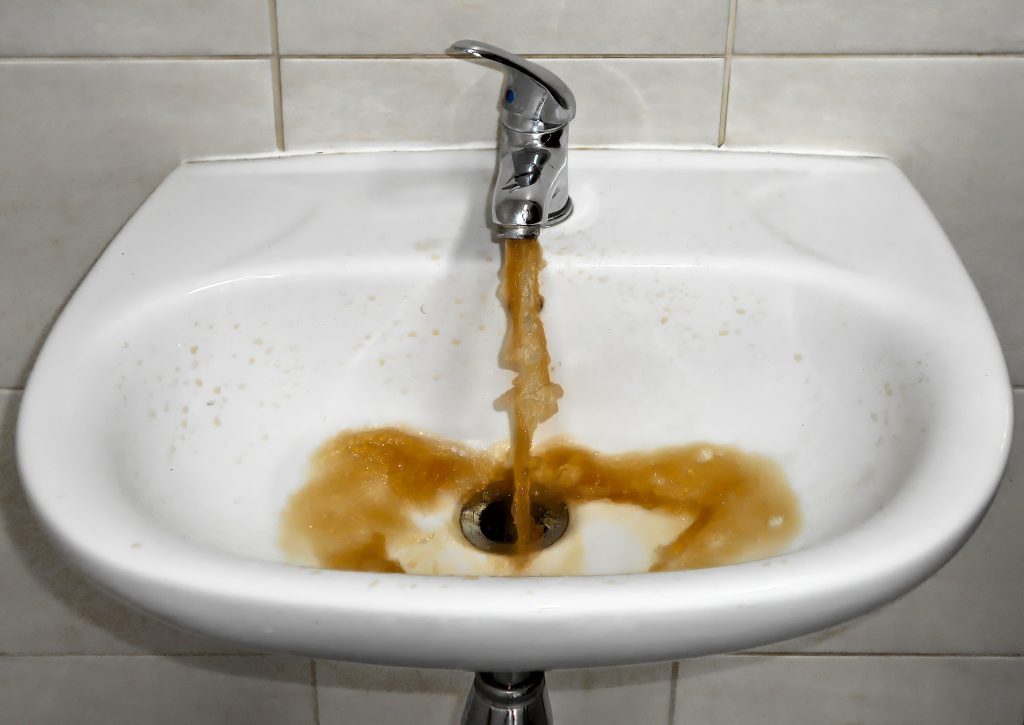
If you have ever turned on a faucet to find that your hot water is discolored or encountered discolored toilet water, you may have felt more than a bit disconcerted by it. However, discolored water is far more common in many households than you might think. The first thing you need to do is determine what has caused the discolored water. Once you’ve figured this out, you’ll know how to correct the problem. Let’s look at some of the common causes of discolored water. Water Main Issues If you awake to find that your faucets have gone from running clear water to running dirty water overnight, the problem can well be coming from outside your home. City or county water lines can develop breaks or undergo maintenance that stirs up dirt and other debris. There are also times when they flush the pipes. If you see discolored water in your faucets, tubs and toilets, the cause is most likely coming from your municipal water lines. The only thing you can do in a case like this is to wait it out. The discoloration will clear once the work has stopped and the lines have been flushed. The only action you should be taking is not to use your hot water until the water runs clear again to prevent any sediment from being sucked into your water heater. However, if you are experiencing discolored water coming to you from your supplier’s lines often or for a sustained period, you should take action by contacting them to discuss what they are doing to get it under control. In the meantime, you might consider contacting a plumbing professional to install a water filter to help with the situation. Corrosion If you live in an older home and haven’t updated the plumbing, you might experience discolored water due to corrosion in your pipes. Older pipes are usually made of galvanized steel that has rusted over time, leaving bits of rusty debris that mix with the water and cause it to exit the tap looking dirty. You can usually determine if this is the case quite easily, because not all faucets may be affected, and the water will run clear again after it’s had a chance to flush out the particles in the pipes. Though you can install a filter to clean your water, it would be better to opt for a longer-term option to correct the problem. American Home Water and Air professionals can locate the corroded pipes and replace them for you. Failure to address the more significant problem will eventually lead to the subject pipe corroding and leaking or bursting open due to the pressure coursing through the lines. Water Table Changes If you get your water from a well on your property, fluctuations in the water table create the presence of excess iron in your water, giving a dirty appearance to the water entering your home. Since this is a natural occurrence, there isn’t much you can do to control it at the source. However, you can use a quality iron remover to reduce the amount of iron leaching into your water and creating discoloration. Excessive Demand Many areas in and around Phoenix draw their water from rivers. During droughts, the high demand for the lowered water levels can draw dirt and sediment from the river bottom into the water supply, leaving you with discolored water. If the water coming from your faucets and filling your toilet or tub is noticeably discolored during periods of drought, you can combat the problem with a sediment filter. Ask your plumbing professional about having one installed if this is a recurring problem. Failed Filtration If there is some issue with your supplier’s filtration system, you can end up with discolored water in your home. You should contact them to see if they are experiencing problems. If this problem continues and you can’t find a solution at the source, you can install a whole-home water filtration system to clear up the issue. Why is My Hot Water Discolored? If only your hot water is discolored, you may have an issue with the lines leading from your water heater or the water heater itself. The most common cause of discolored hot water is an accumulation of sediment and minerals inside the water heater. Sediment forms from tiny particles entering the water heater and collecting inside the tank. This sediment can settle to the bottom and build up over time. Minerals in your water supply can also build up in your water heater’s pipes and tank. Not only can the presence of these cause discoloration of your hot water, but they can also create problems with the function of your water heater if left to collect for too long. Over time, the efficiency and lifespan of the unit will be reduced, and the quality of your hot water will suffer. The best way to prevent this issue is by routinely flushing the water heater’s tank so that it never becomes a problem. If you’ve not practiced proper maintenance of your water heater or have moved into a home where it was previously neglected, you should flush the unit as soon as possible. You can do this yourself, or you can contact a professional to do so for you. A qualified plumber can not only take care of the problem but perform additional preventative maintenance. The other possibility is that the pipes leading to or from your water heater have corroded and discolored your water with rust particles flaking from the inner surface. If you have plastic or copper pipes, this will not be an issue, but if you live in an older home, you should check the lines for signs of aging that lead to corrosion. If your hot water is continually discolored and your pipes are older, replacing all the affected lines may be best. Your plumbing professionals at AHWA can provide an evaluation and estimate for removing and replacing failing pipes before they become
Easy Steps for a Home Energy Audit in Phoenix
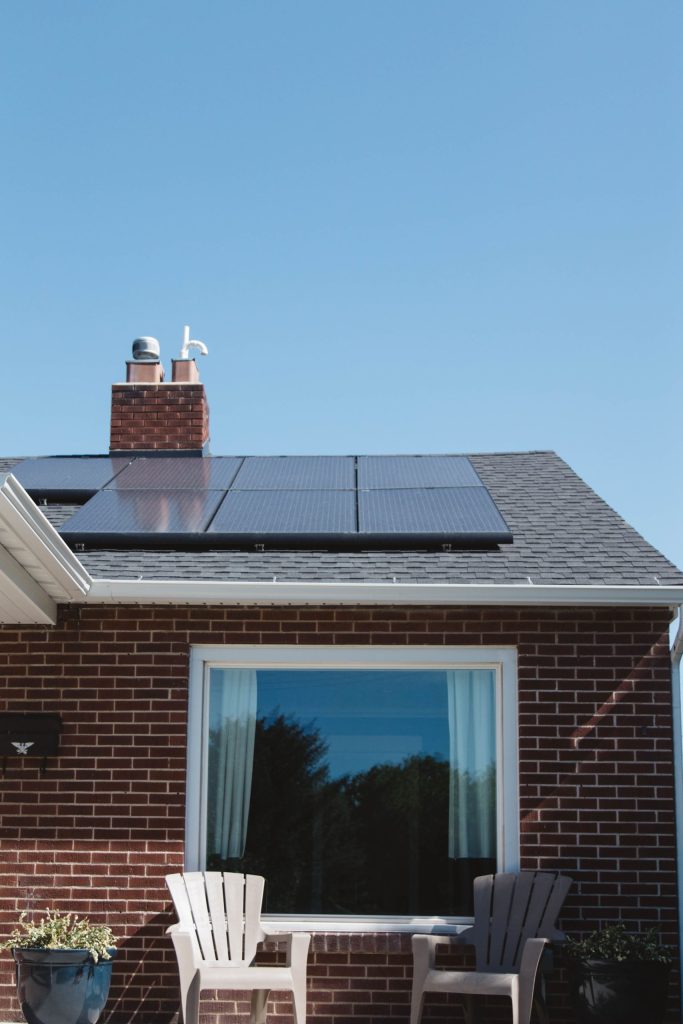
Summer has arrived in Phoenix, and increased utility bills come with warmer temperatures that require more energy consumption while you’re trying to keep cool. If you want to ensure your home is as energy efficient as possible during these months of heavy use, you can schedule a home energy audit in Phoenix. If you want to perform a home energy audit in Phoenix yourself rather than hiring a professional to complete it for you, there are some simple steps you can take for a limited assessment. While a professional who conducts energy audits in Phoenix might be better equipped to evaluate your home for potential energy losses, you should be able to determine many of them on your own by using a checklist of things to look for during your review. If you prefer to do your own Phoenix energy audit, here are some simple steps you can take: Check for Air Leaks If you have noticed drafts in certain areas of your home, you should start with locating the source of those. You will need to find out where the drafts are coming from and determine what you need to do to correct the leak. You can save considerably on energy costs just by sealing off any air leaks you locate. Once you find an air leak, you must seal it. Plug any holes around pipes, faucets, outlets, or wiring that enter the premises using the necessary material. Check Ventilation While ensuring that your home is energy efficient, be mindful that you must maintain proper ventilation. Exhaust fans are essential for keeping the air quality of your home at its best. Indoor pollution can be dangerous if your exhaust systems aren’t pulling combustion gases from certain appliances out of the air you breathe in your home. This is especially important if you use natural gas, home heating fuel, propane or wood to keep warm in the cooler months. Suppose you are seeing higher levels of soot or noticeable burned marks on any of these appliances or smoke visible in the area where it operates. In that case, you may have a ventilation problem. Summer is a great time to have a heating audit performed by a professional. Any upgrades or repairs can be made while you aren’t using the appliances so that you are ready for the colder months. Check Insulation A poorly insulated home can lose a lot of heat in the winter and cool air in the summer. If your home was recently built, this might not be an issue, but older homes were insulated based on how much was recommended at the time of construction. Sometimes, that might be significantly less than what you need today. Check your attic to make sure all areas needed are properly insulated sufficiently to keep your home warmer during winter weather and cooler on hot summer days. What may have been enough insulation when an older house was built might not still be enough today. There should be a vapor barrier beneath your attic insulation. This barrier might be kraft paper and fiberglass batts or plastic sheeting. If no vapor barrier is present, you might want to paint your interior ceiling with vapor barrier paint to prevent moisture from escaping into your attic and compromising the effectiveness of your insulation. Without an effective vapor barrier, you run the risk of structural damage in addition to added energy costs. You will also want to check the wall insulation. You can check this by turning off the circuit breaker to any outlets on an exterior wall and opening up the cavity to check for insulation behind it. Alternatively, you can make a small hole in a closet or other hidden area to study. A long screwdriver or a similar tool can be used to check the resistance that will be present if insulation is present. Basements and crawl spaces should be insulated. If there are heating or cooling appliances located in this type of space, the insulation should be around the area where they are located. If not, the insulation should be beneath your interior living quarters flooring. Inspect Heating and Cooling Systems If you have not already had annual maintenance performed on your HVAC system, now is the time to get it done. A qualified technician can ensure your system works well and clean all components. If your unit is older, they can recommend upgrading to a more energy-efficient unit that may pay for itself in the long run by cutting your air conditioner’s power consumption. If you are doing your own home energy audit in Phoenix, check your ductwork for any streaks of dirt near the seams. These are an indication of air leaks and will need to be sealed. Add insulation with a minimum R-value of 6 to any ducts or pipes in unheated spaces. Otherwise, you should check your filters and replace them if necessary. Typically, you should already be doing this every few months or perhaps every month during heavy usage. You can also check our article on leaving AC on all day for more information about reducing air conditioner costs Lighting Lights in your home drive about 10% of your utility bill. Check your light bulbs and replace any high wattage ones with more energy-efficient choices. Make sure lights are off when leaving rooms. You might also consider adding smart devices, sensors, dimmers or timers to reduce the use of lighting. Appliances and Electronics Appliances can use a great deal of energy, especially older ones. Even when not in use, merely being plugged in can use electricity in some cases. Unplug devices you aren’t using. If you have an appliance that you note is heavy on energy use, consider replacing it. Once you have finished your home energy audit, you should have a list of what you can do to reduce energy consumption in your home. Make a plan to improve any lacking items on your list, starting with what you can do immediately and
Is the Air in Your Home Causing Allergies?
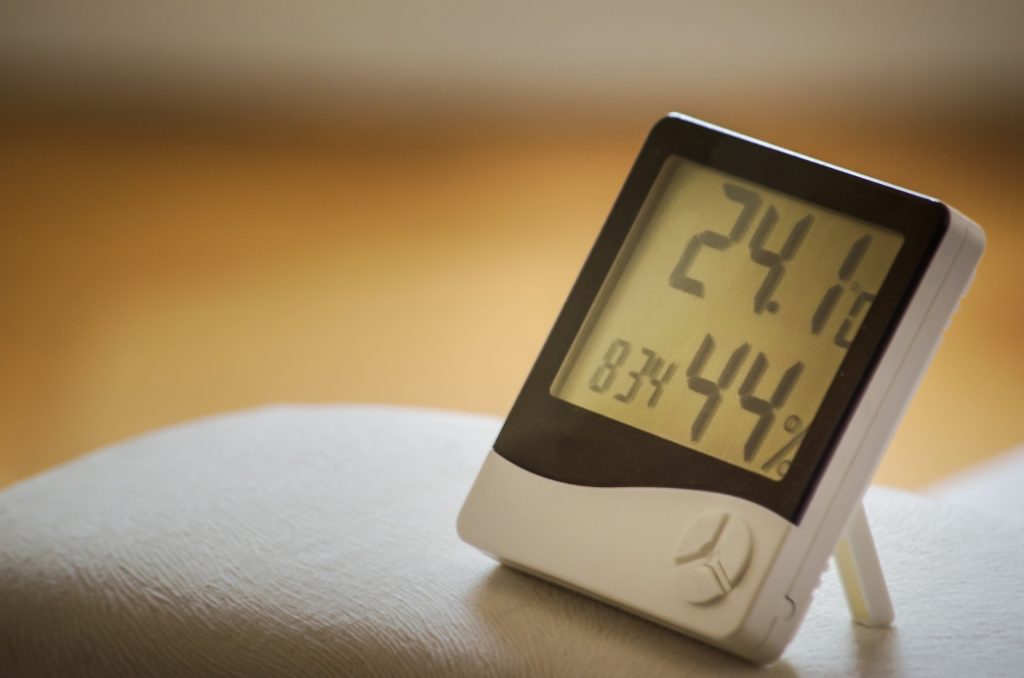
There are many ways in which the air of your home can affect your health. Among the most noticeable is when you experience the symptoms of allergies. Let’s take a look at the question of whether the air in your home is causing your allergies. Dry Heat and Sinuses With the end of the summer quickly approaching, many Arizona residents will soon be turning their heating systems on to combat the chilly nights common to our desert landscape. Because cold air doesn’t hold as much moisture as warmer air, it can become dry in the fall and winter months. You would think that the heat of your furnace or another heating system would increase moisture by heating the air, but the opposite is true—the heat decreases the humidity. Dry heat and sinuses are not a good combination, especially if you are prone to allergies. There are many dry air allergy symptoms that you’ve probably experienced in your home over the years unless you’ve taken precautions to achieve optimal humidity indoors. Either high or low home humidity can significantly affect your health. If the humidity is high, it lends to an increased amount of dust mites and mold growth. To keep these at a tolerable level, you’ll want to reduce the humidity in your home below 50%. However, you can also lower your indoor humidity level too much. When indoor humidity falls below 30%, the air around you will become dry. This low humidity will often cause your skin, nasal cavity, and throat to experience dryness. Can Dry Air Cause Allergy Symptoms? Yes. Even if you don’t have allergies, the symptoms you may develop in dry air mimic many of the symptoms you suffer from allergy sufferers. Dry air can dry your skin and throat. Eyes may become itchy. The dry air may cause a cough that persists, mimicking allergy symptoms. Additionally, those pesky dust mites, mold, and bacteria that may have formed in more moist air will dry out and enter the air around you. These evaporated pollutants can then be breathed in, harming your health and creating allergy symptoms. Can Dry Air Trigger Allergies? Dry air can trigger allergies by drying up your sinuses and nasal passages. This drying destroys the mucous lining that acts as a protective layer. The result may be that your allergies flare up more often due to how dry the breathable air within your home is. Humidifiers installed to combat dry air can be equally unhealthy without proper maintenance. Dirty reservoirs and filters are breeding grounds for bacteria and mold. Even people who don’t suffer from allergies may experience symptoms similar to allergies or the flu. In some cases, lung infections can result from the contaminated mist being released into the air by a dirty humidifier. Does Dry Air Make Allergies Worse? It can. There is a definite connection between dry heat and sinuses. If you combat allergy symptoms, dry air can make you feel even more uncomfortable by irritating sensitive passages. A dirty humidifier can put out a mist that is polluted by bacteria. Likewise, the growth of pollutants caused by excessive humidity can cause or exacerbate asthma and allergies. What Causes Dry Air? Dry air is usually caused by heating that pulls the moisture from the air. You can correct this problem by installing a quality humidifier and maintaining it properly. Humidifiers produce steam which helps introduce moisture back into the air. However, you’ll want to take care to maintain a humidifier properly. Periodically check to ensure your humidifier is correcting the humidity to the desired level and keep it tidy. An infrequently cleaned humidifier can be as bad for you as the effects of dry air. Contaminated humidifiers can be hotspots for mold or bacteria to form. There are five different kinds of humidifiers available. If you have allergies, you may want to consult your doctor before choosing which is best for you. Identifying Dry Air Problems You should always maintain a humidity level between 30% and 50%. Humidity lower than 30% is indicative of dry air. If you aren’t sure where your home falls on the scale, you should measure humidity in your house with a hygrometer from your local hardware or DIY store. Some humidifiers will have a humidistat, a built-in hygrometer that manages this for you. Suggestions for Maintaining a Clean Humidifier You should always follow the instructions from the manufacturer to keep your humidifier in optimal working order. These tips may also help:
How to Reset an Air Conditioner
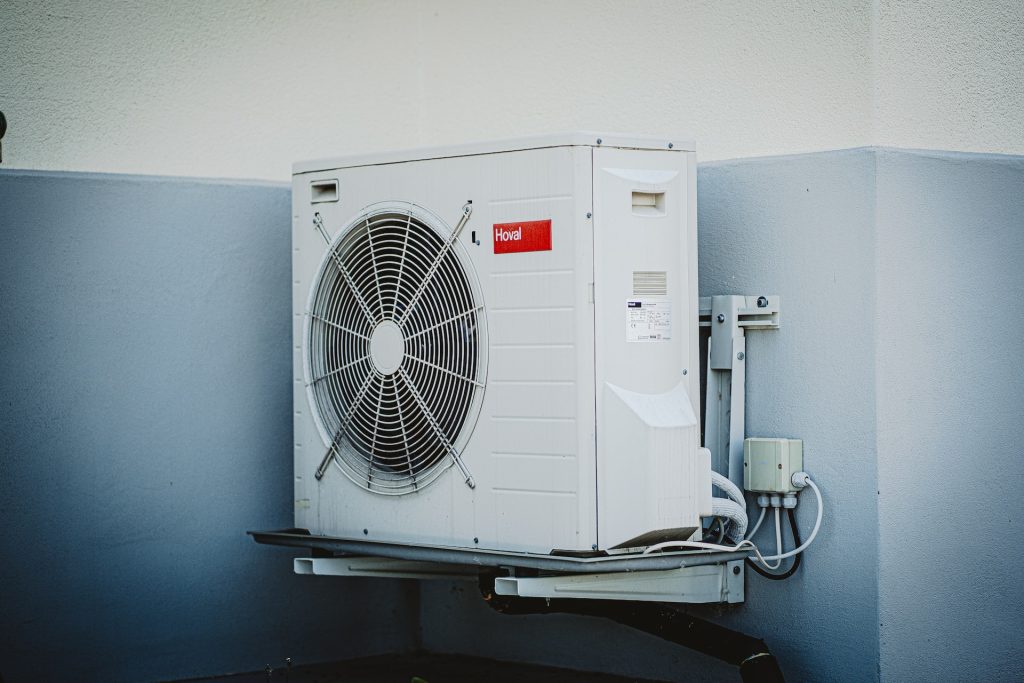
Air conditioners are a blessing on a hot Arizona summer day. Hopefully, you have had routine AC maintenance performed so that you are ready for the season. The last thing you need is for your cooling system to go out when you need it most. However, if you have an issue, you can always try a bit of AC troubleshooting to get it back to work, keeping you cool. A reset may be in order if your AC is not blowing cold air, AC is off but the fan keeps blowing, or has stopped working altogether. This simple process may be all it needs to return to correct operation. You will need a flashlight and a timer for this process. If you have a smartphone, you’ll find it might be a substitute for both. No other tools or expertise is needed to perform a reset. Why Your AC Needs Resetting It may be as simple as a power outage. If you have had to cut the power for some purpose or the weather has interrupted your power supply, in some types of air conditioners, the circuit breaker for the AC might have been tripped. This happens when fluctuations in the power flow threaten the system’s operations. The breaker will trip to protect your AC unit from harm. It is a safety mechanism meant to protect your system and home from damage in the event of a power surge but can sometimes kick in if underpowered. Another reason you might need a system reset might be that you’ve had an electronic issue with your thermostat. If you have set the thermostat to cool, it may not be transmitting this information properly to the rest of the system causing the so-known AC light blinking issue. This is especially true with digital thermostats that function as mini-computers. Just as you would sometimes call a computer repair service and be told to turn your device back off and back on, the same applies to your AC unit. In either instance, this kind of simple reset can correct the issue and save you a lot of time trying to figure out what the cause of the problem might be when your system just needs to be reset. Follow the directions in the next section to see if a reset might be the solution to your problem. How to Reset an AC If you have a window air conditioner, resetting it is relatively simple. Most ACs have a reset button located either near the power plug or within the control panel on the unit. Simply press this button for a few seconds to reset the unit. Once you have let go of the button, wait ten minutes for it to reset, and then turn it back on. If you cannot locate a reset button, simply unplug the unit, wait five minutes, and then turn it back on. In the event that the problem is not caused by some failure within the system but is merely a bit of confusion in the electronic components that send signals to the system, this should correct your problem. If this fails to do so, you will need to do a bit more investigation into the problem to determine the issue or contact an HVAC technician to take a look at the unit for you. The qualified professionals at AHWA can quickly diagnose the problem and recommend a solution for you. For central AC units, the process of resetting the system is a bit more complex. Unlike a window AC, the reset button for your central unit will be located on the AC unit outside, but there are a few more steps you’ll need to follow to reset the entire system properly. Just follow the instructions below to get your system back up and running in no time at all. Steps to Reset your AC Unit First, turn the AC unit’s thermostat to the “off” position. Once you have done this, you will find the reset button on the ac unit outside. Walk out to where the outside portion of your central unit is located and check the wall of your house near the condenser unit. There, you should find a power supply box with an “on/off” switch. Flip this switch to the “off” position. Next, return to your house and go to your circuit breaker box with your flashlight and timer in hand. Hopefully, you already know where the breaker box is located. If not, check the basement, utility closets or rooms, and the crawl space. In some cases, you might find it in other locations of your home, especially if it’s older. However, typically you will locate it in one of the locations listed. Depending on where your circuit breaker box is located, you may need your flashlight to see better, so have it on hand. Once you have found the box, find the breaker that controls the power to your AC unit. These are usually marked either on the breaker or on a chart inside the breaker box door. Flip the breaker to the “off” position and set your timer for 60 seconds. Once the timer has clicked off 60 seconds, reverse your steps. Switch the circuit breaker that controls the central unit back on and go outside to turn the power back on to your condenser. Next, return to your thermostat and set it back to cool at your desired temperature. Your AC should start up and begin cooling your home. If it does not, you will need to contact an HVAC technician to take a look at your system and determine the problem. Conclusion If the steps above did correct your system, but you find yourself having to repeatedly access the reset button on the ac unit outside, you may still have a more significant problem that needs to be addressed. Though resetting your AC is a simple fix, it is not something you should have to do very often. If you need help, AHWA