Heating Troubleshooting Tips for Phoenix Homeowners
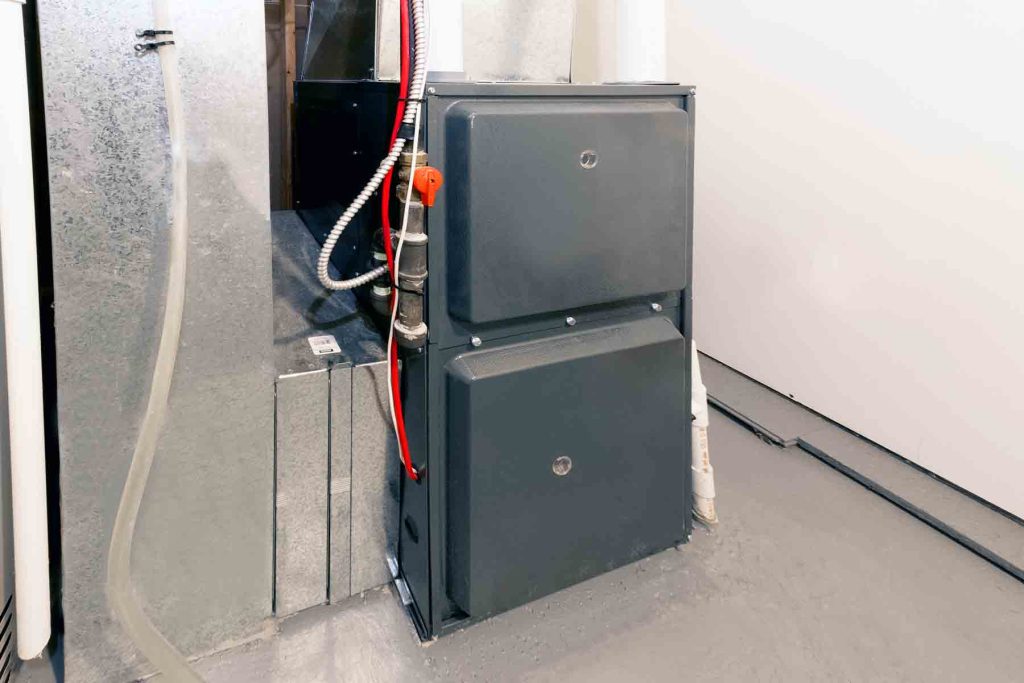
Why Heating Issues Still Matter in Phoenix It’s easy to assume Phoenix homes don’t need much heating. With long, hot summers, furnaces are often out of sight and out of mind. But when desert temperatures dip, even briefly, heating problems tend to appear quickly. That’s why understanding heating troubleshooting in Phoenix for homeowners remains important. Heating systems here often sit unused for months. During that time, dust accumulates, electrical components wear down, and minor issues go unnoticed. When the first cold front arrives, homeowners may experience thermostat issues, blower motor failures, or furnaces that won’t start. Spotting early warning signs can help prevent uncomfortable surprises and costly repairs. Some heating issues are simple, like a tripped breaker or an incorrect thermostat setting. Others involve more serious issues, such as wiring damage or ignition failure. Knowing when to check the basics and when to call a professional makes all the difference. Reviewing common causes of central heating malfunctions can help Phoenix homeowners understand what may be going wrong. Post-Summer Furnace Failures: The Phoenix Problem After months of extreme heat, furnaces often struggle when they’re finally turned back on. Desert conditions don’t just affect air conditioners—furnaces and heat pumps are affected as well. That’s why phoenix heating problems commonly appear with the first cool spell. When systems sit idle, parts like blower motors and capacitors can dry out or collect dust. Electrical connections may loosen due to temperature swings. Homeowners might hear clicking, rattling, or notice a furnace that attempts to start but never runs fully. These symptoms often match those described in cases of a furnace making noise. Another frequent issue is a blower motor that won’t engage, preventing warm air from circulating. In some cases, a simple reset—like the steps outlined for resetting a furnace blower motor—can help identify whether the issue is electrical or mechanical. If problems continue, a professional inspection is the safest next step. When the Furnace Blows Cold Few things are more frustrating than turning on your heater and feeling cool air instead. This happens more often in Phoenix than many homeowners expect, especially after long summers filled with dust. Understanding why furnaces blow cold air helps address common desert climate heating issues. Pilot light or ignition problems are often to blame. Dust buildup can block sensors or prevent proper ignition. In some cases, the pilot light simply needs to be relit using safe steps like those outlined in a furnace lighting guide. Thermostat settings are another common culprit. Forgetting to switch from cooling to heating mode can cause the fan to run without producing heat. Checking thermostat mode should always be one of the first troubleshooting steps. If basic checks don’t help, airflow restrictions or mechanical issues may be involved. Dirty filters or blocked vents can prevent warm air from circulating properly. More detailed explanations are covered in guides on why furnaces blow cold air. Faulty Thermostat Settings After Summer One of the most common heating troubleshooting Phoenix homeowners face is thermostat confusion after months of cooling. Forgetting to switch modes or update schedules can make it seem like the furnace isn’t working at all. Smart and programmable thermostats still need seasonal review. Checking settings and recalibrating sensors—especially after power interruptions or dust exposure—can quickly resolve many issues. Reviewing recommended thermostat settings can also help balance comfort during seasonal transitions. Hidden Damage from Leaks and Moisture Even in a dry climate, moisture can create problems when systems sit idle. Monsoon humidity may lead to condensation inside furnace cabinets or ductwork, eventually causing rust or corrosion—key contributors to phoenix heating problems. Water pooling near a furnace often points to clogged drain lines or failing components. Understanding common causes of furnace leaks can help homeowners spot issues early, before they lead to electrical damage. Air Quality and Filter Issues Phoenix’s desert dust quickly clogs HVAC filters, especially after months of cooling. Restricted airflow can strain blower motors and reduce heating efficiency—two common desert climate heating issues. Knowing how often to change HVAC filters helps maintain airflow, improve comfort, and reduce wear on heating components. Homes with pets or allergy concerns may benefit from additional filtration or purification. Heat Pumps and Desert Performance Heat pumps are popular in Phoenix, but extreme desert conditions can affect how they perform. During cool nights, auxiliary heat may activate more often than expected, which can surprise homeowners unfamiliar with this behavior. Understanding how heat pumps compare to traditional furnaces helps homeowners manage expectations and energy use. Frequent auxiliary heat use may signal the need for system adjustments or insulation improvements. Year-Round Heating Planning in Phoenix Phoenix homes face unique challenges from dust, extreme heat, and seasonal inactivity. Even when heating isn’t in use, components can still wear down over time. Regular maintenance—such as filter changes, thermostat checks, and early inspections—helps prevent unexpected breakdowns. Because no two homes are the same, professional guidance ensures your system is maintained correctly for your layout and usage. Staying proactive means fewer emergency repairs and more reliable comfort when temperatures drop. Key Takeaways for Phoenix Homeowners Heating troubleshooting in Phoenix isn’t just a winter task—it’s part of year-round home care. Paying attention to early signs such as unusual noises, reduced airflow, or cold air can help you avoid bigger problems later. Even though Arizona’s cold season is short, preparation makes all the difference. If you’re unsure whether your system needs service, a tune-up, or an upgrade, professional insight can help you decide. Don’t wait for a cold morning to find out your heater isn’t ready. Schedule your heating tune-up and keep your home comfortable through every season. Schedule your heating tune-up
Heating Troubleshooting Tips for Phoenix Homeowners
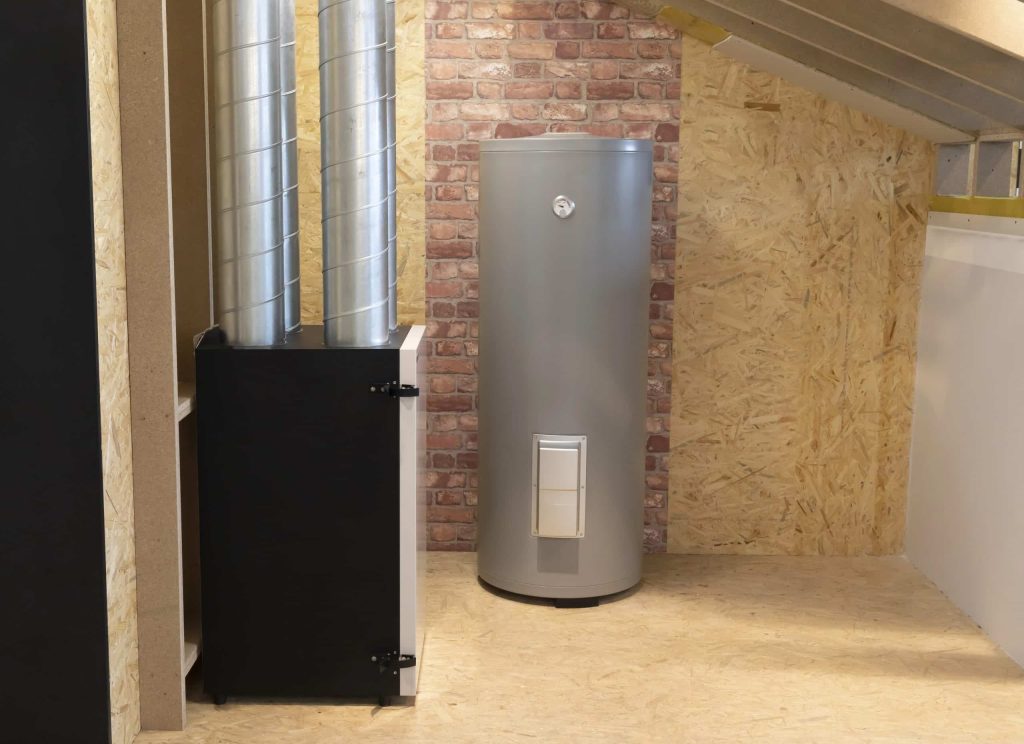
Why Heating Still Matters in the Desert Many people assume heating systems aren’t crucial in Phoenix because of the long, hot summers. But anyone who’s been through a chilly desert night knows temperatures can drop quickly after sunset. Even in a warm climate, heating systems still matter for year-round comfort. When winter arrives, a neglected system can leave you shivering and scrambling for help. That’s why understanding heating troubleshooting in Phoenix is so helpful—it lets you prepare before the cold air sneaks in. In desert climates, heating systems often sit unused for months. During that downtime, dust and debris collect, wires can loosen, and filters clog. When you finally turn the system on, it might not start properly or may blow weak or uneven air. A little routine maintenance and a quick checkup can prevent these headaches and help your system run smoothly when you need it. Ignoring your heating system affects more than comfort—it can raise energy bills and repair costs. A furnace that struggles to start or runs inefficiently wastes energy and wears out faster. Paying attention to early warning signs like weak airflow or odd smells lets you catch problems before they turn into expensive fixes. This article covers common Phoenix heating problems, simple troubleshooting steps, and expert tips to keep your system in good shape all year. Strange Noises: When Your Furnace is Talking Back If your furnace starts making odd sounds, it’s usually trying to tell you something. A soft hum is normal, but loud banging, screeching, or rattling often signals trouble. These noises can come from loose parts, worn belts, or a failing blower motor. Ignoring them can lead to bigger issues, so if you hear persistent noises, it’s smart to schedule an inspection. Many Phoenix homeowners complain that the furnace is making noise every time it turns on. Dust and sand from the desert often work their way into the system, throwing moving parts off balance and causing friction in the motor. Over time, that extra strain can wear components down faster than expected. Keeping vents clean and replacing filters regularly helps cut down on those problems. Sometimes, strange noises point to more serious issues like a cracked heat exchanger. This part is critical for safely heating your home. When it cracks, performance drops and safety risks can rise. Learning to recognize cracked heat exchanger symptoms helps you act quickly. Regular maintenance lets technicians spot these warning signs early and recommend repair or replacement before things get worse. Furnace Blowing Cold Air: Summer Confusion It’s frustrating when your furnace blows cold air instead of warm—especially during Phoenix’s mild winters or on a cool summer night. Many people think it’s an AC issue, but often it’s actually a heating problem. Common causes include incorrect thermostat settings, dirty filters, or ignition issues. Knowing these basics helps you handle minor Phoenix heating problems before they turn into major repairs. Before calling for service, check your thermostat. If it’s set to “cool” or “fan only,” the system will push unheated air through the vents. If the settings look right but the air is still cold, the blower motor or ignition system may be the culprit. In that case, you might try a safe reset using manufacturer instructions or a guide on how to reset a furnace blower motor. Sometimes a simple reset clears minor electrical glitches. Filters also make a big difference. A clogged filter restricts airflow, forces the system to work harder, and can even cause it to overheat and shut off. Replacing filters every few months keeps air moving and helps protect the equipment. If these quick checks don’t solve the problem, it’s best to call a local technician who understands desert-climate issues and can ensure everything’s working properly before colder nights arrive. Interesting Facts About Heating Troubleshooting in Phoenix Even in the desert, Phoenix heating systems need attention year-round. Many heaters fail on cool nights due to untended system issues that develop during months of disuse. Strange noises like banging or screeching can signal a loose blower motor or cracked heat exchanger. Dust from desert winds adds extra strain, making routine noise checks a smart habit. If your furnace blows cold air in summer, it might not be an AC problem. Incorrect thermostat settings, dirty filters, or a simple blower motor reset are often to blame. Pilot lights in dry climates often go out because dust interferes with sensors. Knowing how to safely relight them with a pilot light guide can prevent unnecessary service calls. Even in low humidity, furnaces can leak from clogged condensate lines. Regular checks help catch issues tied to common furnace leak causes. Dust and big temperature swings cause unique wear on heating units. Adding systems like HVAC zoning or air scrubbers can ease strain and improve comfort. Good insulation boosts heating efficiency. Many Phoenix homeowners benefit from better attic insulation to keep warmth in during winter and reduce cooling demand in summer. Pilot Light and Ignition Issues in Dry Climates Many people troubleshooting heating in Phoenix run into ignition problems linked to dry, dusty conditions. Fine dust coats key components like flame sensors and burners, interrupting the ignition process. When that happens, the furnace may click repeatedly without lighting or the pilot may go out soon after it starts. This often points to buildup or misalignment that keeps the flame from being detected correctly. Relighting a pilot light should always be done carefully. Following a clear, step-by-step guide—like this furnace lighting guide—helps you do it safely. If the pilot keeps going out, there may be a deeper issue with the thermocouple or gas supply. In Phoenix, dust and dryness can cause corrosion or loose fittings over time, so it’s worth having a pro take a look. When a furnace clicks but doesn’t turn on, as described in common ignition failure scenarios, calling a professional is usually the safest move. A technician can clean the ignition assembly, check gas flow, and make sure electrical connections are sound so the
Understanding Noisy Water Heaters: Causes and Solutions
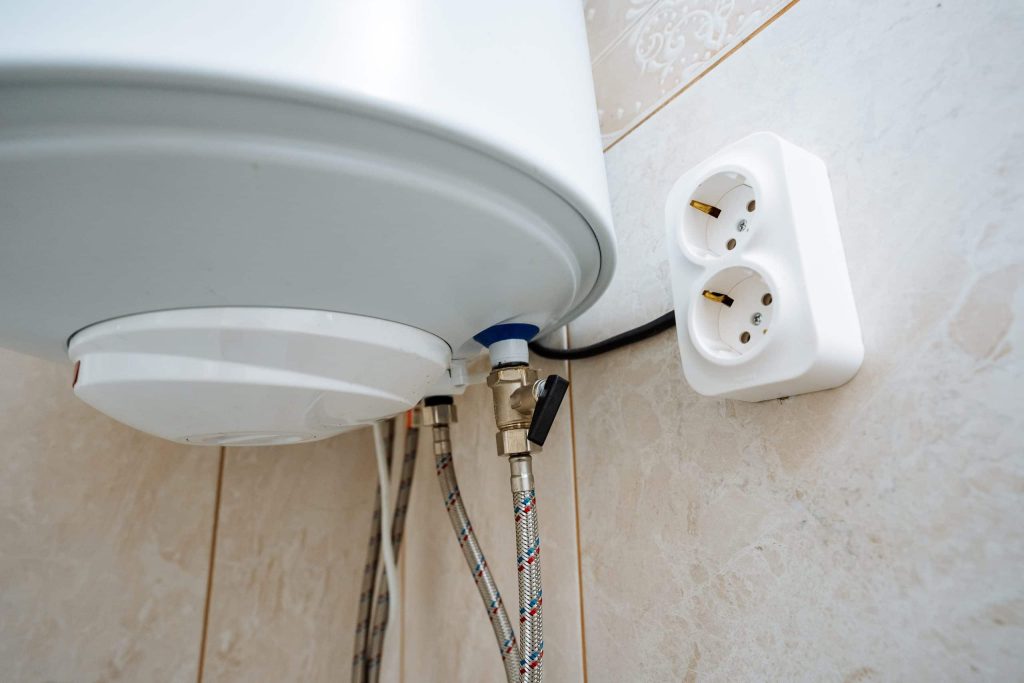
Key Takeaway A hot water heater making a hissing noise often indicates steam escaping from pressure imbalances, frequently tied to sediment near the heating element. Regular checks of the temperature-pressure relief valve help prevent pressure-related sounds and protect the tank. Addressing hissing promptly maintains efficiency and safety. A hot water heater making hissing noise is more than a nuisance—it’s a maintenance signal. Popping, banging, and hissing usually trace back to mineral buildup, thermal expansion, or trapped air. Left alone, these issues chip away at efficiency and shorten service life. Daily demand adds up: showers, dishes, laundry, and cleaning. Minerals in hard water settle, fittings loosen, and valves age. Small sounds are often the first alert that the system needs attention. With a few practical steps—and an occasional professional check—most noisy behavior is preventable and fixable. Understanding expected service life also helps set priorities. Many homeowners look at how long water heaters last to plan maintenance and upgrades before noise becomes chronic. Below are the most common sounds, what they signal, and how to address them early. The Pop and Crackle: Understanding Popping Sounds Popping or crackling almost always points to sediment on the tank floor. As water heats, bubbles try to escape through that mineral layer, snapping and crackling on the way up. Hard-water regions see this sooner and more intensely. Flushing the tank clears the sediment layer and restores heat transfer. Temperature settings play a role, too—overheating accelerates mineral drop-out. A quick pass through water heater settings is often enough to settle day-to-day operation, while broader habits from water heating can trim energy use across the board. Banging Alerts: Troubleshooting Banging Noises Banging or knocking commonly comes from expanding pipes rubbing studs or hangers, or from movement at loose straps and fittings. Thermal expansion inside the tank can add to the commotion if the expansion tank is undersized or the relief path isn’t working cleanly. Tightening straps, isolating pipe contact, and verifying expansion capacity usually calm the system. If you also notice moisture at fittings or the base of the heater, walk through water heater leak troubleshooting and schedule a quick inspection to rule out wear at valves and unions. Interesting Facts About Noisy Water Heaters Noise is a useful diagnostic. These quick notes connect common sounds to maintenance wins: A hot water heater making hissing noise often points to steam escaping around mineral deposits; the temperature-pressure relief valve should open smoothly when needed. Popping is a sediment story—flushing and calibrated water heater settings usually quiet it. Hard water accelerates buildup; a water softener system slows the cycle and extends maintenance intervals. Banging can be pipe expansion or movement at loose supports; persistent banging after basic fixes deserves a closer look for leaks and pressure issues. Consistent upkeep supports the full service window; guidance in how long water heaters last lines up maintenance with age and usage. When problems stack up, trusted HVAC contractors in Phoenix can isolate root causes and restore quiet operation. Hissing Mysteries: Decoding Hissing Sounds Hissing is usually steam meeting cool surfaces or squeezing through mineral deposits near the heating element. It can also accompany relief events when pressure climbs. The temperature-pressure relief valve is designed to protect the system by venting safely; mineral film or corrosion interferes with that job. Regular testing and periodic replacement of worn components keep the safety path open. A quick seasonal check is often enough to confirm that the valve moves freely and reseats correctly. Broad plumbing habits matter, too—routine checks outlined in plumbing maintenance catch sticky valves, tired anode rods, and weak unions before they turn into noise and inefficiency. Sediment Solution: Preventive Maintenance Strategies Flushing once or twice a year clears the sediment layer, stabilizes temperatures, and cuts run time. In hard-water households, a pre-summer and pre-winter cadence works well; lighter-use homes can often stick to annual service. Upstream conditioning reduces the rate of buildup. A water softener system lowers calcium and magnesium, which means fewer minerals to settle in the tank and fewer noise triggers between flushes. Clean tanks heat evenly. Over a season, that shows up as steadier shower temps, fewer pops at start-up, and lower utility drift. Most owners see the quiet first—and the bill later. Professional Diagnosis: When to Call in the Experts If popping, banging, or hissing returns soon after a flush—or if you see damp fittings—bring in a technician. Heating elements, thermostats, and aging anode rods all contribute to noise when they’re past their prime. Pros verify pressure, flush thoroughly, and confirm that safety devices operate as designed. They can also compare tank and tankless options if age and repair history suggest it’s time for a change. A quick conversation with trusted HVAC contractors helps match capacity to household demand and space. Noisy Water Heater FAQs Why does my water heater make popping noises? Popping points to sediment trapping bubbles at the tank floor. Flushing restores heat transfer and quiets start-up. In hard-water regions like Arizona, pairing routine service with a water softener slows the buildup that causes repeat noise. Can a hissing noise indicate a serious issue? Hissing is often steam meeting cool surfaces or venting through deposits. Persistent hissing, moisture near the valve, or visible discharge deserves an immediate check. Routine plumbing maintenance keeps the temperature-pressure relief path clear and reliable. How often should I flush my water heater? Once or twice per year is typical. Heavy demand or very hard water may justify a six-month interval. A water softener reduces mineral load and often extends the time between flushes. Should I upgrade to a more efficient model? Frequent noise, rising bills, or age over 10 years are common upgrade triggers. Comparing options in tankless water heater vs tank helps match hot-water demand, space, and budget. Is some water heater noise normal? A low hum can be normal. Loud popping, sharp banging, whistling, or ongoing hissing usually means maintenance is due. If noise persists after a flush and strap adjustment, book a diagnostic with trusted HVAC contractors. Keeping
Adjusting Pressure Reducing Valves: A Homeowner’s Guide
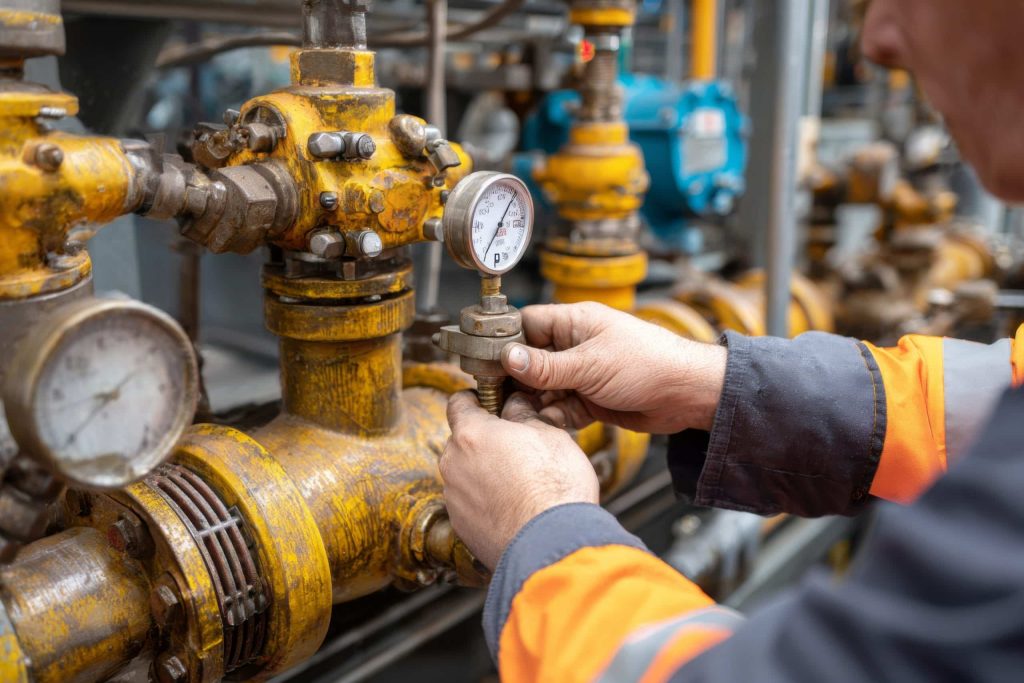
Key Takeaway: Adjusting a pressure reducing valve (PRV) is essential for maintaining optimal water pressure in your home’s plumbing system, which helps prevent damage and enhances appliance efficiency. By reducing excessive water pressure, you can avoid costly repairs related to pipe bursts and leaks. It’s crucial to follow a step-by-step adjustment process or consult a professional for guidance to ensure safety and effectiveness. Managing water pressure in your home is vital for maintaining a comfortable and efficient living environment. A well-functioning plumbing system can greatly improve daily activities like showering and washing dishes. One key component in achieving the right balance is the pressure-reducing valve adjustment. This process ensures that your water pressure remains at an optimal level, preventing potential damage to your plumbing system and appliances. A pressure-reducing valve (PRV) plays an essential role in maintaining appropriate water pressure levels throughout your home. By automatically adjusting the pressure, it helps protect your pipes and appliances from the strain of high water pressure. This not only extends the life of your plumbing system but also enhances the overall efficiency of water usage in your household. This guide will walk you through understanding PRVs, recognizing when adjustments are needed, and safely performing a pressure-reducing valve adjustment. By following these steps, you can ensure that your home’s water pressure remains balanced, avoiding costly repairs and enhancing your daily comfort. Remember, it’s always a great idea to consult a professional for added guidance so that you can make the best decision for your home. Understanding Pressure Reducing Valves A pressure-reducing valve is a device installed in your home’s plumbing system to regulate water pressure. It works by reducing the incoming water pressure from the main supply line to a level that is safe and functional for your home. This prevents excessive force on pipes and appliances, which can lead to wear and tear over time. Controlling water pressure is critical for preventing plumbing issues such as pipe bursts. High water pressure can cause pipes to burst, leading to significant water damage and costly repairs. To understand more about how excessive water pressure can lead to such problems, you can explore the detailed explanations on what causes pipes to burst. Having optimal water pressure offers numerous benefits for everyday activities. Whether you’re showering, washing dishes, or doing laundry, the right water pressure ensures that these tasks are performed efficiently and comfortably. It also helps in reducing energy consumption, as appliances like dishwashers and washing machines operate more effectively with balanced water pressure. Signs You Need to Adjust Your PRV Recognizing when to adjust your PRV can save you from unnecessary expenses and discomfort. Common indicators include fluctuating water pressure, which might manifest as inconsistent shower temperatures or varying flow rates from faucets. Additionally, if you notice an unexplained increase in your water bill, it could be due to excessive water pressure causing leaks or inefficiencies. For more information on how water pressure can affect utility costs, consider reviewing data on the average water bill in Phoenix. Scenarios illustrating these signs often involve sudden changes in water flow or noise from pipes due to high pressure. You might also experience dripping faucets or running toilets, which are often symptoms of excessive pressure. These issues not only waste water but can also lead to more severe plumbing problems if left unaddressed. Addressing these signs promptly by adjusting your PRV can prevent further complications. Ensuring that your PRV is set correctly helps maintain a stable and efficient plumbing system, ultimately saving you money and enhancing the comfort of your home. If you’re uncertain about making adjustments yourself, consulting a professional can provide peace of mind and ensure that your system operates smoothly. Important Facts About Pressure Reducing Valve Adjustment Managing water pressure effectively in homes can prevent costly plumbing issues. A pressure-reducing valve adjustment ensures optimal pressure, reducing the risk of pipe bursts. Pressure reducing valves (PRVs) play a vital role in maintaining balanced water pressure throughout your home, enhancing everyday activities like showering and dishwashing. Signs that your PRV might need adjustment include fluctuating water pressure and unexpectedly high water bills, which can be compared to the average water bill in Phoenix. Before adjusting your PRV, gather essential tools like a wrench and pressure gauge, and consider consulting a professional for guidance if you’re unsure. Incorrect PRV adjustments can lead to leaks. Understanding potential leak outcomes helps avoid damage. Professional assistance might be necessary for persistent pressure issues, as regular plumbing inspections can identify underlying problems. Preparation Steps Before Adjustment Before diving into a pressure-reducing valve adjustment, it’s essential to prepare adequately. Start by gathering the necessary tools, such as a wrench and a pressure gauge. These tools will help you measure and adjust the water pressure accurately. Safety should always be a priority, so ensure you wear protective gloves and goggles to prevent any accidental injuries. Additionally, familiarize yourself with the location of the main water shut-off valve in your home. This knowledge is crucial in case you need to quickly stop the water flow during the adjustment process. If you’re unsure about any part of the procedure, it’s always a great idea to consult a professional for added guidance so that you can make the best decision for your home. Taking these preparation steps seriously can make the adjustment process smoother and more efficient. It also minimizes the risk of causing any unintended damage to your plumbing system, ensuring that your home maintains optimal water pressure. Step-by-Step Guide to PRV Adjustment Adjusting a pressure-reducing valve can be straightforward if done carefully. Begin by turning off the main water supply to prevent any water flow during the adjustment. Next, use a wrench to loosen the locknut on the PRV. This step allows you to access the adjustment screw. To reduce water pressure, turn the adjustment screw clockwise. Conversely, turning it counterclockwise will increase the pressure. It’s important to make small adjustments and test the pressure with a gauge after each turn to ensure you
Troubleshooting Tips for When Your Faucet Runs Dry
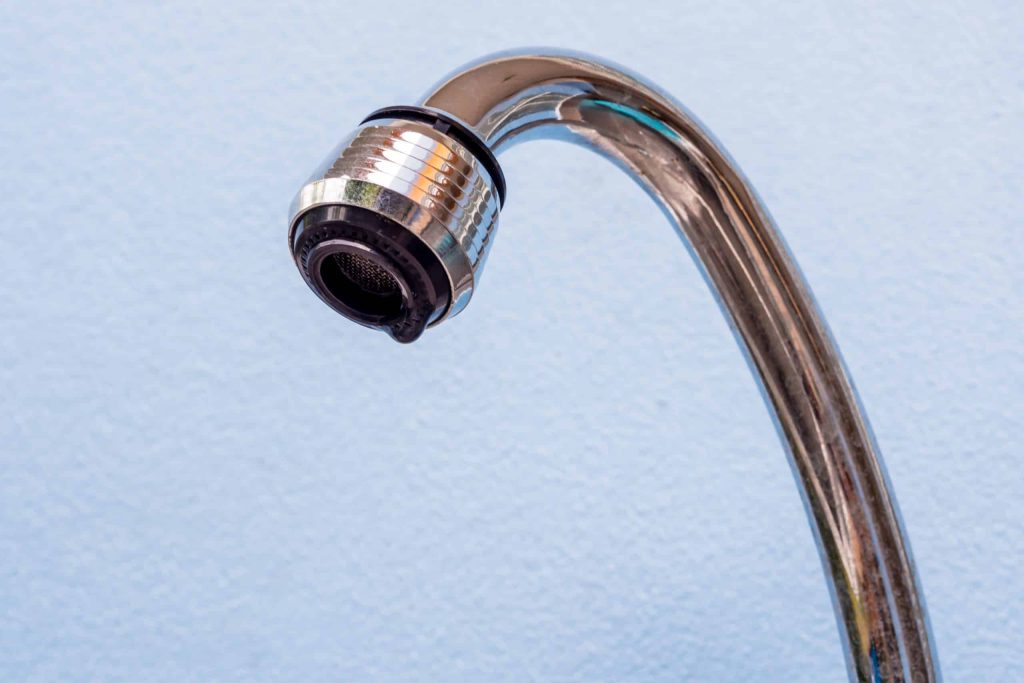
Key Takeaway: Water not coming out of a faucet often indicates issues within the plumbing system, such as blockages or leaks, or problems with the main water supply. Checking for blockages, ensuring the main water supply is stable, and inspecting the faucet components can help identify the root cause. If these steps do not resolve the issue, consulting a professional plumber may be necessary to address more complex problems. Troubleshooting Tips for When Your Faucet Runs Dry Imagine turning on your faucet, expecting a steady stream of water, only to be met with an unexpected silence. This frustrating scenario of water not coming out of the faucet can disrupt your daily routine and leave you scrambling for answers. Whether you’re preparing a meal, washing your hands, or simply quenching your thirst, the absence of water can be a significant inconvenience. Many homeowners face this issue at some point, and while it can be alarming, it’s often due to common and fixable problems. Understanding why there might be no water in the faucet can help you address the issue more effectively. In this article, we’ll explore potential reasons behind this problem and offer practical solutions to get your water flowing again. From plumbing system checks to evaluating your water supply, we’ll guide you through each step to help restore normalcy to your home. By identifying the root cause of why the faucet stopped working, you can take informed actions to resolve the problem. Whether it’s a simple fix or requires professional intervention, knowing what to look for can save you time and stress. Let’s dive into understanding the common causes and practical solutions for when no water comes out of your faucet. Identifying the Problem with Your Plumbing System When faced with no water coming out of the faucet, one of the first areas to investigate is your plumbing system. Blockages or leaks within the system can significantly impact water flow. If you notice low water pressure or hear unusual noises like gurgling or banging, these could be signs of underlying plumbing issues. Blockages often occur due to sediment buildup or foreign objects lodged in the pipes. Over time, minerals and debris can accumulate, obstructing the flow of water. Leaks, on the other hand, may result from worn-out seals or damaged pipes. Both scenarios can lead to a situation where there is no water in the faucet, disrupting your daily activities. Regular plumbing maintenance can help prevent these issues from escalating. If you’re unsure whether your plumbing system needs attention, consider checking for signs that you need plumbing maintenance. Identifying potential problems early can save you from more significant headaches down the road. If you’re experiencing persistent issues, consulting a professional plumber for tailored advice ensures that you have all the information you need to make a decision that is right for your specific needs. Checking the Water Supply If your faucet suddenly stops working, it might not be a plumbing issue at all. Sometimes, the main water supply to your home may be interrupted due to maintenance work or local outages. Checking with neighbors can provide clues if they are experiencing similar issues, indicating a broader supply problem. Municipal work or maintenance on water lines can temporarily cut off your water supply without prior notice. In such cases, contacting your local water utility company can provide information on any ongoing work in your area. Understanding where Arizona gets its water from can also offer insights into potential supply issues specific to your region. Before jumping to conclusions about faulty plumbing, always verify if there is a disruption in the main water supply. This simple check can save you time and effort in troubleshooting non-existent plumbing problems. If the issue persists after confirming that there is no municipal work affecting your area, it may be time to explore other possible causes within your home. Solving the Mystery: What to Do When No Water Comes Out of Your Faucet Water not coming out of a faucet can disrupt daily routines, indicating issues in the plumbing system or the main water supply. Plumbing maintenance can help identify these problems. Blockages or leaks often cause a lack of water flow. Low water pressure or strange noises could point to these issues. Using a plumbing enzyme cleaner may dissolve blockages. Checking the main water supply is crucial as maintenance work or local outages can interrupt water flow. Learn more about water sources by considering where Arizona gets its water. Clogged pipes often result from sediment buildup, stopping water flow. Routine inspections and cleaning can prevent future blockages. Faucet-specific problems like faulty valves or aerators can also cause issues. Understanding the basics of how house plumbing systems work can aid in troubleshooting. Sometimes, home appliances linked to water supply, such as water heaters, can affect water flow. Regular checks on appliances like water heaters ensure they operate correctly. Addressing Clogged Pipes Clogged pipes can significantly impact water flow, leading to scenarios where there is no water in the faucet. Sediment buildup is a common culprit, as minerals and debris accumulate over time, narrowing the pipe’s diameter and obstructing water passage. This can cause the faucet to stop working entirely, leaving homeowners puzzled and inconvenienced. To tackle this issue, consider using a plumbing enzyme cleaner. These cleaners use natural enzymes to break down organic material within pipes, effectively dissolving blockages. Regular use can help maintain clear pipes, ensuring smooth water flow and reducing the risk of clogs. However, if the problem persists despite these efforts, it may indicate a more severe blockage or a different underlying issue. In such cases, consulting a professional plumber can provide the necessary expertise to diagnose and resolve the problem efficiently. Evaluating Faucet Issues When water not coming out of the faucet becomes an issue, the faucet itself might be the source of the problem. Common issues include faulty valves or clogged aerators, which can impede water flow. These components can wear out or become blocked with mineral deposits over time.
Understanding the Causes and Solutions for Water Heater Hissing Sounds
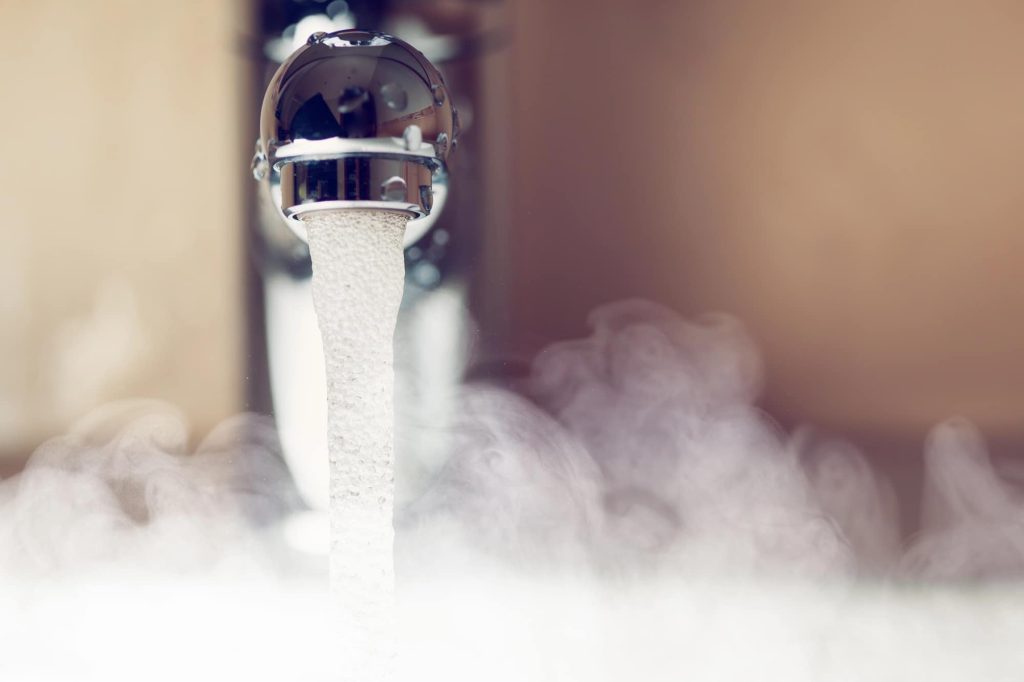
Unexpected noises from household appliances can be unsettling, especially when it comes from your water heater. A water heater hissing sound can catch many homeowners off guard, leaving them wondering about the cause. While some noises are harmless, others might indicate underlying issues that need attention. Understanding these sounds helps maintain the efficiency and longevity of your water heating system. Water heaters are essential for comfort, providing hot water for showers, cleaning, and cooking. However, when a hot water heater hissing noise occurs, it can raise concerns about potential repairs and costs. It’s important to know when a noise is just a part of normal operation or a sign that something needs fixing. By learning about these sounds, you can avoid unnecessary expenses and ensure your appliance runs smoothly. In this article, we will explore the common causes of water heater noise, particularly the hissing sound. We’ll discuss when these noises become a cause for concern and when it’s time to call in an expert. Understanding these factors not only helps in maintaining your water heater but also in managing costs effectively. For instance, knowing the average yearly cost of water heater maintenance in Arizona can help you budget for regular upkeep and avoid unexpected expenses. Common Causes of Water Heater Hissing A water heater making a hissing sound can be due to several reasons. One common cause is sediment build-up inside the tank. Over time, minerals in the water can settle at the bottom of the tank, creating a layer that makes the heater work harder to heat the water. This can lead to overheating and a hissing noise as the water bubbles through the sediment layer. Another reason for a water heater hissing sound could be issues with the pressure relief valve. This valve is designed to release excess pressure from the tank, preventing dangerous pressure build-ups. If it malfunctions or becomes clogged, it can lead to hissing as steam or air escapes through the valve. Regular maintenance can help prevent these issues by ensuring all components function correctly. Condensation can also lead to hissing noises, particularly in newer installations or during temperature fluctuations. When cold water enters a hot tank, condensation forms on the outside, which may create a hissing sound as it evaporates. Regular checks and maintenance can help manage these common issues and extend the lifespan of your appliance. To understand more about how long water heaters last and what affects their lifespan, you might find it helpful to learn what to expect from your water heater’s lifespan. The Role of Pressure Relief Valves Pressure relief valves play a crucial role in maintaining the safety and functionality of your water heater. These valves are designed to release excess pressure from the tank, preventing potential hazards like explosions. When functioning correctly, they ensure that your water heater operates safely and efficiently. A malfunctioning pressure relief valve can lead to a hissing sound as steam or air escapes from the tank. This noise indicates that the valve is releasing pressure to prevent damage. However, if this sound becomes frequent or continuous, it could signal that the valve is not working properly and needs attention. If pressure issues remain unresolved, they could lead to more significant problems within your home’s plumbing system. Leaks or other malfunctions may arise, affecting not just your water heater but other appliances as well. For example, if you experience leaks elsewhere in your home, it might be worth exploring common culprits of leaks to understand broader implications and necessary actions. Intriguing Facts About Water Heater Hissing Sounds – A water heater may hiss due to sediment build-up. This can affect its lifespan and efficiency. Learn more about water heater longevity. – Pressure relief valves help prevent excessive pressure. A malfunctioning valve can cause hissing. If unresolved, it may lead to larger issues, similar to those found in furnace leaks. – Condensation inside the tank often creates hissing sounds, especially in areas with high humidity. This can be more common in places with varying water hardness. – Regular maintenance, including sediment removal, can help prevent hissing noises. Adjusting settings for optimal performance is crucial, as detailed in efficiency tips. – Professional inspection may be necessary when hissing persists. Experts can offer solutions tailored to specific needs, highlighting why there is no one-size-fits-all remedy in plumbing maintenance. – Homeowners can adopt simple tips to maintain their water heaters and avoid hissing sounds. Regular checks and timely interventions can keep your system running smoothly, as advised in maintenance guides. Condensation Within the Tank Condensation within a water heater tank can sometimes lead to a hissing noise, particularly in newer installations. This occurs when cold water enters the tank and meets the hot surfaces, causing condensation. The resulting water droplets can create a hissing sound as they evaporate. Temperature fluctuations and high humidity levels often exacerbate this issue, making it more noticeable in certain climates. In areas with high humidity or significant temperature changes, such as Phoenix, this phenomenon might be more prevalent. The water hardness in Phoenix can also contribute to the condensation process, as mineral deposits may affect how efficiently the water heater operates. Understanding these geographical factors can help homeowners better manage and anticipate potential hissing noises. While condensation is generally harmless, it is essential to monitor the situation to ensure it does not indicate a more severe problem. Regular maintenance and inspections can help identify whether the hissing is due to condensation or if there are other underlying issues that need attention. Importance of Professional Inspection Professional inspection becomes imperative when dealing with persistent water heater noise, including hissing sounds. Experts possess the knowledge and tools necessary to accurately diagnose any issues and ensure the safe operation of your water heater. Their expertise can pinpoint whether the noise stems from simple condensation or a more complex problem that requires immediate attention. Professionals can offer tailored solutions based on specific household needs, ensuring that your water heater functions optimally. Since there is no
Hydro Jetting Explained: What It Is, How It Works, and When You Really Need It
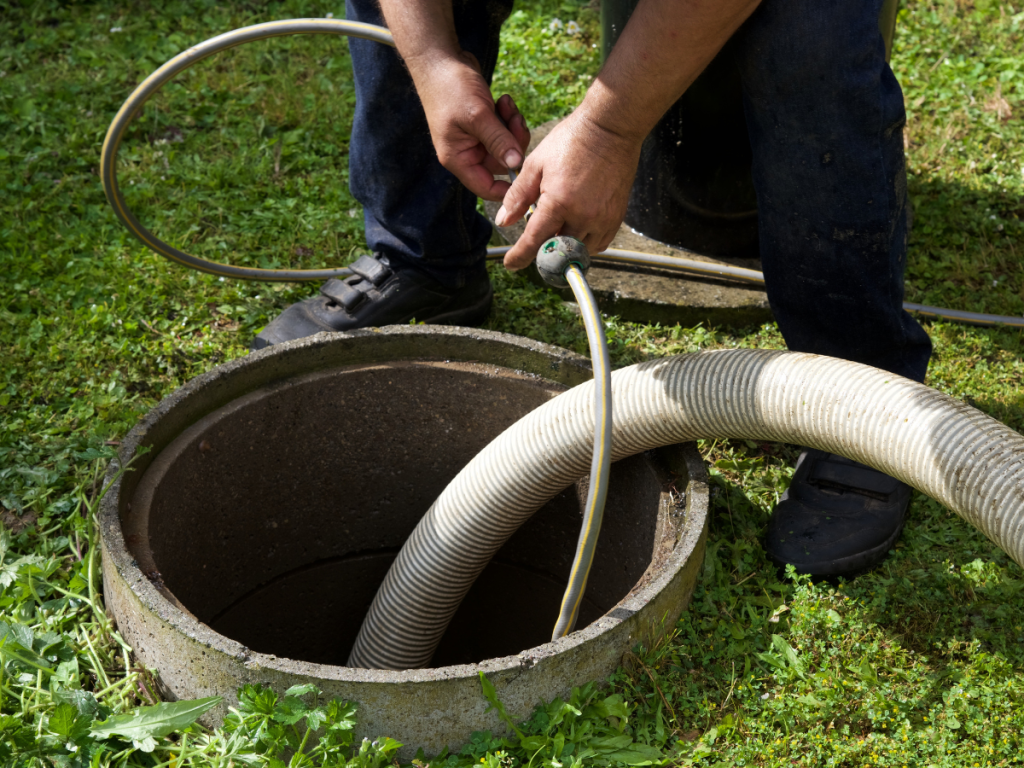
If you’ve ever struggled with a drain that won’t stay clear or a sewer line that keeps backing up, you know how frustrating stubborn plumbing problems can be. In Arizona’s busy households and businesses, these issues are more common than you might think. That’s where understanding what hydro jetting is and how it works can make all the difference. This powerful plumbing solution clears tough blockages that traditional methods can’t handle. Let’s take a closer look at what hydro jetting means, how it works, and when it’s truly the best option for keeping your pipes healthy and clog-free. What Is Hydro Jetting? If you’ve ever dealt with a kitchen sink clog that wouldn’t budge, you’ve probably wondered if there’s a more effective way to unclog it than a plunger or drain snake. That’s where hydro jetting services come in. Hydro jetting is a professional drain cleaning method that uses pressurized water—often up to 4,000 PSI—to thoroughly clean the inside of pipes. It’s a safe, efficient, and eco-friendly solution to eliminate grease, sludge, roots, and debris that are causing clogged drains or slow drainage. So when people ask, “What is hydro jetting?”—the simple answer is: It’s a powerful plumbing solution that blasts away buildup and restores clean pipes to near-new condition. How Does Hydro Jetting Work? Hydro jetting might sound high-tech, but the process is pretty straightforward (when done by a professional plumber). Here’s how it works: Before starting the process, a licensed plumber will use a camera to inspect your pipes. This allows them to locate the blockage, determine its cause, and ensure your plumbing is in good condition to handle high-pressure water jetting. A flexible hose equipped with a nozzle that sprays in multiple directions is then inserted into the pipe. Once the system is powered on, high-pressure water shoots forward to break through clogs and backward to scrub the pipe walls, flushing debris out of the system. Unlike snaking, which cuts a narrow path through a clog, hydro jetting washes the entire interior of the pipe. It clears away years of accumulated grease, hair, soap residue, and even intrusive tree roots. One of the main benefits of hydro jetting is that it thoroughly cleans and removes debris that could lead to future clogs, helping you avoid repeat service calls. It’s also considered a cost-effective drain cleaning option for homeowners dealing with frequent backups or tough blockages. Think of it like pressure-washing the inside of your plumbing system. It’s a safe, eco-friendly process too, since it relies solely on water — no harsh chemicals required. What Types of Blockages Can Hydro Jetting Remove? Hydro jetting is incredibly effective at clearing: It’s commonly used in both residential plumbing and commercial systems—and especially useful for restaurants or older homes with frequent drain issues. This deep, pressurized cleaning is something snaking simply can’t achieve — a snake might punch a hole through a clog, but it often leaves debris behind that soon causes another blockage. Hydro jetting, on the other hand, cleans out the entire pipe system. When Do You Really Need Hydro Jetting? Hydro jetting isn’t for every situation, but when it’s the right fit, it can save you time, money, and serious headaches. Here are some signs it might be time to consider hydro jetting: Important Note: Hydro jetting isn’t recommended for damaged or fragile pipes. That’s why a camera inspection is critical before doing the job. At American Home Water & Air, we always ensure your system is a good candidate before starting any high-pressure cleaning. Hydro Jetting vs. Traditional Drain Snaking Feature Hydro Jetting Drain Snaking Power High-pressure water (4,000 PSI) Mechanical coil Scope of Cleaning Full-pipe diameter Small path through the clog Long-Term Results Removes all buildup May leave residue behind Suitable for Grease/Sludge Yes No Risk of Pipe Damage Low (with inspection) Minimal In short, snaking is a quick fix, while hydro jetting provides deep, longer-lasting results. Why Hydro Jetting Could Be the Smartest Solution for Your Plumbing If you’re dealing with clogged drains, slow water flow, or suspect deeper issues in your sewer system, hydro jetting might be the answer. It’s thorough, effective, and a cost-effective solution to keep your home’s plumbing running smoothly. But remember—this isn’t something to tackle on your own. Reach out to a licensed pro like the team at American Home Water & Air, and we’ll help you decide if hydro jetting is the right fit for your home. Need help now? Let’s clear things up—literally. Call us today or schedule a service to talk with a certified plumber about your hydro jetting needs. Frequently Asked Questions About Hydro Jetting Is Hydro Jetting Safe for My Home? Absolutely—but only when a trained, licensed plumber does it. The high pressure involved in hydro jetting means that it should never be a DIY project. Improper use can cause pipe damage, especially if the plumbing is already compromised. At AHWA, our plumbing pros use careful diagnostics, the right tools, and expert techniques to make sure the job is done safely and effectively. How Often Should I Schedule Hydro Jetting? For most homes, hydro jetting every 1–2 years is a good preventative measure—especially if you’ve had issues with slow drains or grease buildup in the past. Commercial properties like restaurants may benefit from more frequent cleaning methods due to heavier use. If you’re unsure, a professional inspection can help determine the best schedule for your drain cleaning. Can Hydro Jetting Remove Tree Roots? Yes, hydro jetting can break up and flush out small to moderate tree root intrusions. However, if the roots have caused cracks or significant pipe damage, further repair or pipe replacement may be needed. That’s why a camera inspection is always performed first—to assess the condition of your plumbing before using high-pressure water. Is Hydro Jetting Better Than Snaking a Drain? Hydro jetting offers a deeper, more thorough clean compared to traditional drain snaking. While snaking simply punches through a clog, hydro jetting cleans the whole diameter of the pipe, removing
How to Fix a Leak Under the Bathroom Sink: Tips for a Quick Repair
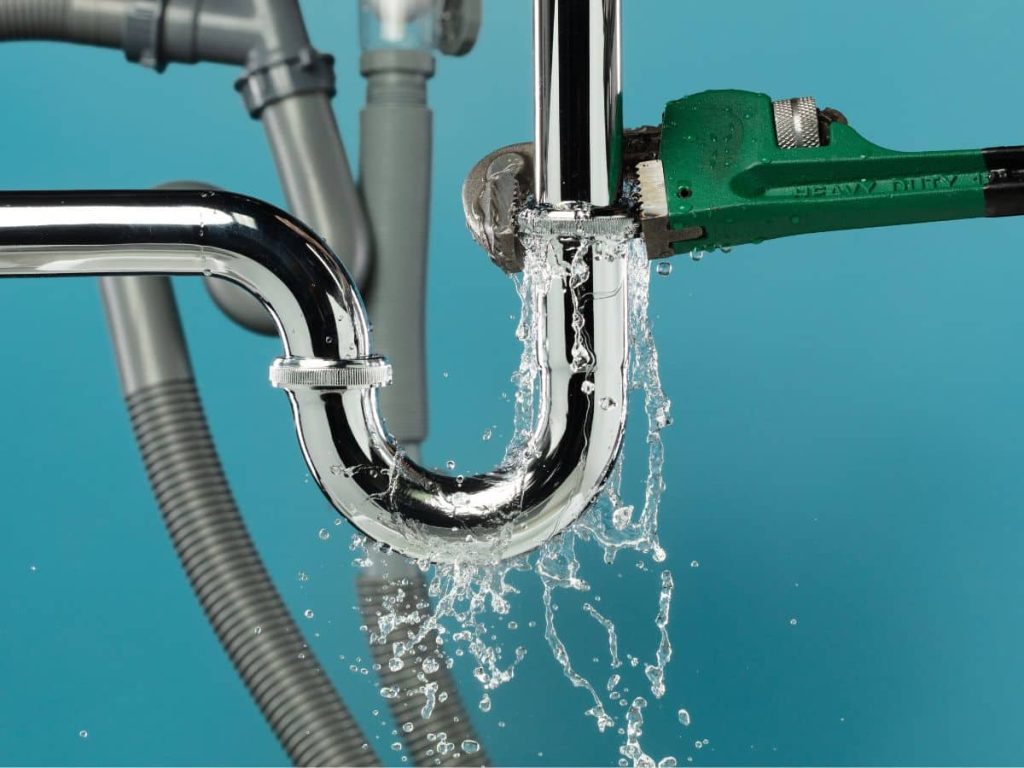
If you’re wondering how to fix a leak under the bathroom sink, you’re not alone. Leaking under the bathroom sink can be frustrating, especially when you notice a pool of water on the floor or a constant drip. These kinds of plumbing issues are common in many homes, and while it might seem daunting at first, you don’t always need to call a plumber immediately. With patience and the right tools, you can often handle the fix yourself before any severe water damage occurs. In this guide, we’ll explain how to identify the source of the leak and provide easy-to-follow steps to repair it. By the end of this post, you’ll know how to handle a leak under your sink and when it’s time to call a professional. Identifying the Source of the Leak The first step in fixing any leak is finding exactly where it originated. A leaky faucet, drain pipe, or P-trap under the sink can all be culprits. Before grabbing any tools, look at the under-sink plumbing and see if you can spot the leak’s origin. It’s essential to scrutinize these areas, as the leak’s source may soon be apparent. Grab some paper towels to dry the area, then check for new leaks after running water. Once you’ve identified the source, you’re ready to learn how to fix the leak under the bathroom sink effectively. Common Causes of Leaks Under Bathroom Sinks Loose or Worn-Out Connections Compression fittings and supply line connections can become loose due to normal wear and tear as the plumbing system ages. These loose connections are often the cause of leaking pipes. If they’re loose, you’ll want to check and tighten all these connections. A simple twist with a pair of pliers can solve the issue. Faulty P-Trap or Drain Pipe The P-trap or drain pipe can also be the source of leaks. Due to frequent exposure to water, the P-trap can crack over time or develop corrosion. In some cases, improper installation or movement can cause the drain pipe to become misaligned, leading to leaks. In this case, you may need to remove and inspect the P-trap to check for a cracked slip nut or damaged PVC. If needed, replace the part or reseal it with a plumber’s putty for a watertight seal. Worn O-Rings or Rubber Gaskets If the O-rings or rubber gaskets in the faucet or compression fittings are worn out, they won’t form a proper seal, leading to drips or leaks. Replacing these small parts is straightforward and can make a big difference in preventing leaks. Step-by-Step Guide to Fixing a Leak 1. Turn Off the Supply Before making any repairs, turning off the sink’s water supply is crucial. Find the shut-off valves under the sink and turn them clockwise. This will prevent any more water from leaking while you work. 2. Disassemble the Components Using a pipe wrench, carefully disassemble the necessary parts of the faucet, P-trap, or drain pipe. Be sure to have a towel or small bucket handy to catch water in the pipes. Inspect each part for signs of wear, cracks, or damage that could be causing the leak. If you’re working on the stopper mechanism, ensure it functions correctly and forms a proper seal. 3. Tighten or Replace the Leaky Part If the issue is a loose pipe or fitting, tighten it securely. If you’ve identified a worn washer, cracked P-trap, or faulty O-ring, replace the part with a new one. Apply the plumber’s tape or sealant if necessary to ensure a tight connection. 4. Test for Leaks After reassembling everything, turn the water back on and run the sink. Check the repaired area for any signs of a continued leak. If everything looks dry, your repair was successful! When to Call a Professional Plumbing Service While many DIY plumbing fixes are manageable for homeowners, there are some cases where you’ll want to call in a professional. If you notice severe water damage or persistent leaks or find that the problem isn’t quickly resolved, it’s time to seek help from a licensed plumber. Issues like clogged pipes, corrosion, or more significant plumbing repair problems can sometimes be too complex to handle alone. It’s always better to be safe than sorry when preventing further damage to your home. Tips to Prevent Future Leaks Regular plumbing maintenance is vital to avoiding future leaks. Here are a few tips: By making use of these proactive steps, you can minimize the chances of leaks and keep your bathroom sink in excellent working order. Trust American Home Water & Air for Expert Help Knowing how to fix a leak under a bathroom sink is essential for homeowners, as this common plumbing issue can often be resolved with a few simple steps. By addressing the source of the leak, tightening loose pipes, or replacing worn-out parts, you’ll stop the leak before it leads to water damage. Remember, if the job seems too big or you’re unsure about any step, don’t hesitate to contact a professional plumbing service for help. Don’t let a small leak become a big problem—contact American Home Water & Air today for expert plumbing services and peace of mind. Whether you’re facing a persistent leak or want reassurance that your plumbing system is in top shape, our team is here to help!
No Water Coming Out Of Faucet: Causes & Fixes
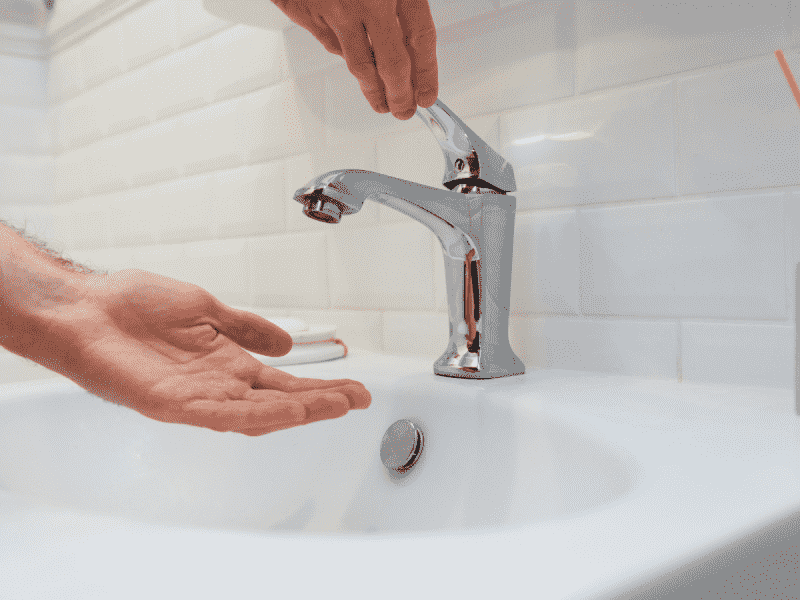
Are you finding yourself experiencing water no longer coming out of your faucet? The lack of an explanation as to what exactly has transpired can cause frustration. After all, water is essential for everyday tasks. We rely on it for bathing, cleaning dishes and surfaces in our homes, cooking meals, and keeping ourselves hydrated. So no longer having access to clean water can be incredibly disruptive to everyday life. Luckily, there are a few ways to resolve the issue of no water coming out of the faucet. This blog post will discuss possible causes and solutions to a lack of running water in your home. If you’re experiencing issues, consider contacting a professional to help resolve your problem. Causes of no water coming out of the faucet Here are a few potential causes that can prevent proper water flow. Blocked pipes One of the primary reasons for no water coming out of a tap can be blocked pipes due to the build up of sediment or debris, which obstructs flow. This can include rust, heavy metal deposits, or limescale. Closed valves Another common cause of no water coming out of faucets is closed valves, either accidentally or intentionally (when renovations or repairs are taking place, for instance). For water to flow from your faucets, all valves need to be fully opened. Malfunctioning water heater An improperly functioning water heater could be responsible for an absence of water (specifically hot water) coming from your taps, whether due to issues with the unit’s thermostat, heating functionality, or another component. Low pressure Low water pressure can also contribute to little to no water coming from your taps. This can be caused by factors like an undersized pipe, a clogged filter, or even a malfunctioning water pump. Frozen pipes Should temperatures dip below freezing, pipes can freeze up and stop water from coming out of the faucets. Prolonged periods of frozen pipes can result in the risk of further complications. Broken pipes Broken pipes may also contribute to reduced water flow and no water coming out of any taps. This can be caused by either physical damage due to an accident or corrosion from aging. This can result in leaks, which should be addressed quickly to keep your home supplied with water. Damaged faucet An improperly working faucet could also be to blame. Worn out parts or simple wear and tear over time can prevent water from properly coming out of a faucet. Clogged faucet aerators Aerators (i.e., the small screens at the end of faucets) that prevent debris from entering water sources can become blocked due to accumulations of dirt and grime build-up. The result: little to no water flow. Fixes for no water coming out of the faucet Here are some key fixes for no water coming out of faucets. Of course, most of these solutions will require the help of a professional, so it’s important to find a reliable local provider of plumbing services. Unclog your pipes If something is blocking water flow, you’ll need to have your pipes professionally unclogged. While you may be tempted to opt for a chemical drain cleaner, these mixtures can only be used in certain situations and sparingly, as overusing them can result in long-term damage to pipes. Consider hiring a professional instead. Open valves While doing work on your system, a plumber may have accidentally left your water valves closed. Once all work on the valves has been completed, it’s important to have them ensure all are open so water can freely circulate around your house. Repair water heater To resolve the issue of no water coming out of faucets, seeking professional assistance is pertinent, especially when your water heater needs to be inspected and repaired. A professional will inspect its components and can restore its performance. Thaw out frozen pipes If temperatures have fallen below freezing and your pipes have frozen, a professional can help by defrosting and thawing them out as soon as possible. They may, for example, make use of temperature-controlled heat tape and external heat sources like heat lamps. Tools like propane torches should be avoided, as they can damage the system and run the risk of starting a fire. Get your faucet replaced To fix the issue of no water coming out of any taps, have a professional replace an obsolete or damaged faucet. Faucets, after all, are central to maintaining adequate water flow, so when they’re malfunctioning, it’s important to get a faucet repair or replacement done. Unclog your faucet’s aerator To have your taps function properly, it’s essential that each faucet’s aerator remain clear at all times. Homeowners sometimes use vinegar and a brush to unclog their aerators, but if the issue persists, it’s best to have it professionally cleared. Trust AHWA with all your water flow issues No need to panic if your taps stop working and there’s no water coming out of your faucet. There are numerous potential causes, and many ways to have this issue resolved. Whenever your system needs professional assistance or repair, always contact a technician, as they’ll be trained with the right knowledge and have the right tools on hand to quickly and efficiently fix the problem you’re having. If you live in the Phoenix, Arizona area and need help with your plumbing system, consider getting in touch with American Home Water & Air. We’ve been helping homeowners for over 35 years. Contact AHWA today!
5 Common Reasons Why Your Toilet Has Weak Flush and How to Fix
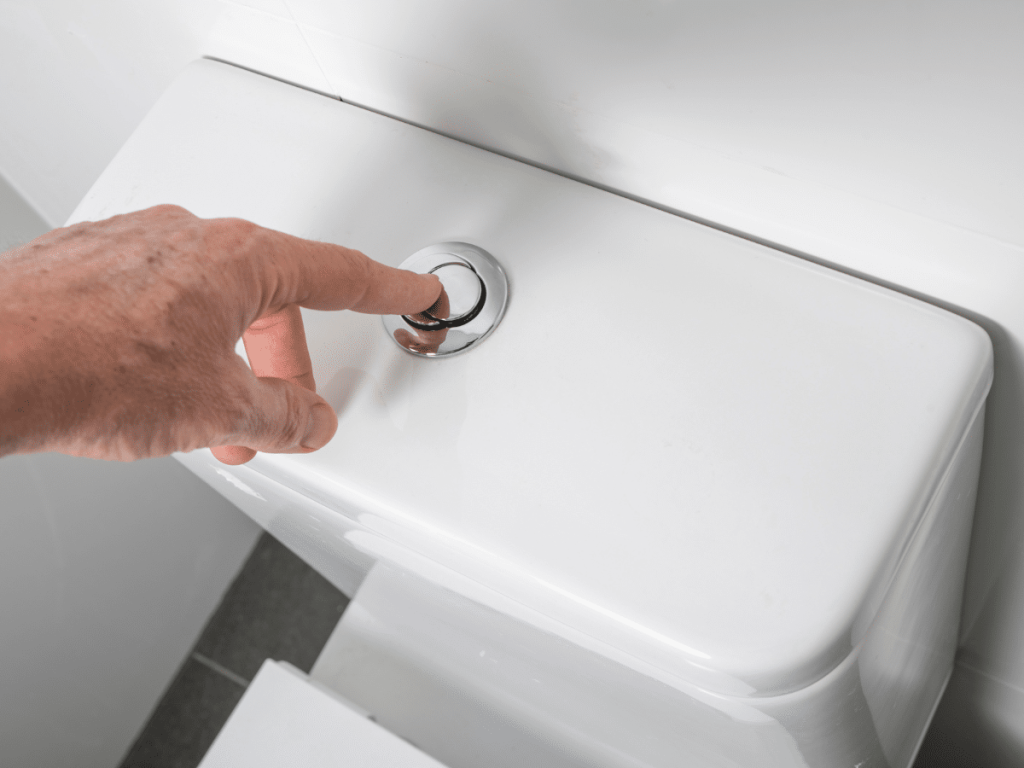
A weak and slow flushing toilet can be both inconvenient and wasteful, as it leads to wasted water and excessive consumption that ends up significantly increasing your water bill. There are multiple reasons that you could be experiencing a toilet with weak flushing. This blog post will examine some common causes and will go over how you can address this issue. Possible reasons your toilet has a weak flush Here are some common reasons why you may be experiencing weak toilet flushes. Toilet bowl leakage often results in poor flushes and incomplete draining. Cracks in the porcelain or incorrect tank installation can cause water to escape from the bowl before it can properly and fully flush any contents. This can result in you having to flush twice just to get everything down, which can be annoying at the least and costly at most when excess water is used. Toilet clogs are another possible culprit on our list of weak toilet flush causes. Too much solid waste accumulating in your toilet bowl can prevent wastewater from properly draining, which, in turn, leads to weak or incomplete flushes as water flow is obstructed. Clogs are commonly caused by excess toilet paper use, as well as objects being flushed down the toilet that ought not to be (e.g., wet wipes, sanitary napkins, cleaning products, etc.). These objects end up getting caught in pipes, hindering water flow. Low water pressure will also result in weaker flushes, as less water reaches your bowl and causes incomplete flushing. This may possibly be caused by several issues, such as broken tank valves or worn toilet tank parts. When you’re dealing with low water pressure (especially when it’s a sudden onset), it’s highly recommended to get in touch with a professional plumber so they can inspect your system to determine the cause and suggest a solution. For your toilet to function effectively, its float ball must rest directly above the discharge tube and flush valve, as well as beside the overflow tube, without touching either side of the tank. If the float ball isn’t properly adjusted, not enough water will be able to reach the toilet bowl, resulting in a toilet with poor flushes. To have the float ball adjusted, simply contact a local plumber to have them help out. They’ll have the right tools and know-how to resolve this issue. The faulty flapper is the component that regulates water flow between the tank and bowl. Over time its effectiveness can deteriorate due to either wear and tear or improper adjustment, leading to ineffective flushing performance. Additionally, rubber flappers exposed to air can crack over time. This key component of your toilet can be easily replaced by a plumber during repairs or plumbing maintenance. How to fix a weak flushing toilet Here are some weak toilet flush fixes to help resolve this issue. Check your toilet for cracks Inspect your toilet bowl and tank for cracks, as this can cause leaking and prevent sufficient flushing. If you notice any damaged parts, get in touch with a plumber so they can promptly repair or replace them. Unclog your toilet To unclog your toilet, first try using a plunger to clear any obstructions. Some clogs can be quite stubborn though, so if you find that you can’t get rid of the blockage, seek professional assistance immediately from a local plumber. Correctly align your float ball As previously mentioned, toilet flushing that’s slow and weak can be caused by an improperly adjusted float ball, as it prevents your tank from being sufficiently flushed out. For optimal results, it needs to be realigned. To do so, it’s best to have a plumber complete the job. Ensure the toilet is properly aligned and set It’s imperative that your toilet is aligned and set. Any misalignments could result in ineffective flushing due to limited bowl space. A professional plumber can help you resolve this problem to ensure maximum effectiveness in flushing. Install replacement parts Other malfunctioning parts can cause a toilet with weak flushing, so to ensure optimal functioning, it’s critical that any worn or damaged components be promptly replaced as soon as it’s noticed. This will keep your toilet running properly for years to come. Have your tank assessed If you’ve looked over your toilet tank yourself and can’t seem to find any damage or anything that’s amiss, you might want to have a plumber look over it. Having an assessment conducted on the tank is vital. What follows may be necessary modifications and changes as required to restore the proper functioning of your toilet. Need help with your toilet? Trust American Home Water & Air! A toilet with weak flushing can be incredibly inconvenient and can cost you in the long run, raising your water bill when you need to flush more than once. We hope this article has helped explain why you may be experiencing this issue. If you need help with your weak flushing toilet, consider getting in touch with American Home Water & Air’s plumbing professionals. We provide timely service and promise transparent pricing to homeowners in the Phoenix, Arizona area. Contact AHWA now!