Gas vs Electric Furnace: Which One to Choose
If you are looking at installing a new furnace and wondering whether you should go with a gas furnace vs electric furnace, you’ll want to look at the pros and cons of each. The best way to do this is to consider the differences in installation, cost of maintenance, and energy efficiency of each. Gas vs Electric Furnace – The Mechanics The most obvious difference when discussing gas vs electric furnaces is the source of fuel but there is far more to the way they operate than this. Gas furnaces utilize combustion to create heat. The essential components of a gas furnace are the gas line that leads to the appliance, the gas valve that controls the flow of fuel, an ignition system, and various components that facilitate the creation and distribution of heating. One such component is the heat exchanger which permits the furnace to extract the heat safely to provide heat to your home. Some gas furnaces may even have dual heat exchangers, which adds the capability of generating more heat without an increase in fuel byproducts. An electric furnace contains an air handler with heating coils added. It may serve as auxiliary heat while the real heating workhorse is an electric heat pump. When heating coils heat up, air blows across them, sending warmer air outward to heat your house. When discussing furnaces, gas, or electric, that is pretty much where the differences end. Other than these core components, both types of furnaces have many similar gauges and valves that operate the unit or exist as safety measures to prevent overheating or severe malfunction. Gas vs Electric – Maintenance Whether you have a gas or electric furnace, you will want to have routine maintenance performed annually. Only the nature of the maintenance performed will be different. A gas furnace will require inspection of the flame sensor, igniter, burners, and pilot light. The heat exchanger must be examined for any leaks that might allow deadly gases to escape into your home. A heat pump is utilized in both the heating and cooling process employed by your HVAC system, so it is best to have it maintained twice a year rather than just once. Each service should be scheduled, ideally, shortly before you begin to use the system for the first time each year. Most maintenance is performed in the spring and fall before the heavy use that follows in summer and winter. Issues such as leaking refrigerant and dirty condenser coils will not only diminish the energy efficiency of your heat pump but can cause much more serious operational problems. Gas vs Electric – Costs In general, gas furnaces are more costly than electric furnaces regarding purchasing and installation prices. Depending on the model and size you need for your home, this price difference can often be nominal. The real difference in costs comes from how much each system costs to operate. Typically, gas furnaces are far cheaper to use than electric furnaces due to the differences in the cost of gas and electricity. Gas vs Electric – Pros and Cons Each type of furnace has its own pros and cons. Some of them have already been covered in the previous paragraphs but there are others. Let’s take a look at some of them. Electric Furnaces Pros Cons Gas Furnaces Pros Cons Which System Is the Better Choice? There is no simple answer to this question. The decision as to whether you should purchase a gas or electric furnace will depend on many factors specific to your situation. If you are upgrading, you may want to go with whatever system you already have in place. If you are in a new house, you may be asking the question: “Do I have a gas or electric furnace?” The answer to this question can be determined by simply looking at your furnace while it is in operation. A gas furnace has a small window and you will be able to see the small blue flame of the pilot light through it. Electric furnaces have no such window. If you are looking at a new house build and trying to choose, you should look at the cost of a new system, the cost of energy to operate it, and whether you have access to natural gas lines. You may also consider a propane-fueled furnace with a standalone tank in the absence of natural gas lines. Ask for quotes for any systems you want to consider and do some research based on the energy efficiency ratings of those you have available to you to determine approximate operating costs. Endnote The most important consideration in choosing between gas and electric furnaces is choosing the one that will keep you comfortable, happy and meet your budget needs. The good thing is that it is not a choice you need to make alone. Whether you are replacing your existing furnace or preparing for a new installation, a knowledgeable professional from AHWA can help you determine your best options and answer any questions you have about the particulars of any system you want to consider.
What Should You Know About Furnace Inspection?
Most homeowners don’t give their furnaces a second thought until something goes wrong. However, you can save yourself a lot of hassle and expense by keeping your system properly maintained, preventing downtime when you need it, and saving yourself the expense of increased utility bills and repairs. HVAC experts recommend that you have an annual furnace inspection done on your furnace once every year. What Does a Furnace Inspection Include? HVAC technicians perform a lot of preventative maintenance during an annual furnace cleaning and inspection. In addition to cleaning and lubricating the furnace’s parts, they will inspect for safety issues, tighten any loose components, make minor repairs, and advise if there are larger repairs needed. Proper maintenance can extend the life of your heating system by as much as 40% and increase its energy efficiency greatly. Some of the areas that will be inspected by your HVAC technician during a furnace check include: Not all problems can be corrected during a maintenance visit, but a technician will advise anything that needs to be addressed and order any parts for work you need to be done so that it can be corrected as soon as possible. Do I Really Need a Furnace Inspection? Some homeowners view an annual furnace inspection as an unnecessary expense. Nothing could be further from the truth. Having a heater inspection every year is critical to the continued operation and lifespan of your heating system. A home furnace inspection is the best way to prevent a loss of energy efficiency and avoid costly future repairs. In some cases, it is a requirement to receive coverage from your manufacturer’s warranty. The last thing anyone wants is for their furnace to fail when the temperatures outside have dropped. It’s going to be hard to keep your family warm if your heating system fails in the dead of winter. While you might be lucky enough to only need some batteries in your thermostat or to reignite your pilot light, you can be in a real jam if you’re without heat in the middle of a cold night and require emergency service. Not only can this be expensive, but it can also be challenging to get help on short notice if callouts are heavy. Emergency Repairs Attempting to repair your own furnace can also be a recipe for disaster. Without proper qualification, you can void your warranty or even set your family up for potential harm. If you find yourself in an emergency like the following, professional intervention is a must. Non-Emergency Repairs While any of these items will require emergency assistance, other furnace issues can be checked at a more convenient hour if you can manage to stay warm in the interim. Non-emergency repairs may include the following: Other Benefits of Annual Furnace Inspections You can take comfort in knowing that your furnace is ready for winter if you have had a recent cleaning and inspection done. However, other reasons should inspire you to schedule furnace maintenance soon. Here are some of them. DIY HVAC Inspections and Repairs While you should never skip out on a yearly inspection performed by a certified professional, there are some items you can do yourself to help your furnace operate at its best. Actions you can take to keep your furnace going strong include: Beyond these measures, you should leave more involved furnace inspections to the professionals. The HVAC technicians at American Home Water and Air are trained and experienced in the proper service and maintenance you require. They are knowledgeable enough to spot cracks or worn parts that might escape a less familiar eye. When you’ve had your furnace inspected, cleaned, and lubricated by a top service provider, you can rest easy knowing that you will be able to count on your system to run smoothly when you need it most.
What Should You Do When Your Heat Pump’s Aux Heat Keeps Coming On?
Homeowners often find themselves wondering “why does the aux heat keep coming on?” The fact is that your auxiliary heat exists to provide a burst of heat when it is needed. In Arizona, this isn’t something that happens often, but is it bad if the auxiliary heat comes on? If you find that your auxiliary heat is running constantly or you think it is running much more often than it should, you will want to find out what is causing the problem. Here’s what you need to know. What is Auxiliary Heat? Auxiliary heat is a feature that is most useful to homes found in milder climates than what you will find in Phoenix. Still, even here, temperatures can get low enough that your heat pump’s auxiliary heat function will kick on to warm up your house quickly to combat a rapidly dropping temperature outside. This, understandably, leads people to ask the question “is it bad if auxiliary heat comes on?” Typically, heat pumps employ a reverse cycle to maintain the preferred temperature you’ve set on your thermostat. This is the most efficient way to heat homes in warmer climates where the winter temperatures aren’t as persistently low as other areas of the country. However, this process can be slow to do its job, so your auxiliary heat steps into the gap and uses your electric system to give it a kickstart, rapidly turning up the temperature. Auxiliary Heat Comes On And Stays On If you are experiencing your auxiliary heat coming on more often than you think it should, you may be wondering how do I stop my auxiliary heat from coming on. There are specific circumstances that can cause your auxiliary heat to kick in and run, some are listed below: Temperature Increases Any adjustment to your thermostat of more than a few degrees can send our auxiliary heat into action. This gets things going while your heat pump catches up. The auxiliary heat will jump in and start bringing the temperature up right away instead of you having to wait. It comes in handy for situations where you’ve set your temperature a little lower, such as while you are at work, and then want to quickly warm it back up once you arrive home. Sudden Drop in Temperature If there has been a sudden drop in the outdoor temperature, it may be hard for your heat pump to do its job alone. The auxiliary heat will provide a much-needed assist, providing some extra power to get quick warmth into your home. This isn’t often necessary in weather above freezing, but in instances where the temperature dips toward 35°F or less, you may see the auxiliary heat kick in to help. Frozen Heat Pump The majority of heat pumps contain sensors to detect frozen coils. If there is a problem of this nature, the unit will go into defrost mode. The hot air inside your home will be redirected to frozen components to thaw them. In this event, the auxiliary heat can engage to help keep your home warm while part of its resources is being used to heat the part of the system in need. Some heat pumps will have an indicator that lets you know if this is occurring. This isn’t something you are likely to see much in the Phoenix area, but it’s possible if the weather becomes particularly frigid with snow and ice. Heat Pump Emergency Mode There is an emergency setting on most heat pumps. If this is engaged, the auxiliary heat will come on. Sometimes, this happens by accident and you can just turn it back off. If you turn it on for a good reason, let it run for as long as you need it, but you should try to limit it. If you are having to run it too often, you likely have other issues that need to be addressed. Auxiliary Heat Malfunctions If your auxiliary heat hasn’t come on for one of the reasons listed above or you can’t figure out why your auxiliary heat has come on, there is a problem that you need to have addressed by a licensed professional. When deciding is it bad if the auxiliary heat comes on, you need to consider why it has come on and if it should be. The signs that you need to request a service call are as follows: Auxiliary Heat is On but There is No Heat If your auxiliary heat has turned on but no heat is coming through, there is a problem with your system. There is likely something wrong with the auxiliary system itself because it is not operating as intended. Turn your system off and call for an HVAC technician to come out and make repairs. Auxiliary Heat Comes On And Stays On Your auxiliary heat is a backup function. It should rarely run. If the heat pump auxiliary heat is always on there is a problem. If you find that it is running constantly, it may be stuck or not receiving proper signals. You will need to request an inspection and repairs. Excessive Electricity Bills You may have many appliances within your home space that waste electricity, but your HVAC unit is one of the biggest consumers of power. If your auxiliary heat is running constantly, it is pulling even more power than is necessary and driving up your energy costs. This can add up over the winter months if you don’t have it addressed. Auxiliary Heat on Instead of AC If your auxiliary heat is kicking on in the middle of the summer when your air conditioning is running, this is a serious problem. There is no reason why this should happen, so if it does, you’ll want to turn off the system and request service. Thermostat Changes Don’t Engage Auxiliary Heat If you change your thermostat by more than a few degrees and your auxiliary heat doesn’t kick in, there is a problem that will require service. Takeaway If
Best Thermostat Temperatures & Settings for Fall in Arizona
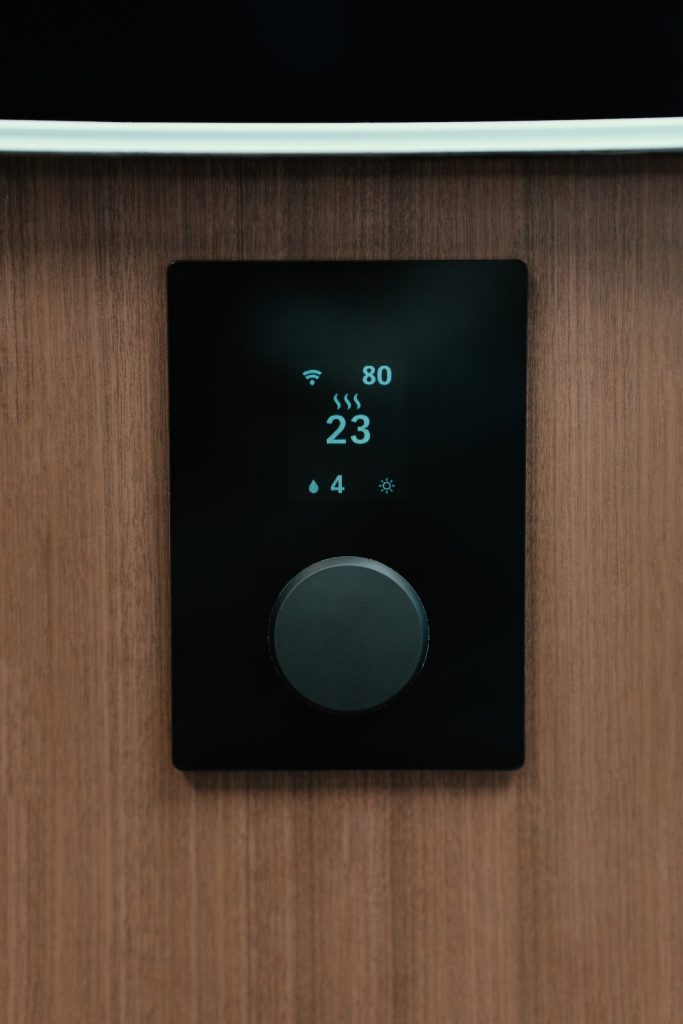
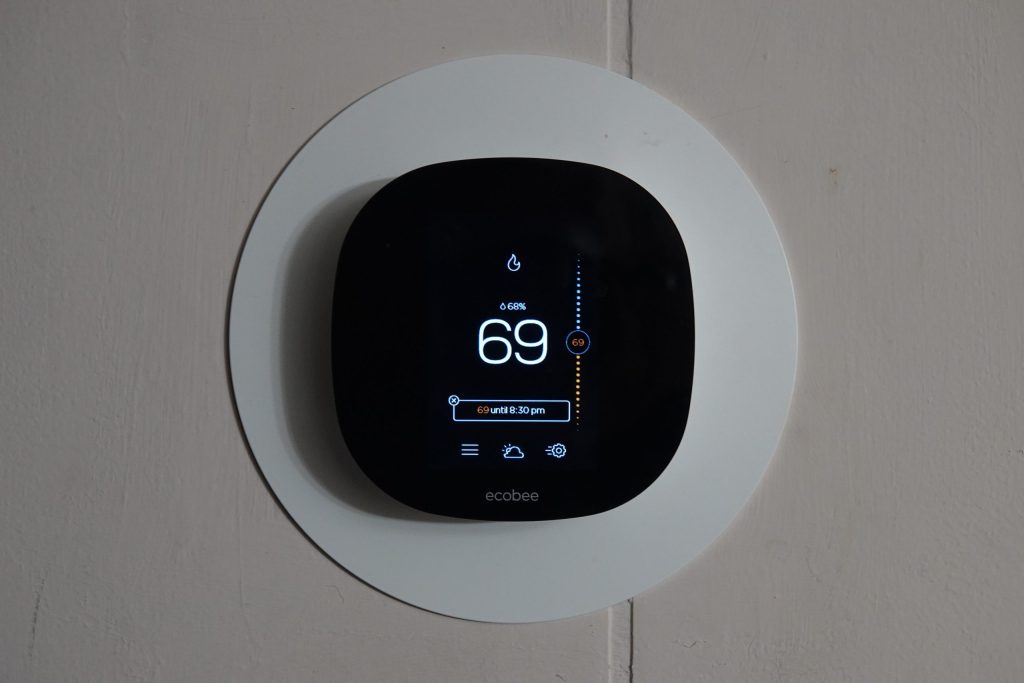
As summer slips away and Arizona inches into fall, the temperature range from day to night can make it more difficult to maintain your home at a temperature that is both comfortable and energy efficient. If you are wondering what to set your thermostat to in the fall, here are some tips to help guide you toward an answer. Energy History The first thing you’ll need to consider when figuring out the best thermostat setting for fall is the energy efficiency of your HVAC system. Your heating and cooling systems make up around half of your home energy usage, according to the Department of Energy. As the biggest source of energy consumption in your home, the efficiency of your HVAC system is vital to keeping down the costs of maintaining a comfortable temperature in your home. If your system is in good working order, then you’ll want to determine the best thermostat setting for your HVAC system. Since we are now into the fall, we’ll focus our discussion on the current season. The question then is what should your thermostat be set at in the fall? The best place to start is with a review of your past energy use. Look at what you’ve paid for electric, gas, or other fuel sources for each month and compare those costs to the average temperature for the matching period. You’ll be able to see the highs of summer when you are using more HVAC and winter when you are using more heating but focus on the in-between months that make up the fall season. Without the spikes before and after fall, it might be difficult to determine the ideal thermostat setting for fall. However, this is one of the best times to save on your energy costs. Aim for the temperature settings you were using on the lowest energy bills. Weathering the Weather It’s no secret that the more you can adjust your temperature so that you are using your HVAC system the least, the more money you will save. A simple adjustment of between seven to ten degrees for at least eight hours a day can result in savings of as much as 10% on your energy bill. The best way to do this is to simply keep your home at a temperature setting that may be a bit warmer or cooler than you would like while you are out of the house. While turning off your system is not recommended, adjusting the temperature while you are away from home and won’t notice the change can lower your energy bill without creating discomfort while you are home. Unlike the highs of summer and the lows of winter, the natural temperature of the fall months makes it an ideal time to make changes that won’t create unnecessary energy consumption. However, keep in mind that it is never a good idea to make drastic temperature adjustments. Make smaller, gradual increases or decreases as needed to achieve the ideal home environment. Programmable Thermostats In discussing adjustments to your home temperature, we’d be remiss not to mention the beauty of programmable thermostats that will do the work for you. Once you’ve determined the ideal temperature and what times of the day are best for adjusting while you are away from home, you can automate your changes with a programmable thermostat. Fall temperatures in Arizona can be quite warm in the daytime and much cooler at night. The ability to set your thermostat to alter the temperature in your home accordingly will help to optimize your energy efficiency. You can create a schedule based on the extended forecast and update it periodically when there are changes significant enough to require it. Ideally, your home temperature is best set around 78 degrees for warmer weather and 68 degrees when it is cooler. While these are good base temperatures to start with if you don’t have an energy history to review, you will want to adjust based on your preferences and the energy efficiency of your home. Smart Thermostats If you want to get ahead of the game, consider investing in a smart thermostat. You can take all the calculations and guesswork out of figuring out the best thermostat setting for fall by letting your thermostat do the work for you. This handy HVAC temperature controller will detect changes in your home and adjust the temperature as needed. If you want the least amount of hassle and peak energy efficiency, this type of smart device is ideal. Not only will it decrease your energy use, but it will also let you monitor your home temperature when you are away. This is especially beneficial if you are away for a long period and want to adjust the temperature to a more comfortable level for your return home. It can also let you know if there has been a problem in your absence so you can plan for repairs. Energy Efficiency In talking about energy efficiency, it is not enough to simply determine what temperature to set your thermostat in the fall and make the adjustment. There are factors outside your HVAC system that will affect your energy costs. Leaks, inadequate insulation, poor circulation, lack of proper maintenance, and other issues can affect efficiency in even the most state-of-the-art HVAC system. There is only so much work an ideal thermostat setting can accomplish. If outside issues that affect how well your HVAC system is working for you aren’t corrected, you will be hard-pressed to achieve the energy efficiency you desire. Periodic walkthroughs of your home to assess problems can help prevent unnecessary costs. Routine HVAC maintenance will keep your system performing at its best. If you are concerned that you aren’t getting optimal use out of your HVAC system at the lowest costs, consider having a home energy audit done. With current incentives offered by recent legislation, this is a great time to have your home evaluated and correct issues that may be affecting your energy efficiency.
Causes Your Furnace Smells and What You Should Do About It

It is likely that you are here reading this because you’ve just discovered that your furnace smells. There is nothing worse than turning on your furnace and finding your home filled with a weird smell coming from the furnace. Many things can cause furnace smells, and not all of them are a problem once the odor has cleared. Let’s look at some of the reasons your furnace smells bad so you can properly identify the problem before calling in a furnace repair. Cracked Heat Exchanger Your furnace is only as good as the sum of its parts; if one of its components fails, the whole system can fail. An early indication of this impending doom is the chemical smell from a cracked heat exchanger. A damaged heat exchanger can produce a scent similar to that of formaldehyde. If you detect this odor in your home, consult a professional immediately. Failure to replace this component will reduce efficiency and lead to fires or deadly carbon monoxide leaking into your home. Dampness Where your furnace sits may have something to do with the odor. If it is located in a damp part of your home, moisture can get into it. Once the furnace is turned on and gets hot, this moisture will burn off and spread the smell of dampness throughout the heating vents. The smell will lessen and disappear as the moisture evaporates. Dust Whether your HVAC has gotten older, been abused, or suffered damages leading to poor operation, repairs to keep it running can add up quickly. While most HVAC systems require some repairs and maintenance, this should not be allowed to become excessive. If you find yourself making constant repairs, especially if some of them are the same ones time after time, you should look at how much those repairs have cost. If they add up to more than half the price of a replacement, it is time to upgrade your system. Gas Leaks If you use natural gas as fuel for your furnace, you may experience a smell similar to that of rotten eggs. This comes from the purposeful treatment of natural gas with sulfur and measures gas companies take to give this usually odorless gas a distinct odor. The horrid odor is intentional. It lets homeowners know that they have a leak almost immediately. If you smell sulfur after turning your furnace on, exit your home immediately. You’ll need to call your gas company and an HVAC expert to correct the problem before re-entering your home. Polluted Intake If your furnace has an intake that brings air in from outside your home, there is the potential for contamination. Smells near the intake system can be sucked into your home, creating furnace smells. This might be okay if you’re pulling in the smell of your rose bushes, but it’s not so nice if you’re pulling in odors from a sewer grate or a deceased animal. You’ll need to locate and eliminate the smell to correct the problem. Mold If your furnace is constantly exposed to moisture, mold can easily develop within it. The smell, if given off through your furnace, is similar to that of the dampness noted earlier, but it can last much longer. If you find yourself experiencing an earthy or musty smell for an extended period, you will need to locate the mold and remove it. It will not burn off like simple moisture. Blockages Different furnace smells can develop based on the nature of the blockage. If your chimney is blocked, smoke will filter back into your home. If an animal or pest has gotten stuck inside the system, it may begin to decompose and smell rotten. You’ll need to turn off the system and call a professional to inspect and remove the obstruction. Dirty Filters Your furnace contains various filters that help clean the air in your home. Like any other filter, these get dirty over time. If your filter becomes clogged, not only will it not operate efficiently, but it will also begin to smell like whatever is clogging it. Additionally, furnace filters can break down and might smell of motor oil. Changing the filter should correct the issue, but if it doesn’t, you may have a more serious problem, such as an oil leak which needs to be attended to by a professional. Overheating Electrical or hot metal smells from your furnace are a sign of trouble. You should never ignore these kinds of smells as they signify your furnace is overheating. The automatic shutoff may be faulty and failing. Turn your unit off and have it checked by a qualified HVAC technician. Contaminated Vents Smells emanating near a vent intake can get sucked into the register and pushed through the system, flowing back out into other areas of the house. Even those present outside a vent where the air is blowing across them can push the smell into the air. One of the most common causes of this comes from pets or babies. Has your dog fouled near a vent? Has a dirty diaper pail or cat litter box been placed too close? Removing any smells near a vent should eliminate these kinds of furnace smells. If you are unable to locate the origin of the smell and it persists, you should contact a professional for assistance. Conclusion You should never have a persistent smell coming from your system. If you are experiencing unpleasant odors that don’t quickly disappear, you should always have a licensed HVAC technician examine your system and provide answers for the problem. While some furnace smells may be more unpleasant than harmful, those persistent smells left unattended can lead to more serious troubles. Sometimes, you may be endangering your health by letting them persist. The moment that you have to ask yourself, “Why does my furnace smell?” is the same moment that you should begin seeking answers. That smell coming from the furnace could be your earliest warning sign that there is a problem that
Easy Steps for a Home Energy Audit in Phoenix
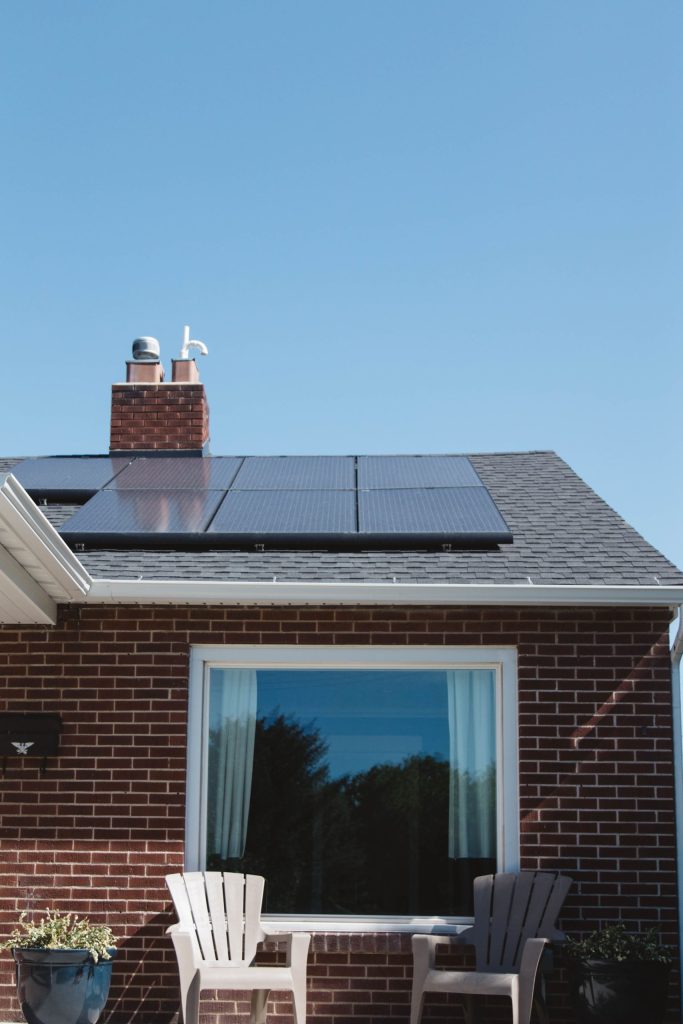
Summer has arrived in Phoenix, and increased utility bills come with warmer temperatures that require more energy consumption while you’re trying to keep cool. If you want to ensure your home is as energy efficient as possible during these months of heavy use, you can schedule a home energy audit in Phoenix. If you want to perform a home energy audit in Phoenix yourself rather than hiring a professional to complete it for you, there are some simple steps you can take for a limited assessment. While a professional who conducts energy audits in Phoenix might be better equipped to evaluate your home for potential energy losses, you should be able to determine many of them on your own by using a checklist of things to look for during your review. If you prefer to do your own Phoenix energy audit, here are some simple steps you can take: Check for Air Leaks If you have noticed drafts in certain areas of your home, you should start with locating the source of those. You will need to find out where the drafts are coming from and determine what you need to do to correct the leak. You can save considerably on energy costs just by sealing off any air leaks you locate. Once you find an air leak, you must seal it. Plug any holes around pipes, faucets, outlets, or wiring that enter the premises using the necessary material. Check Ventilation While ensuring that your home is energy efficient, be mindful that you must maintain proper ventilation. Exhaust fans are essential for keeping the air quality of your home at its best. Indoor pollution can be dangerous if your exhaust systems aren’t pulling combustion gases from certain appliances out of the air you breathe in your home. This is especially important if you use natural gas, home heating fuel, propane or wood to keep warm in the cooler months. Suppose you are seeing higher levels of soot or noticeable burned marks on any of these appliances or smoke visible in the area where it operates. In that case, you may have a ventilation problem. Summer is a great time to have a heating audit performed by a professional. Any upgrades or repairs can be made while you aren’t using the appliances so that you are ready for the colder months. Check Insulation A poorly insulated home can lose a lot of heat in the winter and cool air in the summer. If your home was recently built, this might not be an issue, but older homes were insulated based on how much was recommended at the time of construction. Sometimes, that might be significantly less than what you need today. Check your attic to make sure all areas needed are properly insulated sufficiently to keep your home warmer during winter weather and cooler on hot summer days. What may have been enough insulation when an older house was built might not still be enough today. There should be a vapor barrier beneath your attic insulation. This barrier might be kraft paper and fiberglass batts or plastic sheeting. If no vapor barrier is present, you might want to paint your interior ceiling with vapor barrier paint to prevent moisture from escaping into your attic and compromising the effectiveness of your insulation. Without an effective vapor barrier, you run the risk of structural damage in addition to added energy costs. You will also want to check the wall insulation. You can check this by turning off the circuit breaker to any outlets on an exterior wall and opening up the cavity to check for insulation behind it. Alternatively, you can make a small hole in a closet or other hidden area to study. A long screwdriver or a similar tool can be used to check the resistance that will be present if insulation is present. Basements and crawl spaces should be insulated. If there are heating or cooling appliances located in this type of space, the insulation should be around the area where they are located. If not, the insulation should be beneath your interior living quarters flooring. Inspect Heating and Cooling Systems If you have not already had annual maintenance performed on your HVAC system, now is the time to get it done. A qualified technician can ensure your system works well and clean all components. If your unit is older, they can recommend upgrading to a more energy-efficient unit that may pay for itself in the long run by cutting your air conditioner’s power consumption. If you are doing your own home energy audit in Phoenix, check your ductwork for any streaks of dirt near the seams. These are an indication of air leaks and will need to be sealed. Add insulation with a minimum R-value of 6 to any ducts or pipes in unheated spaces. Otherwise, you should check your filters and replace them if necessary. Typically, you should already be doing this every few months or perhaps every month during heavy usage. You can also check our article on leaving AC on all day for more information about reducing air conditioner costs Lighting Lights in your home drive about 10% of your utility bill. Check your light bulbs and replace any high wattage ones with more energy-efficient choices. Make sure lights are off when leaving rooms. You might also consider adding smart devices, sensors, dimmers or timers to reduce the use of lighting. Appliances and Electronics Appliances can use a great deal of energy, especially older ones. Even when not in use, merely being plugged in can use electricity in some cases. Unplug devices you aren’t using. If you have an appliance that you note is heavy on energy use, consider replacing it. Once you have finished your home energy audit, you should have a list of what you can do to reduce energy consumption in your home. Make a plan to improve any lacking items on your list, starting with what you can do immediately and
Is the Air in Your Home Causing Allergies?
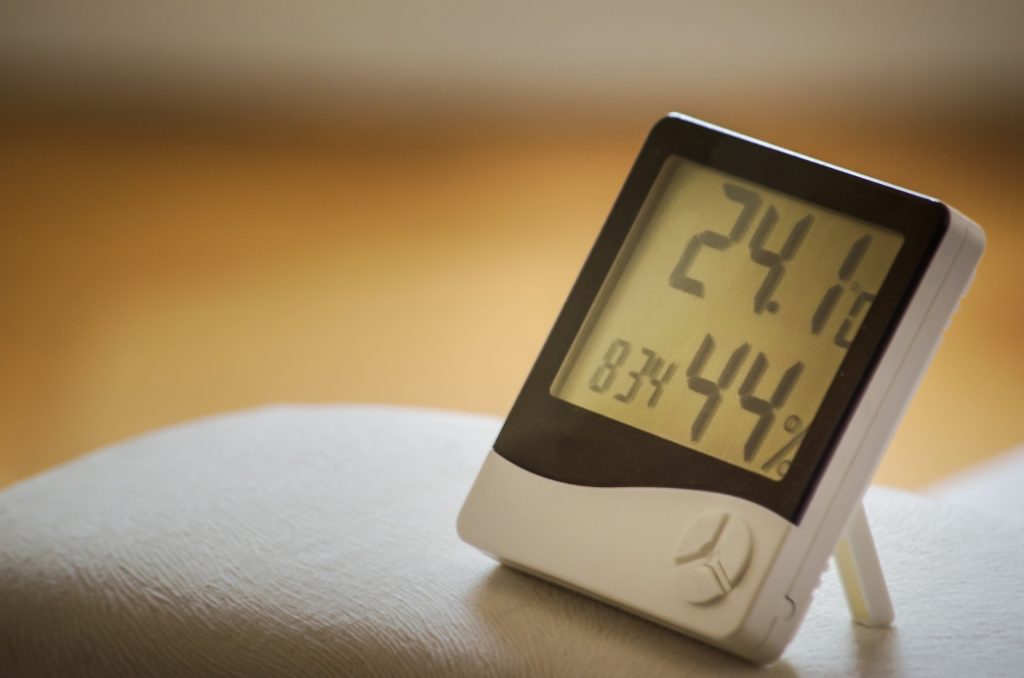
There are many ways in which the air of your home can affect your health. Among the most noticeable is when you experience the symptoms of allergies. Let’s take a look at the question of whether the air in your home is causing your allergies. Dry Heat and Sinuses With the end of the summer quickly approaching, many Arizona residents will soon be turning their heating systems on to combat the chilly nights common to our desert landscape. Because cold air doesn’t hold as much moisture as warmer air, it can become dry in the fall and winter months. You would think that the heat of your furnace or another heating system would increase moisture by heating the air, but the opposite is true—the heat decreases the humidity. Dry heat and sinuses are not a good combination, especially if you are prone to allergies. There are many dry air allergy symptoms that you’ve probably experienced in your home over the years unless you’ve taken precautions to achieve optimal humidity indoors. Either high or low home humidity can significantly affect your health. If the humidity is high, it lends to an increased amount of dust mites and mold growth. To keep these at a tolerable level, you’ll want to reduce the humidity in your home below 50%. However, you can also lower your indoor humidity level too much. When indoor humidity falls below 30%, the air around you will become dry. This low humidity will often cause your skin, nasal cavity, and throat to experience dryness. Can Dry Air Cause Allergy Symptoms? Yes. Even if you don’t have allergies, the symptoms you may develop in dry air mimic many of the symptoms you suffer from allergy sufferers. Dry air can dry your skin and throat. Eyes may become itchy. The dry air may cause a cough that persists, mimicking allergy symptoms. Additionally, those pesky dust mites, mold, and bacteria that may have formed in more moist air will dry out and enter the air around you. These evaporated pollutants can then be breathed in, harming your health and creating allergy symptoms. Can Dry Air Trigger Allergies? Dry air can trigger allergies by drying up your sinuses and nasal passages. This drying destroys the mucous lining that acts as a protective layer. The result may be that your allergies flare up more often due to how dry the breathable air within your home is. Humidifiers installed to combat dry air can be equally unhealthy without proper maintenance. Dirty reservoirs and filters are breeding grounds for bacteria and mold. Even people who don’t suffer from allergies may experience symptoms similar to allergies or the flu. In some cases, lung infections can result from the contaminated mist being released into the air by a dirty humidifier. Does Dry Air Make Allergies Worse? It can. There is a definite connection between dry heat and sinuses. If you combat allergy symptoms, dry air can make you feel even more uncomfortable by irritating sensitive passages. A dirty humidifier can put out a mist that is polluted by bacteria. Likewise, the growth of pollutants caused by excessive humidity can cause or exacerbate asthma and allergies. What Causes Dry Air? Dry air is usually caused by heating that pulls the moisture from the air. You can correct this problem by installing a quality humidifier and maintaining it properly. Humidifiers produce steam which helps introduce moisture back into the air. However, you’ll want to take care to maintain a humidifier properly. Periodically check to ensure your humidifier is correcting the humidity to the desired level and keep it tidy. An infrequently cleaned humidifier can be as bad for you as the effects of dry air. Contaminated humidifiers can be hotspots for mold or bacteria to form. There are five different kinds of humidifiers available. If you have allergies, you may want to consult your doctor before choosing which is best for you. Identifying Dry Air Problems You should always maintain a humidity level between 30% and 50%. Humidity lower than 30% is indicative of dry air. If you aren’t sure where your home falls on the scale, you should measure humidity in your house with a hygrometer from your local hardware or DIY store. Some humidifiers will have a humidistat, a built-in hygrometer that manages this for you. Suggestions for Maintaining a Clean Humidifier You should always follow the instructions from the manufacturer to keep your humidifier in optimal working order. These tips may also help:
HVAC Air Balancing, Everything You Need To Know
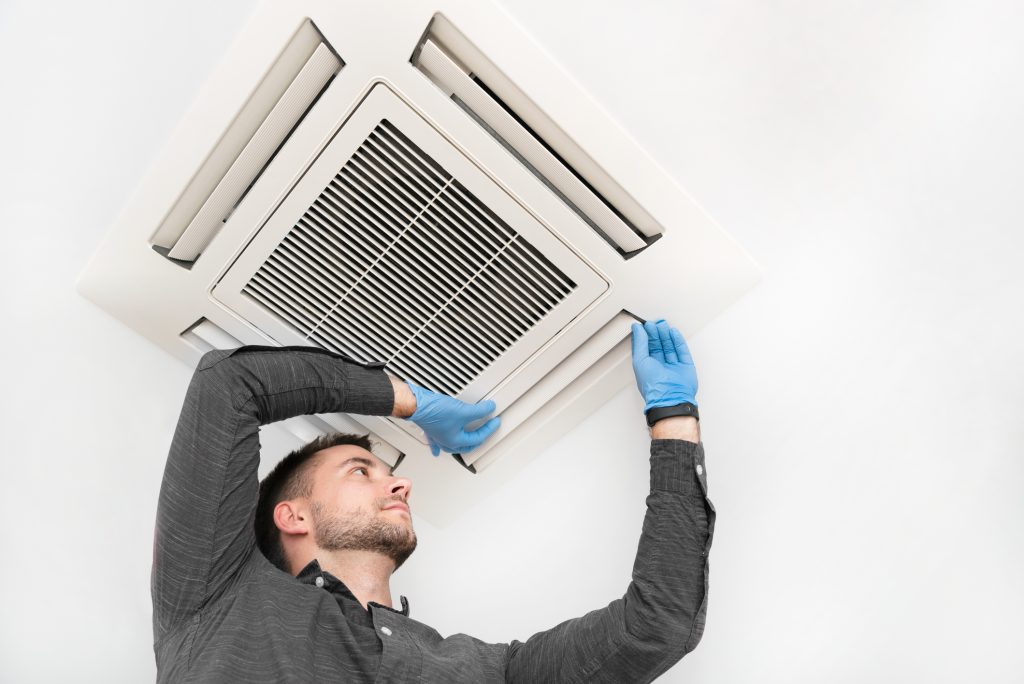
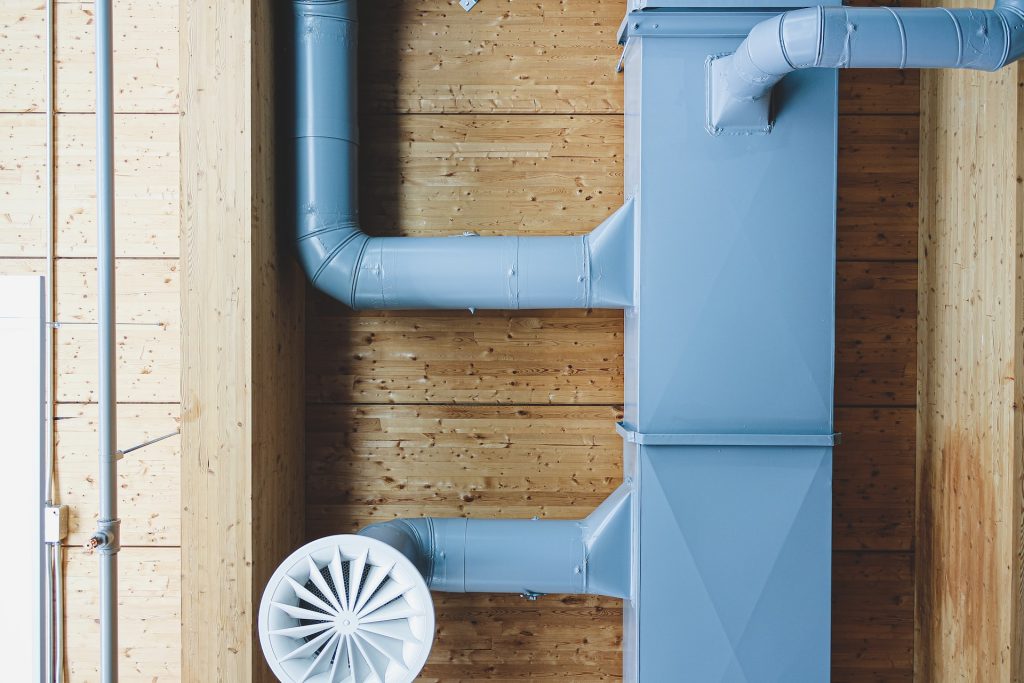
If you don’t know what air balancing is, no worries. We’ll explain what it is shortly. As your HVAC service in Phoenix, Arizona, we know what we’re talking about when it comes to home heating and cooling. Air balancing is something that can be beneficial to your home. When done right, you’ll feel comfortable in every room. You’ll feel cool in the summer and warm in the winter. This is a good solution for dealing with any prominent hot or cold spots in your home, which are signs of an air imbalance. If you want to get rid of them in your home, keep reading. What is air balancing? Air balancing is where you can adjust the HVAC system in every room of your house. This ensures that your whole house gets the right amount of hot or cold air. Overall, you want your whole house to be as comfortable as possible. Your residential HVAC system should be balanced out when it’s initially installed. As needed, adjustments to your HVAC system are common. However, you might not be able to have the temperature set to 70 degrees in every room. Try as you may, something may seem a little off. Air balance is key so you can get rid of any warm or cold spots in your house, no matter where they are. What are the advantages of air balancing Let’s take a look at the following advantages you can experience if you decide to do any air balancing in your home: Better comfort levels If you do any air balancing, this may increase all kinds of comfort throughout the entire home. In the summer, you may find yourself in a room that doesn’t get adequate air conditioning. So you move to someplace cooler. With air balancing, that won’t be the case. You can stay in that room for as long as you like and feel comfortable. If you want to know how to fix a hot room quickly, chances are air balancing gets the job done. Increased air quality Better air quality is one of the best perks to have for air balancing. Especially if you are allergic to dust, mold, or pollen, air balancing will lower the amounts of these allergens that come from the outside and gain access inside through various means. Increased HVAC system lifespan Everyone wants their HVAC system to last a long time. There’s no doubt that you can get it done. Air balancing will definitely help decrease the amount of dust and mold buildup that will occur within your system. Aside from that, increasing the efficiency of your airflow will also help add more years of service to your HVAC system. Is it possible to do air balancing yourself? Short answer: yes and no. The long answer: there is one way to do it by yourself. This includes making adjustments to your dampers. The other way to do it will require professional assistance. If you need air balancing done, your HVAC specialist near Glendale, Arizona will have an expert come to your house to get the job done. We can perform air balancing testing to see if we can make a good adjustment. We’ll make sure that every house in your home is comfortable. It’s technically possible for you to do things yourself, but some other things could be best left to the professionals, especially if you need to make sure you’re checking for everything you need. When you’re unsure of what to do, calling American Home Water & Air may be your best bet. You can also check out our other articles to learn more tips and facts about Air conditioners and HVAC systems such as “What is the coldest temperature for an air conditioner“ How to DIY Air Balance Your House If you decide to go the DIY route, you can adjust the dampers in each room inside your house. This also includes adjusting your system’s duct lines as well. To adjust the dampers, you’ll want to take a look at your vents. Close the diverters of every vent you have to force less air into the room while providing more of it to other rooms. It’s as simple as a pull of a lever. Now, adjusting the duct lines is completely different. You need to turn the lever to where the disk located inside the line is flattened. This will ensure plenty of air flow is provided by the duct line. When to get it balanced by a pro? There may come a time when air balancing can be left to the professionals. Your HVAC professionals near Scottsdale will inspect the entire system and perform the necessary tests. From there, they’ll determine what needs to be done to air balance your home in the best way possible. They may include simple damper adjustments and adjusting the speed of your fans. It can also involve major work such as replacing your supply lines or installing new dampers. Your HVAC unit may undergo major changes as well. Regardless, you’ll want to be ready to consider setting money off to the side for any professional air balancing. Air balancing prices will range anywhere from $75 to $100 per opening in your home. On average, you may expect to pay anywhere from $750 to $2000. The more vents you have in each room (or throughout the house), the more you’ll likely pay. Also, the ease of access to your HVAC lines may play a factor in how much you’ll pay. Get your HVAC air balanced now American Home Water & Air are your HVAC professionals in Phoenix, and we’re ready to test your home’s air balance whenever you need it. Want better air quality and comfort throughout your house? There’s no better HVAC professional to go to for that. Try making adjustments on your own if needed. It may be cost-effective and the best course of action. But if nothing seems to be working, that’s when you can rely on the professionals to
Is A Noisy Heat Pump A Cause For Concern?
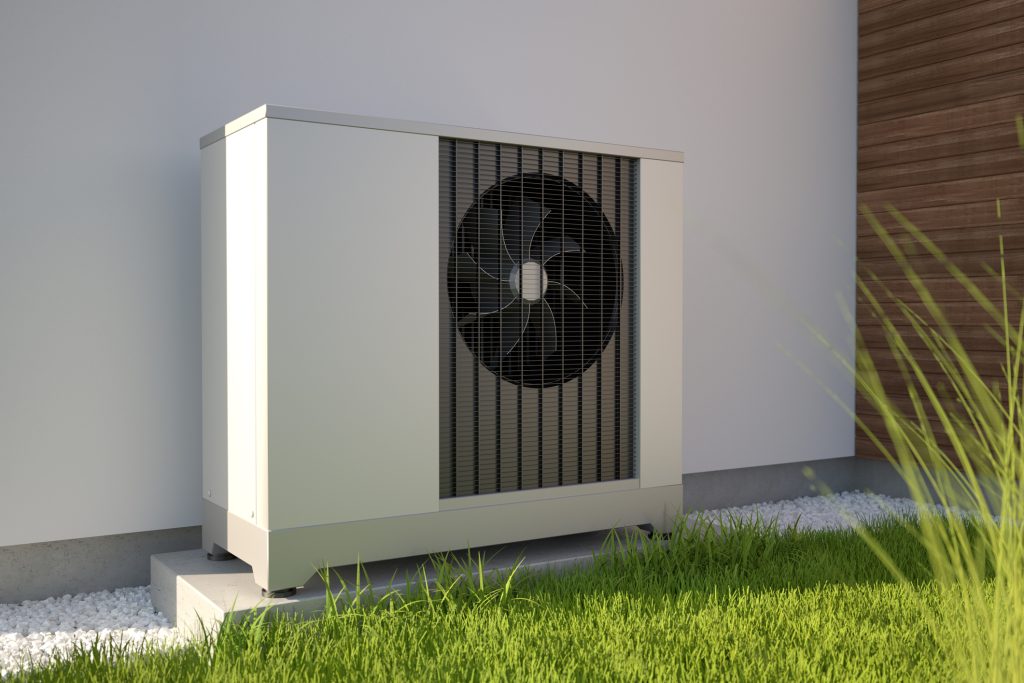
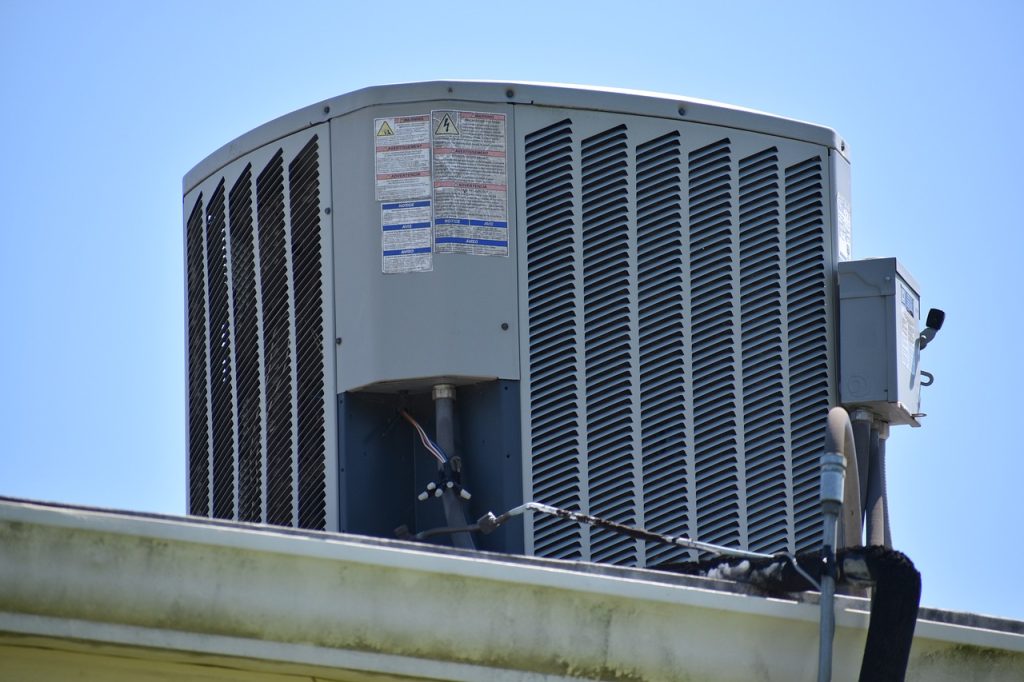
If you’re dealing with a noisy heat pump, keep reading! As your best choice among heating specialists near Phoenix, Arizona, we definitely have some info for you to keep in mind. There’s no greater feeling than keeping warm during the times when cool weather settles in (especially in Arizona). However, there can be times when a heat pump making a lot of loud noise can be distracting, and even annoying. What could be the cause? And more importantly, how can you get it to stop? In this guide, we’ll dive into what may trigger these issues and what you can do to troubleshoot them. If all else fails in terms of troubleshooting, you can rely on American Home Air and Water, your resident heating expert near Glendale, Arizona, to help you figure out the issue and take care of it from there. Remember that a properly functioning heat pump should be quiet when it’s in operation. Anything but that, and you know that you’ve got a problem on your hands. Let’s dive right in and take a look at what you can do with a noisy heat pump. How do you know when a noisy heat pump can be an issue? A potential problem can definitely cause noise from a heat pump. A noisy heat pump fan can be a symptom of something even bigger than you might expect. But don’t worry – this can be something you can try to fix yourself most of the time. Keep in mind that if all your efforts fail and your heat pump is still making a lot of loud noise, it’s best to call the professionals at AHWA. We’re experts at HVAC repairs, including heat pump issues. With that said, here are some things to look for: A louder than usual heat pump If the heat pump sounds louder than normal, you’ll hear a consistent whooshing sound. Typically this happens when the valves inside the pump are shifting. This may also happen when the heat pump itself enters defrost mode. Noises are heard when it turns on or off Whether it kicks on or shuts off, you’ll notice a noise that may occur at the same time. This can be scary if it’s something you are not used to, but you’ll quickly learn to recognize when it happens. How much noise is made can often depend on the type of compressor being used. Some heat pumps with a scroll-type compressor will also make noises when operational. Typically, these will sound more like clicks and taps when the pump shuts off. If the pump turns on, the noises will be more rickety, something like putting a sneaker in a dryer and starting it up. The overall effect may sound like the entire unit is bouncing around, but this is normal and part of its normal function. Metal on metal sounds If the heat pump sounds like metal rattling against each other, this may be one of those times when a noisy heat pump fan can be a problem. If this happens, you’ll want to shut off the heating unit as soon as possible. From there, you’ll need to take a look at the fan. The noises can be caused by the fan making contact with an object. Typically, this can be a loose component or other small objects inside the unit. Either way, you do not want to keep the fan running under any circumstances in this situation. Otherwise, you risk destroying not only the fan itself but also the motor. Repairing this can be very expensive. Humming noise If the heat pump is humming, you can easily solve the problem after identifying the underlying cause. If there are any vibration noises, you can place rubber pads where needed to buffer them. If the sounds are rattling louder, you could consider checking to see if the cover panel is secured properly. If it isn’t, make sure to go ahead and tighten the screws. These are just a couple of common solutions. If nothing else seems to work and the noises persist, you should consider calling a professional like AHWA. Buzzing, gurgling, or grinding sounds If your heat pump makes intermittent buzzing noises, this can be due to what may be going on inside the pump. Your components, such as the coils, could be having an issue. If it’s gurgling, check if the refrigerant charge levels are low. Last but not least, if you hear any grinding, check to see if the motor is working properly. These grinding sounds can mean that the motor may be on its last legs. It’s important that you check your heat pump regularly to stay on top of these issues. Some of these may happen right under the radar. And we won’t notice them until it may be too late. Maintenance tips If you want to keep things in good shape, we have some maintenance tips for you to consider. Here’s what you should do regularly: Final Thoughts If you notice a noisy heat pump, then you can usually resolve most problems if they end up being simple fixes like what we’ve covered. However, it’s important to act on it as soon as you pick up on it before further damage is caused. If the simple fixes are not enough, you can contact American Home Water & Air. We are your heat unit experts near Scottsdale, Arizona, that will help figure out the problem if all options are exhausted. If you are having trouble with your heat pump, contact us. Contact us today at 602-993-0083, and we’ll be happy to help you with your heat pump needs.
How to Install a Thermostat (Beginner’s Guide)
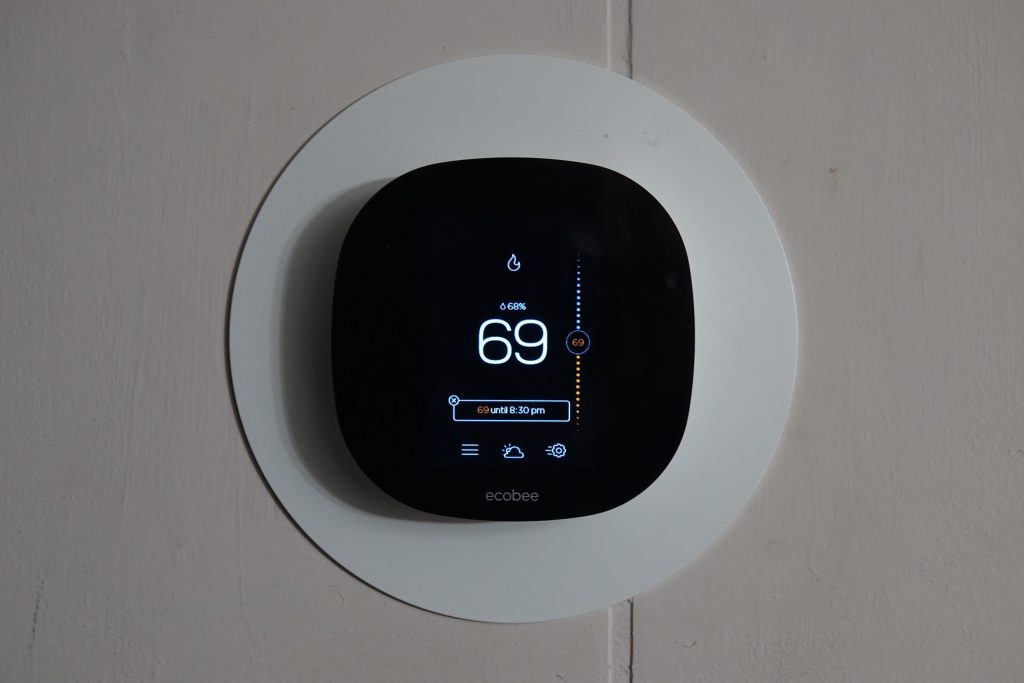
If you’re not used to performing home improvement projects, the thought of installing a thermostat can seem pretty complicated and daunting. However, the process is a lot easier than most people think and can have a lot of benefits for your home and your family’s comfort. This helpful beginner’s guide will walk you through how to install a thermostat. Benefits of installing a programmable thermostat Before we get to the beginner’s guide on how to install a thermostat, let’s quickly go over the numerous benefits. One of the biggest benefits that comes from installing a programmable thermostat in your home is that it helps save on energy usage and heating and cooling bills. The U.S. Department of Energy has stated that programmable thermostats save people about 10% on their monthly bills on average. This is because programmable thermostats allow you to set a schedule to automatically adjust the temperature depending on the time of day. You can adjust this schedule whenever you need to, which also allows you to program your thermostat to use less heat or cool air if you go away on vacation. Your thermostat instruction manual can tell you exactly how to change a thermostat. Installing the thermostat yourself is an easy task that will typically take about an hour from start to finish. Additionally, many available models are low cost — some are under $25 — and the savings gained from the thermostat will help the device pay for itself in a relatively short amount of time. Installing the thermostat by yourself will also save you money that would otherwise go to paying a professional to install it. Since the procedure is relatively simple, there’s virtually no need to hire a professional. However, if you’re looking for professional help with your new thermostat, you can reach out to American Home Water & Air for professional thermostat services. Things to do before you begin your installation Before you start your installation process, there are a few things that you should do and check to make sure you’re all clear to proceed to the first step. One of the things you should do is check the wires that run from the furnace to your existing thermostat. This way, you can find out if your wiring is set up to support a programmable thermostat. This is a key step when learning how to replace a thermostat. If you’re looking to install a non-programmable thermostat, this is still a good step to follow. You can use this process to get familiar with the wiring and how it connects to the furnace. Additionally, you’ll want to measure the hole behind the existing thermostat on your wall to make sure that the new thermostat is big enough to fully cover the hole. Now it’s time to begin installation! Here’s how to install a thermostat. Step #1: Turn off the power The very first thing you should do before playing around with any wires or electrical equipment is shut off the power to that part of the house. You can do this by turning off the breaker that’s labeled for that device or room. Step #2: Remove the old thermostat After you’ve turned off the breaker, you should go ahead and remove the cover from the old thermostat. Typically, these will pop off easily if you apply light pressure. In some cases, you may need to unscrew your thermostat cover, though. Once the cover has been removed, use a screwdriver to remove the old thermostat from the wall. Pull it out carefully from its place on the wall, but leave the wires connected for the time being. Step #3: Label the wires This step isn’t necessary, but it will make your process so much smoother (trust us). Easily label each wire by writing on a small piece of masking tape and taping it to each wire. Your labels can be as simple as writing a single letter to indicate where to attach each particular wire to the old thermostat. Step #4: Disconnect the wires Once you’ve gotten all of the wires properly labeled, go ahead and disconnect them from your old thermostat. Be careful during this part, though. If you don’t secure the wires somehow, they could disappear behind the wall, which is a huge pain to sort out. Secure them by taping them to the wall or by wrapping them around something small like a pen or pencil. Step #5: Confirm the wiring and install your new faceplate Check out the number of wires coming from the wall. If there are only two wires, it means that there is no power source directly connected to the thermostat and that your programmable thermostat will need to be powered using batteries. If there are more than two wires, the power will come from the wall. Attach your faceplate to the wall following the manufacturer’s instructions. Then, thread the wires through the faceplate. Step #6: Connect the wires Connect the wires that you’ve threaded through your new faceplate to the new thermostat. Make sure to match the correctly labeled wire to the correct spot on the new thermostat. If your thermostat needs batteries, add them now. Once the wires are connected, attach the thermostat to the faceplate and attach any cover to the thermostat. Congratulations! Your new thermostat is ready to go. Be sure that you turn your breaker back on after you complete installation. Congratulations! You did it! We bet that was easier than you thought it was. DIY projects like this one can be incredibly rewarding and are often a lot easier than many people expect. If you follow all of the instructions and safety recommendations, your programmable (or non-programmable) thermostat installation should go off without a hitch. Also, check out our article about through-the-wall air conditioner installation. Please note: If you run into any problems or don’t feel safe completing any of these steps, be sure to contact a professional to finish the installation safely.