
Can the Air Conditioner Cause Carbon Monoxide in Your House?
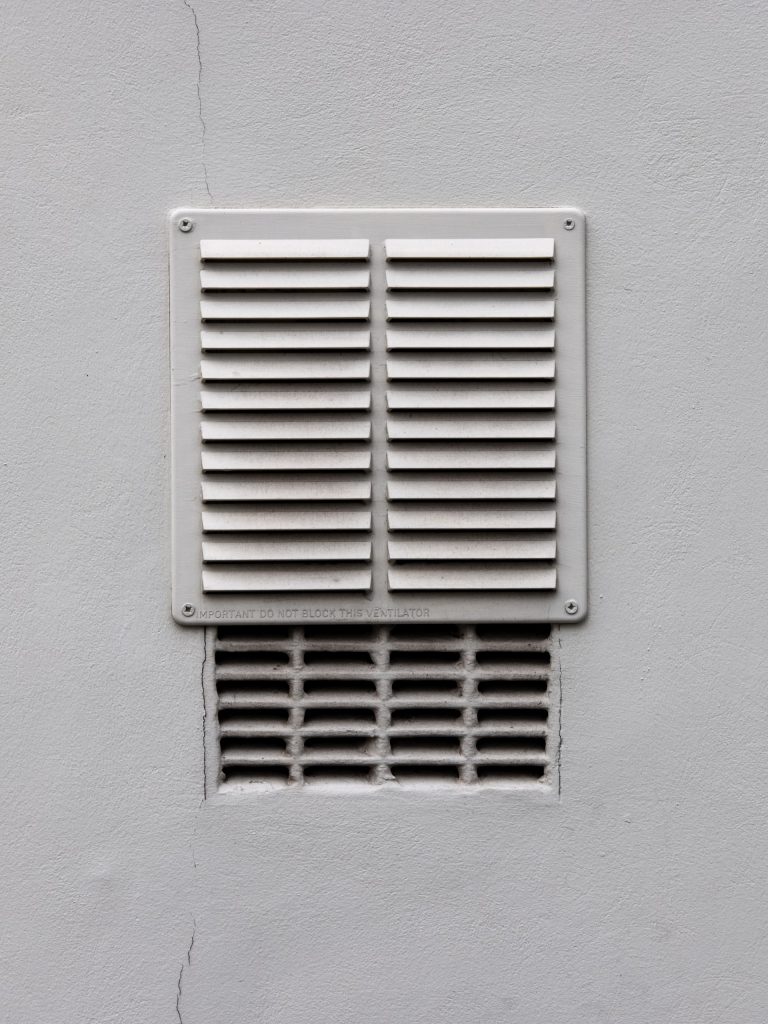
Can you get carbon monoxide poisoning from an air conditioner? Carbon monoxide is well known for its deadly effects. There are few who haven’t heard the tales of households who have succumbed to this colorless, odorless killer. The best way to prevent being affected by this dangerous gas is to be informed and take precautions to prevent it from occurring in your home. If you are among those who are wondering, can you get carbon monoxide poisoning from an air conditioner, you are in the right place. Let’s talk about some of the things you need to know when it comes to answering “can an AC produce carbon monoxide?” Can Air Conditioners Cause Carbon Monoxide? So, does your air conditioner produce carbon monoxide? No, there is no carbon monoxide in an AC unit. However, the performance of your furnace is another matter. Understanding how carbon monoxide forms and preventing it from doing so are the keys to protecting your household and we have plenty of tips to help you do just that. Carbon Monoxide Sensors While carbon monoxide (CO) sensors are a good idea, they don’t provide complete protection from this deadly gas. Low levels of carbon monoxide will not set off many sensors. They are programmed to respond only to significant levels of CO. This is the reason that those with these types of hard-wired detection devices are told to leave their home immediately if the alarm sounds. However, even low levels of CO can be harmful, especially if there is prolonged exposure to them. Breathing carbon monoxide, even at low levels, can create symptoms such as excess fatigue, recurring headaches, and nausea. It can also cause heart pain in those who have heart conditions. If members of your household begin experiencing these symptoms, don’t hesitate to seek medical attention. What To Do If You Suspect a Carbon Monoxide Leak Because carbon monoxide is colorless, odorless, and tasteless, you will need to rely on other ways to detect its presence. Once you have learned how to check for CO leaks, you will need to know how to go about remaining safe and getting help for the problem. Here are some signs you can look for before feeling any symptoms of carbon monoxide poisoning: Ignoring these signs can result in you and your family being exposed to carbon monoxide for a dangerous amount of time. Carbon monoxide poisoning can feel a lot like a hangover and should be treated immediately. If you feel you may have been exposed to carbon monoxide from an AC unit, you should act quickly. Open all doors and windows and get the members of your household outdoors into the fresh air. Quickly open all windows and doors to let any buildup of the gas dissipate. Visit the doctor to address your symptoms. Do not return home until you’ve had the CO levels in your home checked, especially if you are diagnosed with carbon monoxide poisoning. Once you’ve handled the immediate problem and it is safe to return to your home, do not use your furnace until it has been inspected. How to Prevent Carbon Monoxide Leaks Because so many carbon monoxide leaks originate from heating systems and problems with ventilation, proper HVAC service can help prevent CO leaks from ever occurring. Here are some tips for preventing carbon monoxide leaks in your home: Furnace Maintenance Before the start of each heating season, you should have your furnace and any other fuel-burning appliances inspected by a certified HVAC technician. If you have a fireplace, you should have it and the chimney inspected, as well. Regular inspections and maintenance will prevent carbon monoxide leaks from ever becoming a problem. It also allows your HVAC technician to become familiar with your equipment, so they can note any changes between visits quickly. Inspect Heat Exchangers When scheduling your furnace maintenance, be sure to request that the heat exchanger also be inspected. The heat exchanger in a gas or oil furnace is one of the most common sources of carbon monoxide leaks. What does the heat exchanger do? During the heat combustion process, the heat exchanger is responsible for venting any poisonous gases out of your home, away from the heating ducts that would bring them into your living space. A heat exchanger that has become corroded, cracked, or developed holes will not stop your furnace from working, but it will allow carbon monoxide to escape into the breathable air within your home. Clean the Flues and Vents Blockages in your chimney flue or vents can be another source of carbon monoxide leaking into your home. Dust, debris, and grime in your ventilation systems can combine to form a blockage, clogging the path deadly gases would normally take to exit your home. In some instances, you may even have small animals, birds or even insects build nests inside these areas, blocking the vents. Regular inspections allow your HVAC service provider to find and eliminate these issues before they result in a hazardous situation for your family. Takeaway To recap the answer to the question “Can you get carbon monoxide poisoning from an air conditioner?” The answer is a resounding “no.” However, you can get it from an ill-maintained furnace. There is no greater asset to preventing potentially deadly carbon monoxide from getting into your home than having it inspected, cleaned, and serviced regularly. The fall months before you turn on the furnace for those cold winter months is an ideal time to have maintenance performed. Any creatures that have taken up residence during the warm spring and summer months, any buildup and any damage can be located and corrected before the first use of the season. You can always contact the professionals at American Home Water and Air to inspect your furnace and repair the cause of the leak.
Eliminating Water Leakage from a Mini-Split Air Conditioner
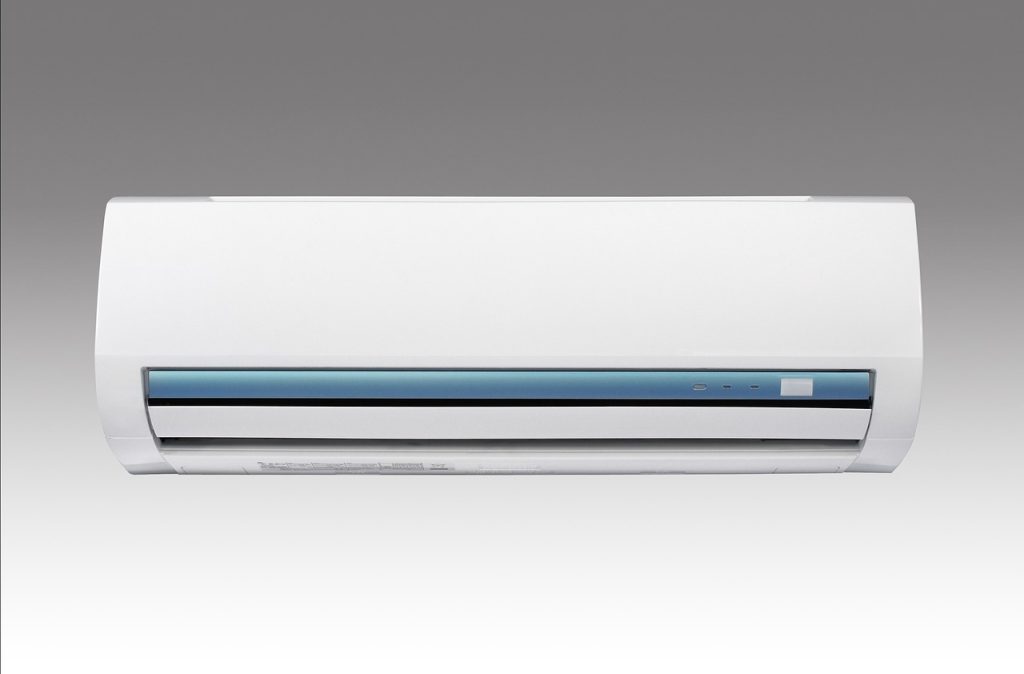
Ductless mini splits are one of the most effective and energy-efficient solutions to your heating and cooling needs on the market today. Mini split systems are versatile, compact, and operate without the need for the ductwork required by traditional HVAC systems. However, like any system, they can experience problems from time to time. One of those problems is encountering a situation where your mini split is leaking water. While there are some problems that you can easily repair, others will require a service call from a qualified HVAC technician. Dirty Filter A filter that is full of dirt and debris will be too clogged for air to move through it properly. When the airflow becomes obstructed like this, the coil will freeze. After the coil thaws, the ice that builds up on it will melt and leak from the unit. You can keep your mini split from leaking water by keeping your filter clean. Your owner’s manual should provide you with maintenance guidelines but most filters need to be cleaned twice per month. How to Clean Your Mini Split Filter In addition to leading to leaks, a dirty filter causes your system to work harder than it should. This means higher utility costs, poor air quality, and a reduced life span of the unit. To keep your filter clean and avoid your mini split dripping water, follow this guide on how to clean your mini-split filter: 1. Turn the system off Though it is not likely you will encounter a shock just by removing the filter, there is always the possibility that you might encounter a fault of which you were unaware. Turning off the system is merely a standard safety measure to prevent any chance of electrocution. 2. Locate the front panel The filter’s location may vary depending on the brand of mini split you have installed. Most are located beneath the front panel of the indoor unit. 3. Remove the filter Open the front panel, being careful not to touch the metal parts. Use a soft, dry cloth to wipe down the inside area. Pull the filter out of the unit. 4. Clean the filter Use mild detergent and water to flush out the dust and debris from the filter. Be sure to rinse it thoroughly once you are done. Place the filter in an area out of the sunlight to dry. 5. Reinstall the filter Return your clean and dry filter to the mini split unit, making sure it snaps into place. Some models may have clips that keep it locked in. With the filter back in position, close the front panel and turn your unit back on. This should stop your mini split AC from dripping water. Blocked Drainage Pipe The inside unit of your mini split has a coil that pulls moisture from the air during the cooling process. There is a drainage pipe that carries this moisture outside. If this drain gets clogged, the water will not drain properly. Instead of the water dripping outside, it backs up and drips down your wall. If your system seems to be cooling properly, any leak you see is likely because of a clogged drain. Here’s how to stop your mini split AC from leaking water. How to Clean a Blocked Drainage Pipe 1. Gather your tools You will need a screwdriver, duct tape, a vacuum, and a water bucket. 2. Remove the casing With the system powered off, open the control panel and remove the filter. Remove the screws that hold the casing in place. 3. Remove the drainage line The drainage line is usually found at the bottom of the unit. Remove any screws that are holding it in place. Pull the hose downward, unwrapping any tape securing it, and allow any water backed up inside to flow into a bucket. 4. Clean the drainage line Use your vacuum to suck out any dirt and debris that have accumulated in the line. 5. Reassemble the unit and test Once the drainage line is clear, reassemble the unit just as it was before and test it to see if your mini split is still leaking water. Leaks Requiring Professional Service In some cases, you may have more extensive issues that are causing your mini split to leak. If you are knowledgeable, you may be able to address some of these yourself, but most are better left to a professional. Tainted Thermostat A buildup on your mini split’s remote control thermostat can cause the system to fail at regulating its temperature effectively. You should have it professionally cleaned to correct the problem. Clogged Indoor Unit The indoor unit of your mini split includes a fan that can get clogged by dust and debris. If this happens, the system cannot blow out the air it is designed to produce and may begin to leak. If you are comfortable getting into the inner workings of the unit, you might be able to clean it yourself. Otherwise, contact a licensed HVAC technician. Refrigerant Leaks You may have developed a refrigerant leak which has resulted in your unit becoming low on refrigerant. This can cause the inside condenser to leak profusely. What you are mistaking for a water leak might actually be a refrigerant leak. You can tell the difference because a loss of refrigerant will also cause your unit to not cool. If you are losing refrigerant, contact a professional as exposure to refrigerants is a health hazard. Leaking Seals Your ductless mini split may develop leaks around the door seal if it has gotten ripped or worn. If you have opened the access panel to the system, the panel gasket may have been damaged. A professional can quickly repair your seals. Damaged Drain Pan Your mini split’s drain pan holds the condensate that forms from the coil’s contact with humid air. This pan can develop rust or become damaged over time, leaving it to leak fluids rather than storing them until they exit through the drain line. You
When and How You Should Upgrade Your HVAC System
Upgrading your HVAC system can be a substantial expense, so most people want to be sure it’s the right time to make HVAC upgrades before they make the investment. No matter how well you maintain your HVAC system, it will eventually require replacement. If you are looking to upgrade your heating system before winter or looking at upgrading that AC unit you had trouble with during the summer, here are some ways to know if it’s time. When to Replace an HVAC System If you are experiencing any of the following situations, it is time to look into investing in HVAC upgrades. 1. Your HVAC System is More Than a Decade Old When was your HVAC system installed? If the answer is more than ten years ago, then you may be due an HVAC upgrade. According to the Department of Energy, homeowners should replace their heating and air conditioning systems every ten to fifteen years due to deterioration. Some older units may also contain outdated refrigerants. 2. Repair Costs Have Exceeded Half the Cost of Replacement Whether your HVAC has gotten older, been abused, or suffered damages leading to poor operation, repairs to keep it running can add up quickly. While most HVAC systems require some repairs and maintenance, this should not be allowed to become excessive. If you find yourself making constant repairs, especially if some of them are the same ones time after time, you should look at how much those repairs have cost. If they add up to more than half the price of a replacement, it is time to upgrade your system. 3. Increased Utility Bills Heating and cooling systems can add up to as much as 40-50 percent of our overall energy costs each year. Compare your energy usage listed on utility invoices for the same months during previous years. If you are using more energy with no explanation, your HVAC system could be the culprit. With age, HVAC systems become less efficient and use more energy. If you have been diligent with repairs and maintenance, a significant increase in utility costs may be your sign that it’s time for an HVAC upgrade rather than just a simple repair. 4. Temperature Fluctuations There are many reasons why your HVAC system might not be able to maintain a consistent temperature. You could have a damaged or failing thermostat, low fluids, dirty filters, cracked ducts, or motor damage. It might also mean that your HVAC system isn’t powerful enough to cool your home or that you have improperly installed ductwork. If you are looking at substantial repairs to tackle a temperature control problem or have made structural changes that may have reduced efficiency, consider upgrading your HVAC. 5. You’ve Noticed Heavier Dust Collection HVAC systems not only produce heat and air, but they also facilitate air circulation and ventilation. When working efficiently, your HVAC system should remove most dust, dander, and debris from your home. An increase in the presence of dust may mean your air conditioning system is no longer doing an adequate job of removing particles from the air. 6. Odd Odors While some smells can arise from dust burning off, others can be a sign of melting wires or mold on the ducts. If you consistently experience unpleasant smells coming from your HVAC unit and have had it inspected and serviced, it might be due to aging components creating odors due to poor operation. 7. Strange Noises Your HVAC system should operate quietly enough that it isn’t a disturbance. If it has begun to grind or squeal, it is not functioning properly. An inspection from a licensed professional can help identify the cause and recommend repairs or suggest replacement. 8. Low Air Quality Summer can be very unhealthy for those who have a poorly operating HVAC system. The reason for this is that the heat of summer can bring with it mold, mildew, dust, and higher humidity than usual. If you have noticed an increase in problems with any of these during the warmer months, it may be because your HVAC system isn’t properly circulating and filtering contaminants that enter the air in your home. If you are having any of these issues despite your best efforts to keep your HVAC system properly maintained and serviced, you may be fighting a battle you can’t win. A qualified HVAC expert from AHWA can inspect your system and help you determine if it’s time to upgrade your HVAC. The cost of replacement will pay for itself in reduced energy and repair costs. You’ll feel healthier with the improved air quality and reduced stress from high energy bills. HVAC Upgrade: Where to Begin If you are reading this, you have already begun the process of considering an HVAC Upgrade. Your next step should be to set up a consultation with a heating and cooling specialist to assess your situation. Together, you can work out what sort of budget you have to work with and what your needs are. Perhaps money is tight and you need to stick with the basics. A qualified HVAC technician can help you find an affordable system that provides the essentials for your home. If you can afford more, you can consider additional conveniences such as floor heating, programmable thermostats, built-in humidifiers, or additional filtration. In some cases, you may find that your system is in better shape than anticipated and explore options for revitalizing or expanding it to better meet your needs or reviving it enough to buy you time to pay for a replacement. It is always better to hold out for a better quality system rather than installing a bargain HVAC system that won’t last. Though you will pay more for higher quality, it will be worth it in the long run. Whether you decide to replace your HVAC right away or buy some time with your existing unit until you can afford a more preferable system, AHWA can help you install your AC and make the best decision
Best Air Conditioning Options for Old Houses
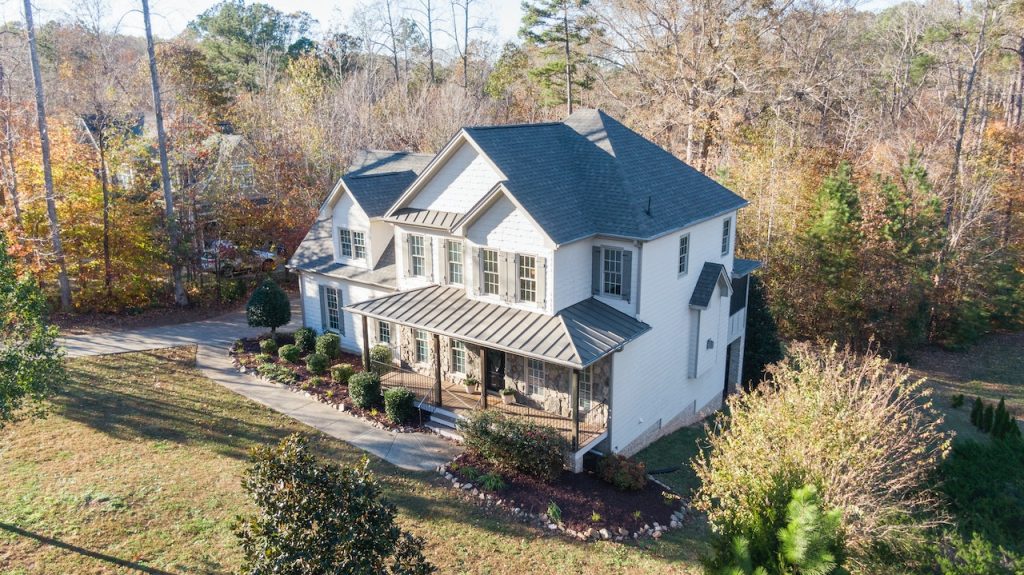
Those looking to install air conditioning for old houses face several problems. One is that most older homes lack ductwork. Another is that there is usually no room to add an HVAC system in a home that wasn’t built with it in mind. Often, the electrical system isn’t adequate to handle the additional power load. Adding ductwork to install air conditioning for old houses creates its own set of issues. Even if there is enough space for the ductwork, the installation will usually require alterations to the original plaster, woodwork, and floors. It may involve lowering ceilings and a loss of closet space, which can be both inconvenient and expensive. Your best heating and cooling options for older homes will minimize the damage to the existing structure and work with your current electrical grid. Let’s take a look at some of your air conditioning options for older homes. VRF Systems VRF is a ductless air conditioning system that uses an outdoor condenser unit and multiple indoor units. It works much like central air conditioning, except without ductwork. Instead, refrigerant lines connect the indoor units, taking up much less space and requiring minimal renovations. One of the biggest advantages to this type of system is that it can heat and cool individual areas at the same time. You can even create temperature zones to adjust each area in your home independently rather than heating or cooling the entire house like you would with a ductwork-based HVAC system. Ductless systems have the advantage of superior energy efficiency, saving most households as much as $1,000 to $2,000 per year in utility costs alone. In addition to savings, this also translates into a smaller environmental impact. High-Velocity Systems High-velocity systems also operate in much the same way as central air conditioners. They do require ductwork, but the highly flexible ducts they utilize are only about 2 inches in diameter. This makes them much easier to place without damaging the original structure of the home. The operational units are compact, allowing them to be easily placed in attics, basements, and other small spaces without being obtrusive. If you are looking for an energy-efficient option most similar to traditional central air conditioning then this is a great option for air conditioning for older homes. Window Air Conditioners If you are looking for a solution that doesn’t involve permanent changes to your home, you can always opt for a window air conditioning unit. These are quick and easy to install, but you’ll have to give up some window space in order to accommodate them. The downside to this solution is that many people find window units give their home an unattractive appearance and they can be very noisy while in operation. Because they take up window space, they also affect the amount of natural light entering your home. They decrease home security because they can be removed by home invaders to obtain access. You can install them through the wall, but the premise is much the same other than you’ll have to create a hole in your wall to accommodate the unit. Plus, you’ll need to consider that you may need more than one unit to keep your home cool. Ductless Mini Split Air Conditioners Ductless mini-split units consist of an indoor air handler and an outside condenser unit. The two components are connected by electrical wires and refrigerant lines through a hole in the wall no larger than about 3 inches wide. The high energy efficiency, simple installation, and minimal design make this system ideal for older homes without existing ductwork. You can set your home up into zones that you can control with a remote, allowing you to maintain the temperature in each area at suitable levels. For instance, if you have a hobby room you only use on weekends, you can keep it at a higher temperature during the week and set it to cool down more on weekends while the rest of your home is cooled more consistently throughout the week. Portable Air Conditioners Portable air conditioners can be a simple solution to cooling your home if you don’t want to give up window space or worry about installation. You can set up a portable unit anywhere in your home that has a nearby window and an electrical outlet. You only need to place the flexible hose for draining outside through the window and plug it in. The drawback to this solution is that the units are noisy. If you opt for this type of cooling system, you’ll want to check the decibel rating on the box and purchase one with the lowest rating you can find. Traditional Central Air Conditioning If your home has the room to add ductwork and you don’t mind the renovations it involves, then there is always the traditional central air for older homes to be considered. The advantage of this system is that it provides simple, all-over heating and cooling without a lot of fuss or hassle with programming or zone setup. While the unit itself can be less expensive than some of the other choices, you may find that the added costs of renovations and installation time may offset any savings you were hoping to find. This type of system also tends to be less energy efficient than ductless systems, costing you more for energy consumption. As you can see, there are several options from which to choose when looking into air conditioning for older houses. You will need to consider which one best suits your needs and budget. Also, keep in mind that the electrical system in your home may not be up to the task of adding modern appliances. In addition to choosing a system, you’ll want to evaluate your electrical system to ensure it can handle the additional power demands. If you’ve never had your electrical grid evaluated, this is a good time to take care of that. Older homes can fall victim to faulty wiring, the most common cause of house
UV Light for HVAC: What Should You Know?
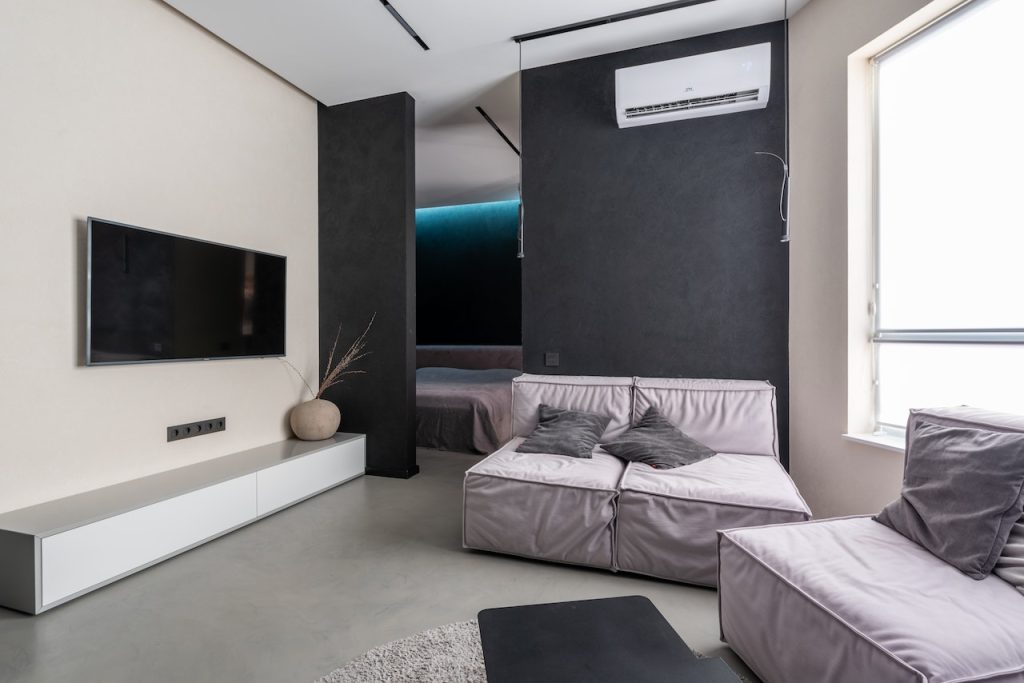
Ultraviolet (UV) light was first used for human benefit in the early 1900s to treat tuberculosis. In the years that followed, scientists found it increasingly useful in situations where they needed to eliminate as much contamination as possible. These days, you’ll find UV light used in a wide variety of settings for sterilization. UV light is used to sterilize surfaces in hospitals. It is used in water treatment facilities and restaurants to remove germs. You’ll even find it in nail parlors or perhaps in your own home where you might possess a small UV light to cure gel nail polish. It stands to reason that ultraviolet light for HVAC would be equally as effective at removing germs, mold, mildew, bacteria, and other such pollutants, creating cleaner air in your home. UV light for HVAC will kill any such pollutants within its reach, keeping the inner surfaces free of contaminants that can otherwise build up there and be sent back out into the air of your home. Those who use UV lights in their AC system experience vastly improved air quality. Types of HVAC UV Lights There are two kinds of UV lights for HVAC systems that you should understand in order to decide which is right for you. UV light has been proven to eliminate more than 97% of the bacteria in certain commercial settings. You’ll see similar results in your cooling system with the installation of a UV light for your HVAC system. Though no precise percentages have yet been established due to the many variables from one HVAC system to the next and the vastly different circumstances in individual homes; studies do show that bacterial levels in HVAC systems with an added UV light system are significantly lower than those units without the addition of UV light. UV Light System Costs The initial cost of purchase and installation of a UV light system will vary depending on your HVAC system and which type of UV lights you select. You can request an evaluation and estimate for adding UV lights to your HVAC system from an American Home Water and Air professional. Additional considerations will include the following: Getting the Most from Your HVAC UV Light System An HVAC UV light system can work wonders for improving the air quality in your home, but it can’t do the job alone. If you want the cleanest air possible, you’ll want to address some other areas affecting your air quality, as well. Benefits of HVAC UV Lights Hopefully, you now understand what a UV light system for your HVAC does, but how does it truly benefit you? Many improvements can be seen from the addition of a UV light system. What are the Cons? As you can see, there are many benefits to installing an HVAC UV light. A UV light is only going to be as good as your overall system allows it to be, however. You should first make sure you have taken all of the other measures mentioned to create quality indoor air before adding UV light to your system. Those who experience excessive airborne pollutants in their home will find their health adversely affected over time. If you want to experience the cleanest air possible in your home, your HVAC system is a great place to start. You can give the experienced professionals at AHWA a call to evaluate your system and suggest which UV system for HVAC is best for your needs.
Can a Bad Thermostat Cause AC Not to Cool?
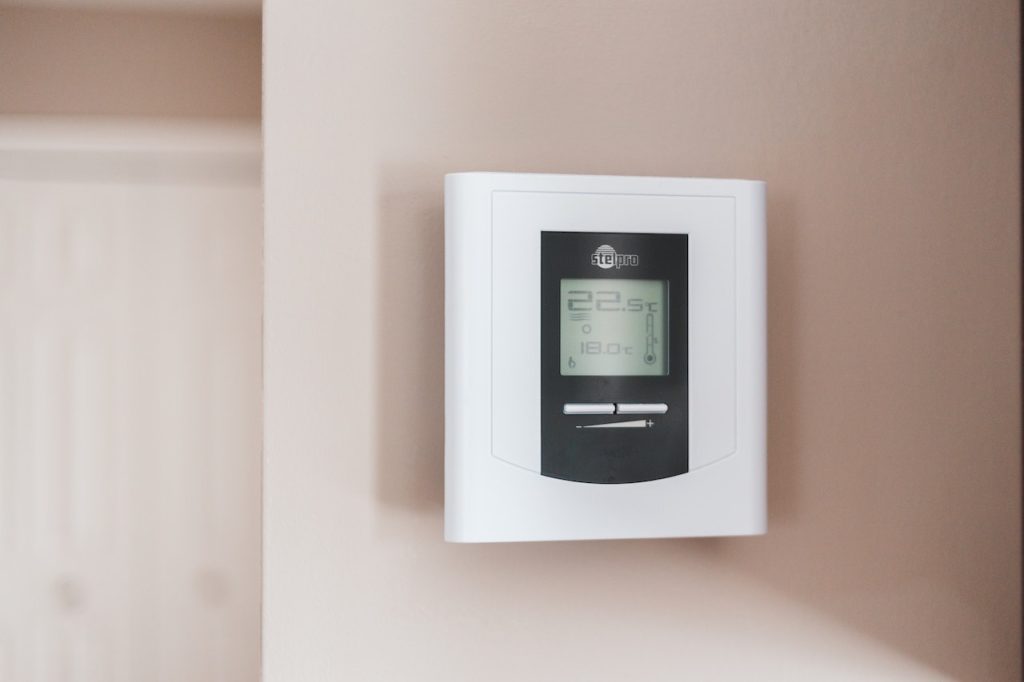
Nothing is worse than finding your home without air conditioning on a hot Arizona day. If this has ever happened to you, then you know just how frustrating it can be to perform thermostat troubleshooting, locate the problem and correct it, especially if you can’t fix it yourself and are faced with getting last-minute or after-hours repairs from a professional. Your system can fail for many reasons. A common problem with many systems may be found with the thermostat on your wall, requiring a bit of thermostat troubleshooting. Let’s take a look at some of the most common thermostat problems found in many homes which may be causing your system to fail. Thermostat Placed Incorrectly Many people don’t realize that it matters where the thermostat is placed. A thermostat installed in a poor location can interfere with the way the system is designed to function. In some cases, the thermostat may have been placed correctly when the system was installed, but subsequent renovations have created a problem. It’s best to never expose thermostats to direct sunlight. Because the thermostat operates as the central command for your HVAC unit, the heat from sunlight can greatly affect the overall operation of your system. With the higher temperature created by sun exposure, the thermostat may register that the temperature is much higher than that of the area around it. Because your thermostat thinks it is much warmer in your home than it actually is, the thermostat will tell the HVAC unit to run when it shouldn’t, creating an excessively cooler home and running up your utility bill If your thermostat is placed in direct sunlight or near any heat source that could cause this behavior, contact an HVAC expert to relocate it for you. Dirty Thermostat Is your HVAC thermostat not working properly? Just like the rest of your home appliances, your thermostat may begin to operate incorrectly if it hasn’t been properly cleaned. A coat of dust, dirt, or grime can gum up the sensors and prevent them from reading your home’s temperature incorrectly. Be sure to wipe down the outer portions of your thermostat routinely and have routine maintenance performed, and note that a professional will clean the thermostat as part of the service. If you do work in your home that may stir up debris that can get into your thermostat, be sure to cover it. Otherwise, you may find a build-up that can create problems and require additional cleaning to return your system to proper operation. Unlevel Thermostat If your thermostat is not sitting evenly along your wall, it may not work properly. This is especially true with those that employ a mercury bulb to detect temperature. This happens because the thermometer must be level in order to function; if your air conditioning thermostat is not working, it may be because it can’t detect the temperature at all. If you notice that your thermostat is tilted, this can be a source of trouble for your system. The installer needs to correct the problem. If the thermostat was installed properly but has become tilted due to the settling of the home or some other alteration, you will need to contact a professional to return it to its correct placement. Old Thermostats Can a bad thermostat cause your AC not to cool? Yes. Just like any other appliance in your home, thermostats get old. The wear and tear over the life of your system can render them inoperable or show signs of faulty operation before the rest of your system requires replacement. You may note that the efficiency at which your system operates begins to wane over time or that your system stops working altogether. If you are experiencing trouble with your thermostat operation, AHWA can diagnose the problem and replace the faulty thermostat for you. In some cases, you may be able to upgrade to a newer thermostat with programmable features you can operate from your phone or a remote. Low Thermostat Batteries Many people don’t realize that their thermostat contains batteries. While not all of them do, those that are battery-powered can fail if their power source becomes weak. Be sure to replace your batteries immediately upon getting an indication that your batteries are low. Otherwise, you risk fluctuating temperature readings that cause your unit to kick on or not kick on, creating uneven cooling. Eventually, the batteries will die, and your HVAC unit will cease to come on at all. Improper Installation of Thermostat It can be tempting to self-install a new thermostat when you have a failure, but it is not always the best solution to your problem. You may save a few dollars upfront but can run into problems due to improper installation down the road. Always have a professional who is trained and experienced in HVAC installations to take care of any repairs you need. If you are seeing obvious signs of improper installation such as loose wires or sparks coming from your thermostat, you should not use the unit. Contact a licensed professional to do an inspection and make repairs. The damage can go far beyond just what you see at the thermostat box if it has been left unattended too long. While there are many things you can do on your own, sensitive components like your thermostat should always be left to someone certified in their repair. Thermostat Recalibration is Needed Part of the HVAC system manufacturing process is the calibration of thermostats. This practice improves the accuracy of the component, making it more reliable in operating your unit. However, this calibration can become less accurate with time and use, leading to air conditioner thermostat problems. The solution is to have your thermostat recalibrated. Otherwise, you may begin to experience uneven cooling in your home. Whatever issue you are having with your thermostat, the professionals at AHWA are always ready to perform thermostat troubleshooting and provide the repair or replacement you require. While regular maintenance of your HVAC system can prevent many
How to Reset an Air Conditioner
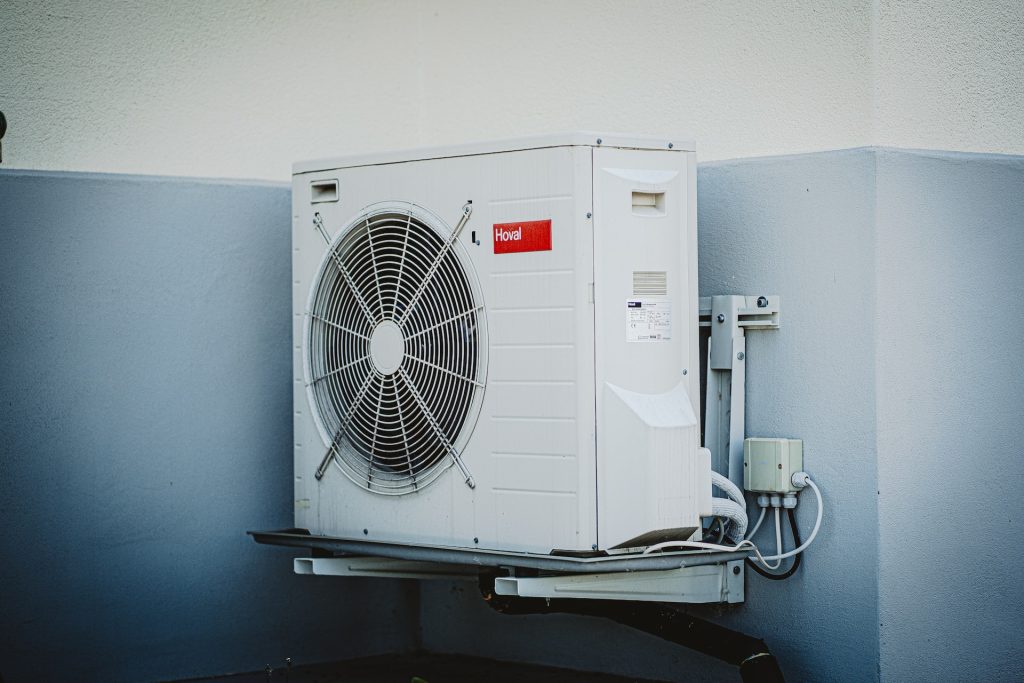
Air conditioners are a blessing on a hot Arizona summer day. Hopefully, you have had routine AC maintenance performed so that you are ready for the season. The last thing you need is for your cooling system to go out when you need it most. However, if you have an issue, you can always try a bit of AC troubleshooting to get it back to work, keeping you cool. A reset may be in order if your AC is not blowing cold air, AC is off but the fan keeps blowing, or has stopped working altogether. This simple process may be all it needs to return to correct operation. You will need a flashlight and a timer for this process. If you have a smartphone, you’ll find it might be a substitute for both. No other tools or expertise is needed to perform a reset. Why Your AC Needs Resetting It may be as simple as a power outage. If you have had to cut the power for some purpose or the weather has interrupted your power supply, in some types of air conditioners, the circuit breaker for the AC might have been tripped. This happens when fluctuations in the power flow threaten the system’s operations. The breaker will trip to protect your AC unit from harm. It is a safety mechanism meant to protect your system and home from damage in the event of a power surge but can sometimes kick in if underpowered. Another reason you might need a system reset might be that you’ve had an electronic issue with your thermostat. If you have set the thermostat to cool, it may not be transmitting this information properly to the rest of the system causing the so-known AC light blinking issue. This is especially true with digital thermostats that function as mini-computers. Just as you would sometimes call a computer repair service and be told to turn your device back off and back on, the same applies to your AC unit. In either instance, this kind of simple reset can correct the issue and save you a lot of time trying to figure out what the cause of the problem might be when your system just needs to be reset. Follow the directions in the next section to see if a reset might be the solution to your problem. How to Reset an AC If you have a window air conditioner, resetting it is relatively simple. Most ACs have a reset button located either near the power plug or within the control panel on the unit. Simply press this button for a few seconds to reset the unit. Once you have let go of the button, wait ten minutes for it to reset, and then turn it back on. If you cannot locate a reset button, simply unplug the unit, wait five minutes, and then turn it back on. In the event that the problem is not caused by some failure within the system but is merely a bit of confusion in the electronic components that send signals to the system, this should correct your problem. If this fails to do so, you will need to do a bit more investigation into the problem to determine the issue or contact an HVAC technician to take a look at the unit for you. The qualified professionals at AHWA can quickly diagnose the problem and recommend a solution for you. For central AC units, the process of resetting the system is a bit more complex. Unlike a window AC, the reset button for your central unit will be located on the AC unit outside, but there are a few more steps you’ll need to follow to reset the entire system properly. Just follow the instructions below to get your system back up and running in no time at all. Steps to Reset your AC Unit First, turn the AC unit’s thermostat to the “off” position. Once you have done this, you will find the reset button on the ac unit outside. Walk out to where the outside portion of your central unit is located and check the wall of your house near the condenser unit. There, you should find a power supply box with an “on/off” switch. Flip this switch to the “off” position. Next, return to your house and go to your circuit breaker box with your flashlight and timer in hand. Hopefully, you already know where the breaker box is located. If not, check the basement, utility closets or rooms, and the crawl space. In some cases, you might find it in other locations of your home, especially if it’s older. However, typically you will locate it in one of the locations listed. Depending on where your circuit breaker box is located, you may need your flashlight to see better, so have it on hand. Once you have found the box, find the breaker that controls the power to your AC unit. These are usually marked either on the breaker or on a chart inside the breaker box door. Flip the breaker to the “off” position and set your timer for 60 seconds. Once the timer has clicked off 60 seconds, reverse your steps. Switch the circuit breaker that controls the central unit back on and go outside to turn the power back on to your condenser. Next, return to your thermostat and set it back to cool at your desired temperature. Your AC should start up and begin cooling your home. If it does not, you will need to contact an HVAC technician to take a look at your system and determine the problem. Conclusion If the steps above did correct your system, but you find yourself having to repeatedly access the reset button on the ac unit outside, you may still have a more significant problem that needs to be addressed. Though resetting your AC is a simple fix, it is not something you should have to do very often. If you need help, AHWA
HVAC Tips for the Summer
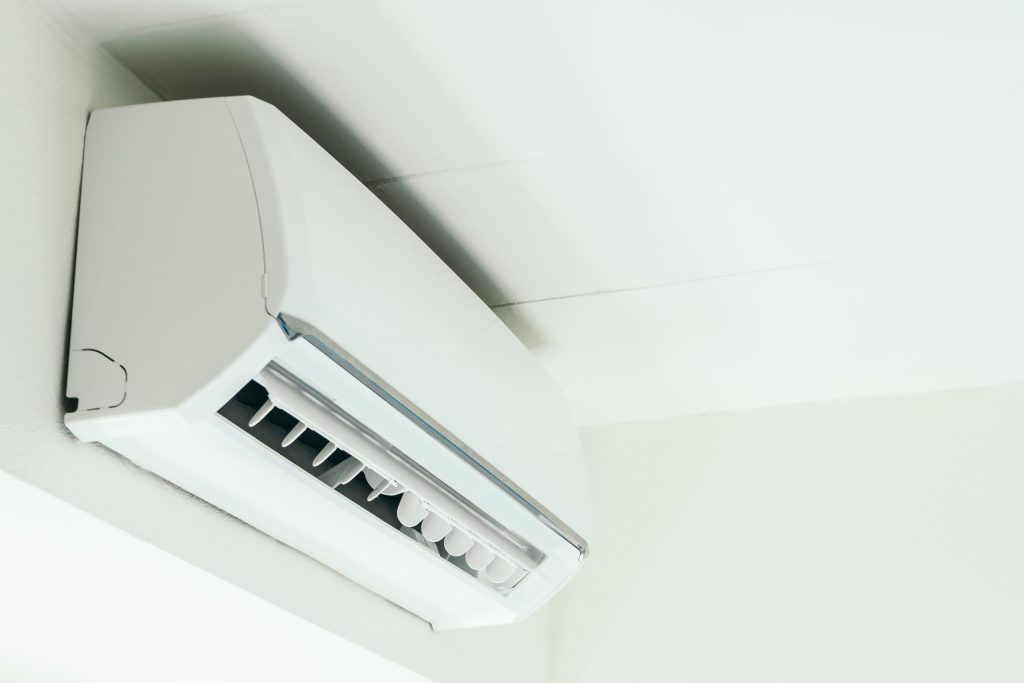
With the arrival of summer, everyone is looking forward to spending lots of time in the great outdoors. Summertime outings to go hiking, camping, fishing or whatever else you enjoy are always something to look forward to, and chores like lawn mowing, gardening or other yard work can really work you into a sweat. As the temperatures climb, you’ll also be looking forward to stepping back into the cool comfort of your home when the day is done. Arizona temperatures during the summer months can be real scorchers. You’ll use your HVAC system more as the humidity and temperatures rise. You will want to do all you can to keep it running smoothly, providing cool air and sparing you from unnecessary repairs that can impact your finances and your free time. No one wants to sit in a house that is hotter than their front yard in the middle of a summer day. To take the best care of your HVAC system, you’ll need to understand how it works. We’ll explain some of the different components you’ll need to become familiar with to maintain your system in the following HVAC tips. Here are some of our best HVAC tips for summer and for dealing with Arizona heat. The first of our summer HVAC tips is perhaps the simplest. The air filter in your HVAC system keeps particles out of the air, leaving the air flowing into your home clean and odor-free. Proper air filter maintenance reduces allergens and dust that affect the air quality in your home. It is recommended that you change your air filters at least every few months, but in the summer, when you are using your system considerably more, you may need to replace it as often as monthly. At the start of the season, put in a fresh filter and change it as often as necessary to keep your system working at optimum levels. The type of air filter you choose can also make a difference in the air quality of your home and the energy efficiency of your HVAC system. Choose the one that best suits your needs and budget. Did you know there are batteries in your HVAC system? Consult your system manual or search your system online to see what kind of batteries you need, how to change them and how often to do so. Typically, batteries only need to be replaced every couple of years as part of routine maintenance. You can handle this yourself or consult your HVAC technician to see if it was included in your yearly maintenance. If it wasn’t, or if you haven’t had professional maintenance done, you can purchase batteries at most hardware outlets or from your HVAC service provider. If you change them yourself, it’s a relatively simple, straightforward task. You’ll only need a screwdriver to remove the screws on the battery compartment and the replacement batteries. If you haven’t checked your batteries but notice the display on your digital thermostat has dimmed or is flickering, you’ll want to change the batteries immediately. Failure to do so could mean you are not getting a different temperature than what you have set your thermostat to regulate. One of the best HVAC tips we can give you is to do preventative maintenance. Having the ducts cleaned and inspected before the summer can keep your system working at the most energy-efficient level possible. A professional can remove built-up dust, debris and dirt from the air ducts that you may not realize are there. Not only will this keep your system running well, but it will also keep the air quality of your home at optimal levels. Your technician will also ensure your system is correctly balanced if you have a forced-air heating system that runs during the colder months once the summer has passed. An energy audit will ensure that the ducts are all in good condition, with no cracks or disconnections. Certain components of your HVAC system need to be inspected regularly. One of these parts is the blower motor. This motor is a primary part of your heating and cooling system. It pulls air from the return ducts and forces it back through the system. A fan turns on the motor inside the HVAC unit, which is connected to it with a belt. This belt is vital to the system’s operation and should be inspected yearly when the rest of the system is checked. A defective blower motor or a damaged belt could cause the system to run poorly, providing you with poor cooling and increasing your utility bills dramatically. Additionally, early detection of problems that need to be repaired or components that need to be replaced can avoid more extensive repairs down the road. Perhaps one of the most critical HVAC summer tips we can give you is to do proper maintenance on your system. The best time to schedule maintenance is in the spring months, before the summer season takes its toll on those long hot Arizona days. A good inspection and tune-up will get you ready for the season ahead and prepare you for the cold months to follow. A properly serviced system will keep you cool all summer and reduce the cost of running your HVAC system by making sure it is clean and running as the manufacturer intended it avoiding some common AC issues such as blown AC fuses. In the long run, regular professional maintenance will ensure that you stay cool during the hottest days of the year without interruption. Maintenance costs may vary depending on the age of your system and what must be done to get it operating properly. No one wants to find themselves without a cooling system in the summer. Our HVAC tips can help make sure that doesn’t happen. Unexpected failures can be costly and create discomfort in your home. Investing in preventative maintenance can save you on unexpected repairs later. You can call the HVAC experts at American Home Water and Air to
8 Common AC Problems and Solutions
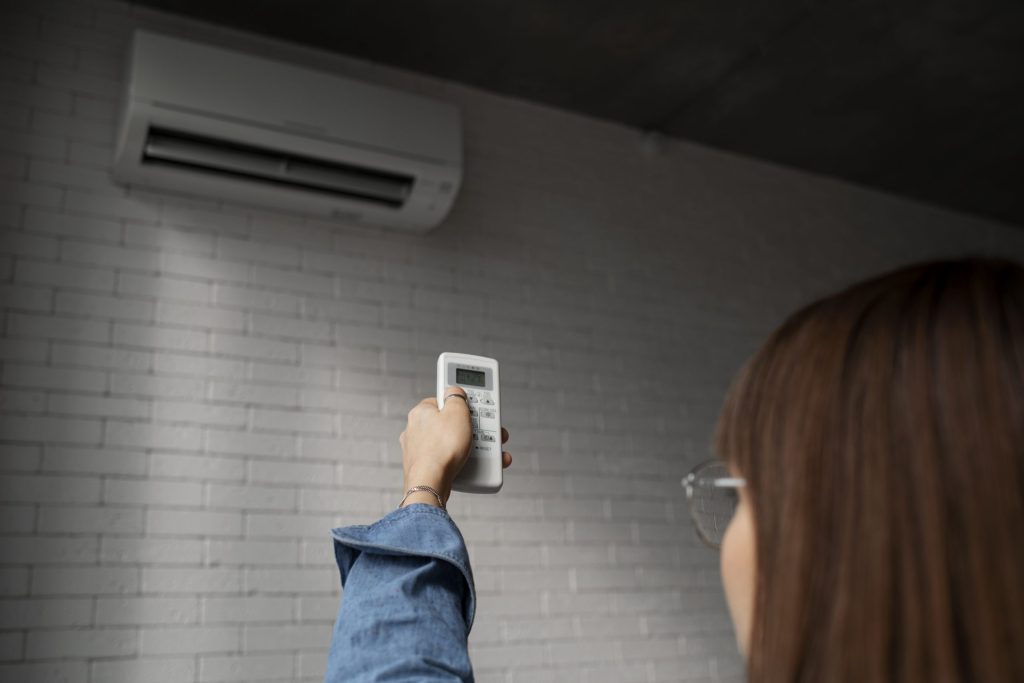
At some point, many of us will find that we need to look into common AC problems and solutions. If your air conditioner isn’t working correctly on a hot Arizona summer day, it’s usually quickly apparent. It is helpful to understand the most common AC problems. Once you understand common AC issues, you can take quick action to prevent them from escalating to complete system failure. Let’s take a look at the ten most common AC problems and solutions: In the heat of summer, your air conditioner will run more than usual. Still, it should not run without stopping. If your AC isn’t taking a breather from time to time, it risks damage to crucial elements and increases energy costs, causing your utility bill to rise steeply. Problem: A constantly running AC is one of the most common air conditioning problems noted by homeowners. If your air conditioner keeps running when turned off, it could be one of several issues. Solution: You may have a clogged air filter. Check to be sure your air filter is clean and placed correctly and see if that corrects the problem. If not, you may have issues with your thermostat, compressor or other electrical elements. You can contact a professional at American Home Water and Air for assistance. Nothing is worse than realizing the temperature in your home is rapidly rising because the air conditioner isn’t kicking on when it should. If you’ve adjusted the thermostat in hopes of it coming back to life and it hasn’t, you’ll have to find a fix. Problem: It could be a tripped circuit breaker. Investigate to see if the AC or something else is causing the breaker to trip. You may need to unplug something on the same circuit to reduce how much power is being pulled. If the breaker hasn’t shut off or you can’t get it to stay on, you may have a faulty thermostat or loose wiring. Solution: You should always consult a licensed HVAC technician to make repairs involving wiring. A professional can diagnose the problem with specialized equipment and safely make repairs. If you can hear your HVAC unit running, but either no air is flowing, or the air flowing is not cool, you are wasting electricity without the desired result of a cool home. Problem: A lack of cool air could be due to a tripped circuit breaker shutting down part of the unit but not all, a worn blower belt or low refrigerant. If air is flowing, but it is hot, you might have a dirty filter, obstructed ducts or debris in your compressor. Solution: Preventative maintenance can thwart this by addressing wear and tear before it becomes an issue. Replace your filters monthly and schedule a yearly tune-up and cleaning before the hot months of summer. However, if you do experience such a failure, you can contact a professional for repairs. Here are more possible reasons and solutions for why AC is blowing warm air. While most refrigerant leaks occur in coolant lines where they aren’t visible, you may notice colored stains near the AC unit where they have seeped out. Limited amounts of condensation are normal, but pools of liquids are not. Problem: The coolant lines or connections may have deteriorated over time, allowing leaks to form. Blockages in drainage pipes or defective condensate pumps can also cause leaks. Solution: Once you’ve noted a leak, turn the unit off immediately and contact an HVAC professional immediately. Leaks can run your refrigerant level low and damage the compressor, which can be costly to replace. An AC unit cutting on and off repeatedly is commonly known as short cycling. It happens when the HVAC kicks off before completing a full cooling cycle and then kicks back on to finish the process. Problem: You may have an obstructed air filter, or your thermostat may be miscalibrated. You might also have an HVAC unit that is too powerful for the space you have to cool. Solution: First, check your air filter and change it if necessary. If this doesn’t correct the problem, contact a professional to address the problem by recalibrating your thermostat or suggesting changes to your system to better accommodate your cooling needs. If you are finding ice around the coil or copper lines of your AC, it means your system is working too hard to keep you cool. Problem: It’s not unusual for your AC to work hard in the heat of an Arizona summer, but it shouldn’t freeze up. You may have a dirty air filter or a faulty condenser unit. These will make your system work twice as hard to cool, causing it to freeze and costing you added energy costs. Solution: You can change your air filter, but if that doesn’t correct the problem, you’ll want to contact a licensed HVAC technician to check the blower, air ducts and condenser for any blockages. If you note a burning smell or a musty scent coming from your vents or your main AC unit, it can be unpleasant and a sign of trouble. Problem: A burning or hot smell can signify bad wiring or overheating due to a clogged air filter. If you’re smelling something musty or like mildew, this is usually a sign of dirty ductwork or poor drainage. Solution: If you are experiencing a burning smell, turn the AC off and check your filter. If it’s clogged, replace it and see if that corrects the problem but keep a close eye on the system until you’ve determined that was the problem. If it wasn’t, turn the system back off and contact a professional to check your system and repair the issue. Everyone’s HVAC system has some normal operating sounds familiar to them. If you hear noises different from what you’re used to, pay attention to them. Problem: A squealing sound is usually caused by a worn or out-of-place belt. Grinding noises usually are a sign of bearing problems. Solution: Routine maintenance performed by a professional
7 Types of Energy Efficient AC Units of 2022
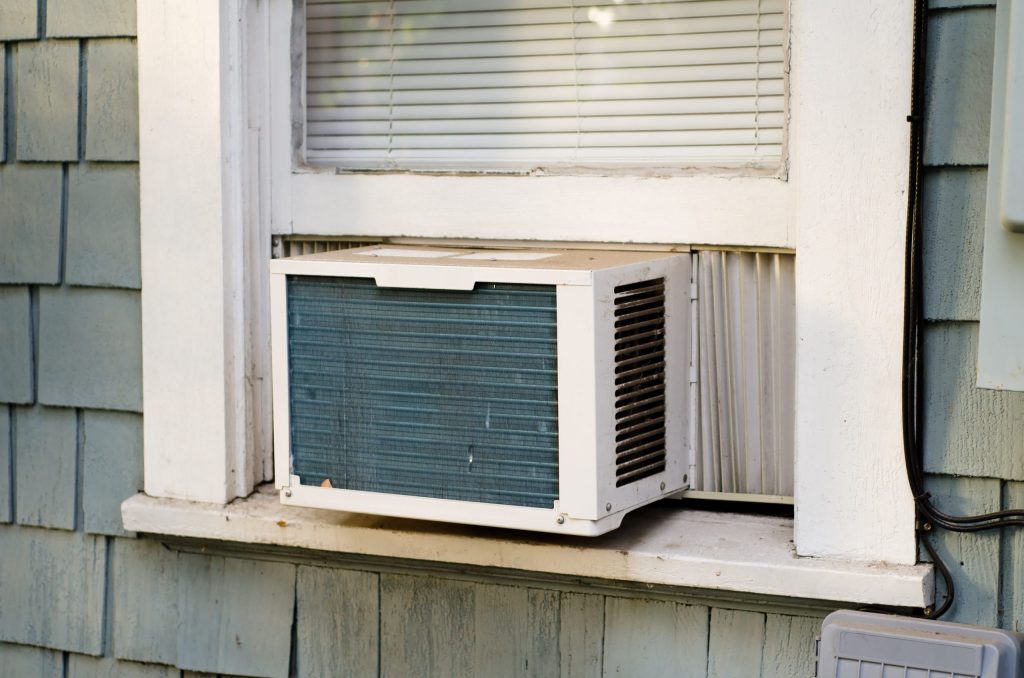
With rising energy costs and environmental concerns related to fossil fuel usage, many homeowners are looking to find the most energy efficient AC unit on the market. If you are among those seeking an energy efficient AC, you’ll first want to familiarize yourself with some standard terminology: You can visit American Home Water and Air online or give us a call if you’d like assistance with your search or are looking for a professionally installed system. We’ll be happy to guide you through your options. Continue reading to learn more. What Types of Energy Efficient AC Units are Available? If you are ready to shop for an air conditioner to suit your needs, let’s talk about the types of AC units available to keep you cool on a hot Arizona summer day. 1. Split ACs A split ac system is better known to most as a central cooling unit. It utilizes a compressor and condenser unit outside the home that works with the evaporator, air handler, and filter system inside the home. A series of ducts distribute cool air throughout the home. 2. Packaged AC Systems This kind of AC system packages the compressor, coils, and air handling mechanisms in a metal cabinet outside the home, saving room indoors. Like the split AC system, the packaged AC system requires ductwork to take cool air throughout the home. 3. Window AC Units Window AC units are housed in a metal box that holds the compressor, coils, and air handler. Mounted in an open window, it circulates air in a room through its system, cools it, and sends it back out to the room. The warm air and moisture created in this process are discarded outside the window. Check out our guide to windows AC insulation if you’re interested in this type of ACs. 4. Portable ACs Portable air conditioners, like window units, are stand-alone units containing the compressor, coils, and fan needed to create cool air. They operate much like a window unit; except they include a hose that must be placed through a window opening to expel the warm air and the moisture it creates. Check out our article on “How to vent a portable air conditioner without a window” for more information about venting portable ACs 5. Ductless Mini-Split Systems Ductless mini-splits include a compressor condenser located outside the home that feeds a small air handler inside each zone set up within the home to cool designated areas. These are also recommended as energy efficient means of cooling older homes. 6. Through-the-Wall ACs Through the wall air conditioners work the same as window AC units, but they are mounted through a hole in the wall rather than taking up window space. Check out our article to learn how to install through the wall air conditioner. 7. Inverter ACs Inverter air conditioners might be ductless, through-the-wall, window-mounted, or split air conditioners, but they include an inverter that gauges and regulates the electrical current received by the unit. Thus, the unit will only be given energy in small doses, providing only what it needs to cool a room. This energy efficient AC unit can be up to 40 percent more energy efficient than a standard unit. Best Energy Efficient AC Units on the Market in 2022 Don’t have time to look at everything that’s out there in the market? Let us help you narrow down some of your choices. These are some of the best energy efficient smaller AC units on the market according to a comparison of their Energy Star ratings and features. Keystone Energy Star 5,000 BTU – This window AC unit has a 12.1 EER rating and multiple operating modes, including an on/off timer and an energy saver mode. It can cool up to 150 square feet. The remote control included with it allows for easy operation. Amana AVXC20 – With a 24.5 SEER rating, the Amana AVXC20 ranks very highly as an energy efficient AC unit. Its inverter varied-speed compressor and Comfortnet thermostat create the perfect combination of built-in energy savings and user control to keep costs low. LG 18,000 BTU Smart Window – This window AC from LG embraces inverter technology to deliver an EER of 14.4. Its ability to quietly cool up to 1,000 square feet makes it an ideal choice. Smart controls allow users to turn it off by remote and Wi-Fi integration allows for setting schedules by smartphone. Whynter ARC-14S 14,000 BTU Portable – Sporting an 11.2 EER rating, this portable air conditioner is highly efficient. The auto-drain system it uses recycles moisture via two exhaust hoses, greatly increasing its ability to create chilled air. It’s designed for smaller rooms of about 500 square feet and its portability allows it to be easily moved from one room to another as needed. Frigidaire 8,000 BTU Through-the-Wall – This through-the-wall AC comes with a remote control to adjust the thermostat and turn the unit off and on. There is also an energy-saving option and a timer that will automatically turn the unit off or on as scheduled. Midea U Inverter Window – The inverter technology that varies the flow of energy to this unit achieves a 13.3 energy-efficiency rating, providing up to 35 percent more energy savings than many of its competitors. Its U-shape allows standard windows to be closed down in the center of the unit, reducing the amount of space around it that must be sealed off. Wi-Fi capabilities allow remote control of the unit through an app. If you’re looking for a quick solution to cool down an area of your home, you can’t go wrong with one of the choices above. For more substantial systems such as a central unit or a ductless mini-split, get in touch with AHWA. One of our professionals will be happy to assess your situation and recommend the best solution for your space and budget.